
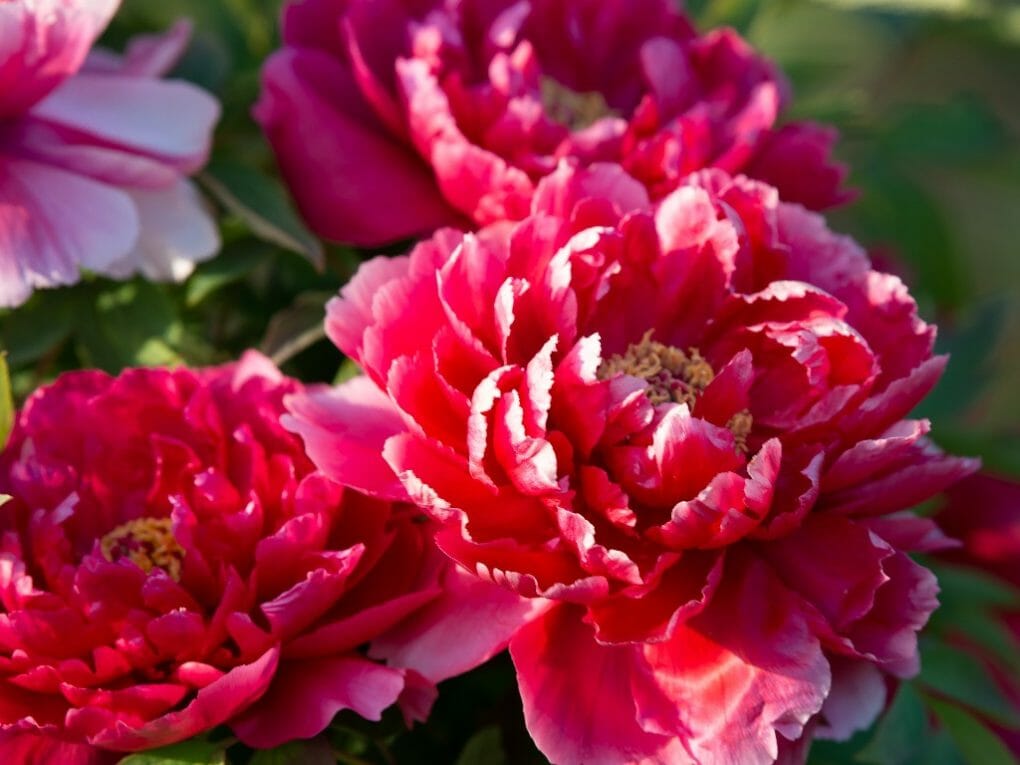
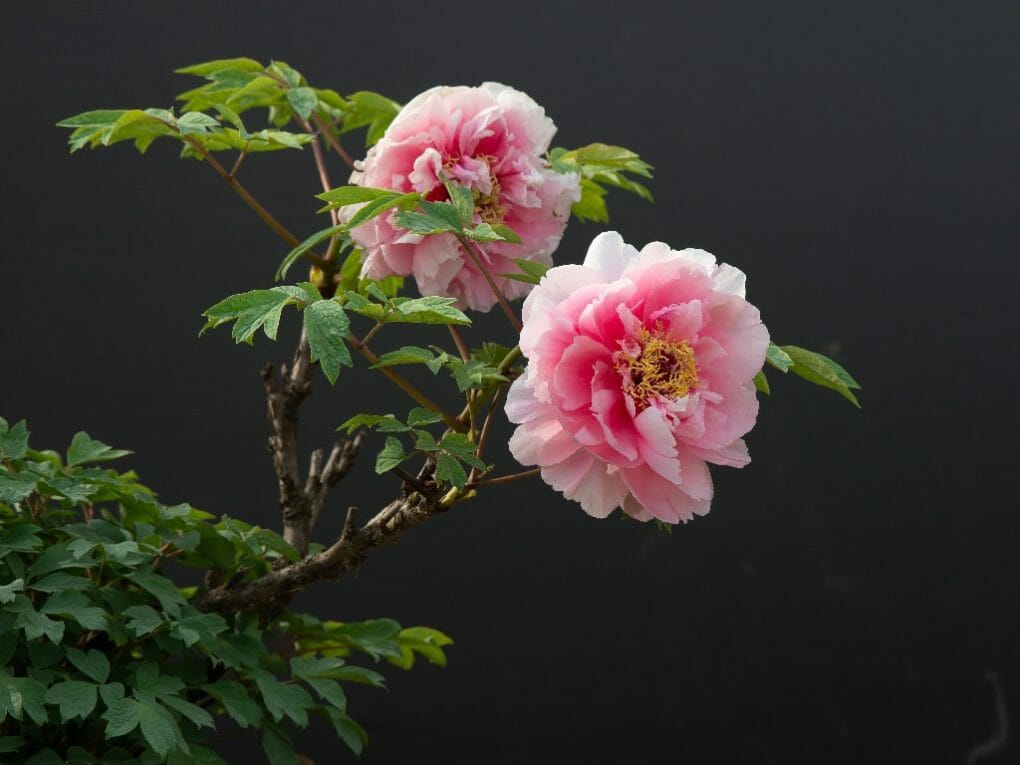
Transplanting Peonies in Spring: A Beginner’s Guide
Peonies can be successfully moved in the spring, but you should be aware that they might produce fewer flowers or leaves than they did or that it might take a while to bloom.
When garden peonies go to sleep in late summer or early fall, the root clumps are usually split up and moved. It should drain well so that their roots don’t get moldy. Depending on the weather where you live, peonies go to sleep in late August or early September. If a peony is dead in the middle or has stopped flowering, it’s time to split it and move the pieces to new places. When this happens, you can split the roots and move each piece to a sunny spot. Usually, you only store peony roots that have been cut up. Remove the dirt from the roots. Dig a 12 to 18 inches wide and 18 inches deep hole. Before transplanting, you could also work about 12 inches of compost into the soil. If you plant the peonies deeper, they will grow leaves but not flowers. Only put mulch on them if they stay warm enough to bloom in the spring.
Table of Contents
Step-by-Step Transplanting Peonies
- Turn the soil to a depth of 12 to 18 inches and incorporate 4 inches of organic matter like compost or leaf mold into the soil. Peonies require a location that receives at least six hours of sunlight each day and soil that drains well and has been modified. However, if you reside in a location with hot summers, you will also need shade throughout the day.
- Before transplanting the peony, rinse it thoroughly with one inch of water one or two days in advance. Because transplanting is a problematic process for plants, they must not be water stressed but fully hydrated before the relocation.
- Take the peony and relocate it somewhere else, then use a spade to dig around the root ball and harvest as much of the root as you can. Place a burlap or tarp underneath to prevent the root ball from breaking apart while it is being moved to its new position.
- Make sure the hole you dig is at least four times as wide as the root ball of the peony. The depth must be precisely the same as the root ball to ensure that the tree is planted at the same depth level. If the plant is planted too deeply, it may never produce flowers.
- After positioning the peony within the hole, backfill the dirt around the peony’s perimeter. You can fill in the gaps in the dirt by softly tamping it with your hands. However, be careful not to crush the soil to the point where it is so dense that water cannot get through it.
- To help the peony conserve water during its first year after being transplanted and to keep the roots cool when the temperature is high, water it with an inch and a half of water and then cover it with three inches of mulch.
Transplanting Time
Peonies go dormant sometime between the end of August and the beginning of September, depending on the environment in the area. Peony flowers and foliage wither and fall off when the plant enters its winter rest period. When this occurs, the plants need to be transplanted as quickly as possible to provide the soil time to settle before a severe cold can cause the ground to buckle.
When the center of the peony is dead or when it stops blooming, you need to divide the plant and then move the pieces to new places. Peonies might occasionally benefit from the shade provided by growing trees. When this occurs, separate the roots and transplant each section into a spot with enough sunlight.
Dividing Root Clumps
Peony roots that have been divided are usually not kept. They are planted straight away after being separated into individual pieces. It takes root divisions of a garden peony that are smaller in size and longer to flower than larger divisions. Peonies in the garden that are three years old have roots that can be divided, but it is much simpler to do so with those that are two years old. After that point, the roots will have grown to such a huge size and become so entangled with one another that it will not be easy to separate them.
A sharp knife can be made sterile by air drying it, then soaking it for five minutes in a solution consisting of one part household bleach to three parts water. First, bring all the leaves and stems down to the ground, and then dig up the clump of roots. Take care not to damage the roots in any way.
When you remove the plant from the ground, use a spade to dig three to four inches straight down in a circle eight to ten inches from the peony stems. Then, repeat the circle with the spade angled inward so that you cut at least six inches below the roots. This will prevent you from accidentally cutting the roots.
Remove the soil from around the roots. Eliminate the little roots that look like threads and divide the remaining roots into fleshy stubs measuring between four and six inches in length. Each stub should contain between three and five eyes.
Getting the Soil Ready
Begin by digging an 18 inches broad hole from 12 to 18 inches deep. You should incorporate a layer of compost, pine bark, or well-aged manure measuring between two and four inches into the soil you removed and replaced. Put between a quarter and a half a cup of fertilizer with a 10-10-10 ratio on the bottom. After placing the transplant in the hole, fill the rest of the space with the unamended dirt and finish off with the remaining half of the adjusted soil. Alternately, incorporate compost about 12 inches before transplanting.
Both approaches to amending soil can supply the essential nutrients required for roots transplanted to get established. Once the peony has reached a size at which it can produce flowers, you will no longer need to fertilize it.
Transplanting Basics
When doing a divided root transplant, ensure that the uppermost fleshy eyeballs are facing up and within 2 inches of the surface. Peonies will only generate leaves if you plant them deeper; they will not produce blooms. When you are finished, give the soil a good tamping and plenty of water.
A layer of organic mulch measuring 2 and 3 inches should be placed over the transplant. Do not add any further layers of mulch since maintaining a too-warm temperature could prevent them from flowering the following season.