
How to Replant Hydrangea: A Step-by-Step Guide for Successful Transplanting
Replanting hydrangeas can be daunting, but with the right tools and knowledge, anyone can successfully move these beautiful shrubs to a new location. So whether you’re moving to a new home or simply want to relocate your hydrangeas to a more suitable spot in your garden, there are a few key steps to follow to ensure that your plants thrive in their new home.
First and foremost, it’s important to choose the right time to replant your hydrangeas. The best time to transplant these shrubs is in the early spring or late fall when they are dormant. This will minimize the shock to the plant and give it time to establish its roots before the hot summer months or harsh winter weather arrive.
When digging up your hydrangeas, it’s important to be gentle and avoid damaging the roots. Dig a wide hole around the plant and carefully lift it from the ground, keeping the root ball intact. Once you’ve moved the plant to its new location, water it thoroughly and moisten the soil in the weeks following the transplant. With patience and care, your hydrangeas will soon thrive in their new home.
Table of Contents
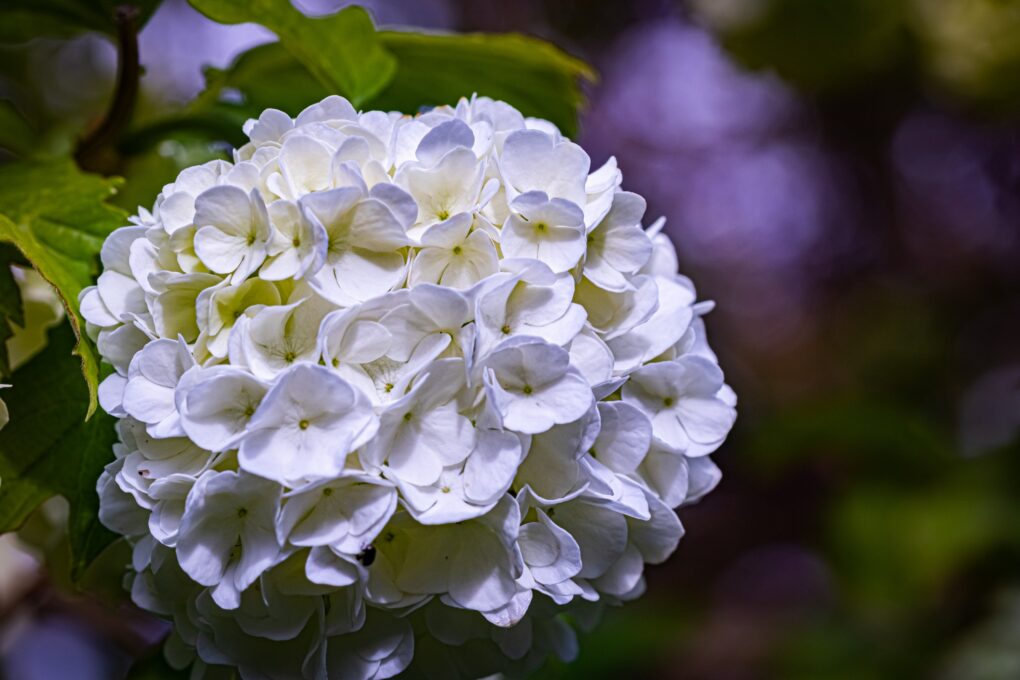
When to Replant Hydrangea
Hydrangeas are hardy plants that can tolerate many different conditions, but they have their limits. So if you’re thinking about replanting your hydrangea, choosing the right time of year to do it is important. This will help ensure that your plant has the best chance of thriving in its new location.
The best time to replant hydrangeas is when they are dormant. This is typically in the late fall or early winter after the leaves have fallen off the plant. Currently, the plant is not actively growing, which means it is less likely to be stressed by the transplanting process.
If you live in a warmer climate where the ground doesn’t freeze, you can also replant hydrangeas in the late winter or early spring. Just be sure to do it before the plant starts generating new growth.
It’s important to avoid replanting hydrangeas during the summer when the plant is actively growing and most vulnerable to stress. If you must replant during the summer, do it on a cool, cloudy day and water the plant well before and after replanting.
Preparing for Replanting
Before replanting hydrangeas, it’s important to prepare the tools and materials needed, choose a new location, and prepare the new planting hole. Follow these steps to ensure your hydrangeas thrive in their new home.
Tools and Materials
To replant hydrangeas, you’ll need:
- Shovel or spade
- Pruning shears
- Compost or organic matter
- Root stimulator
- Watering can or hose
- Mulch
Choosing a New Location
When choosing a new location for your hydrangeas, consider the following:
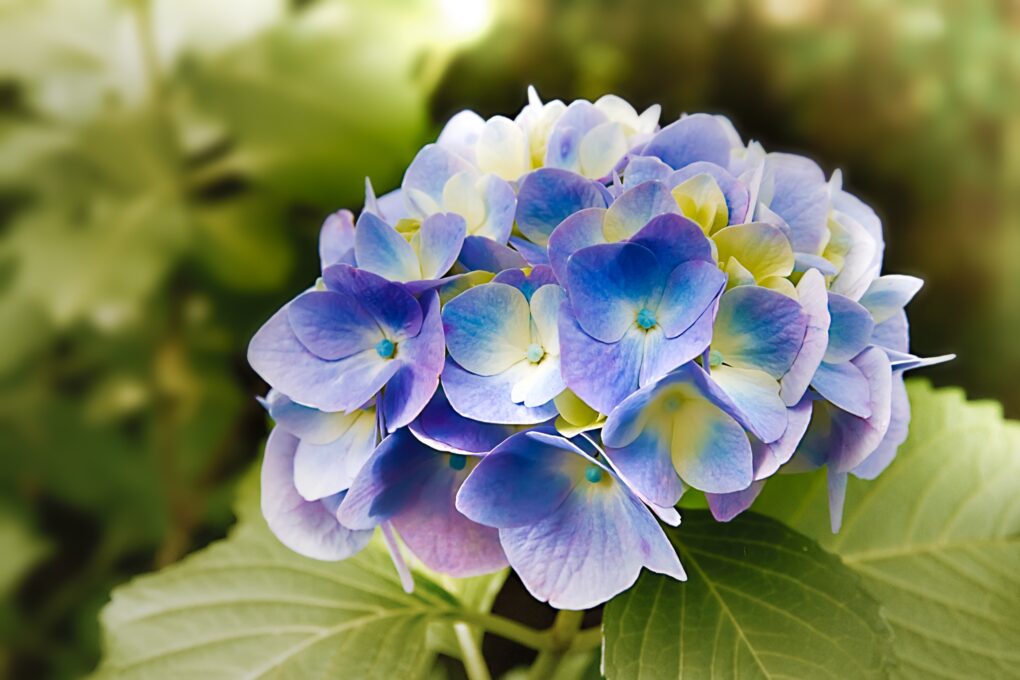
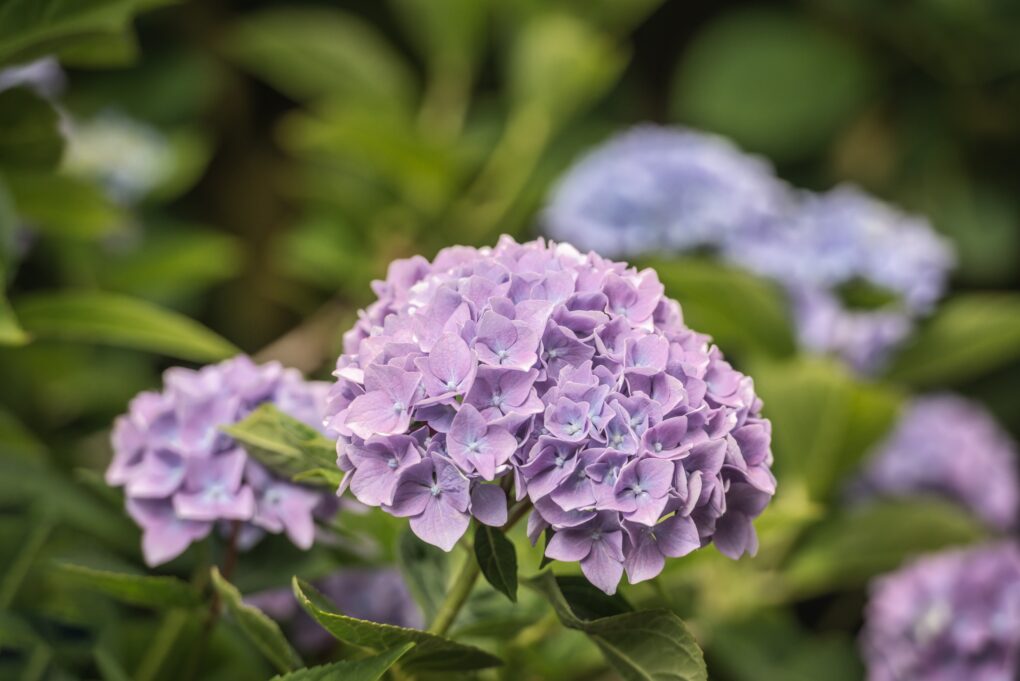
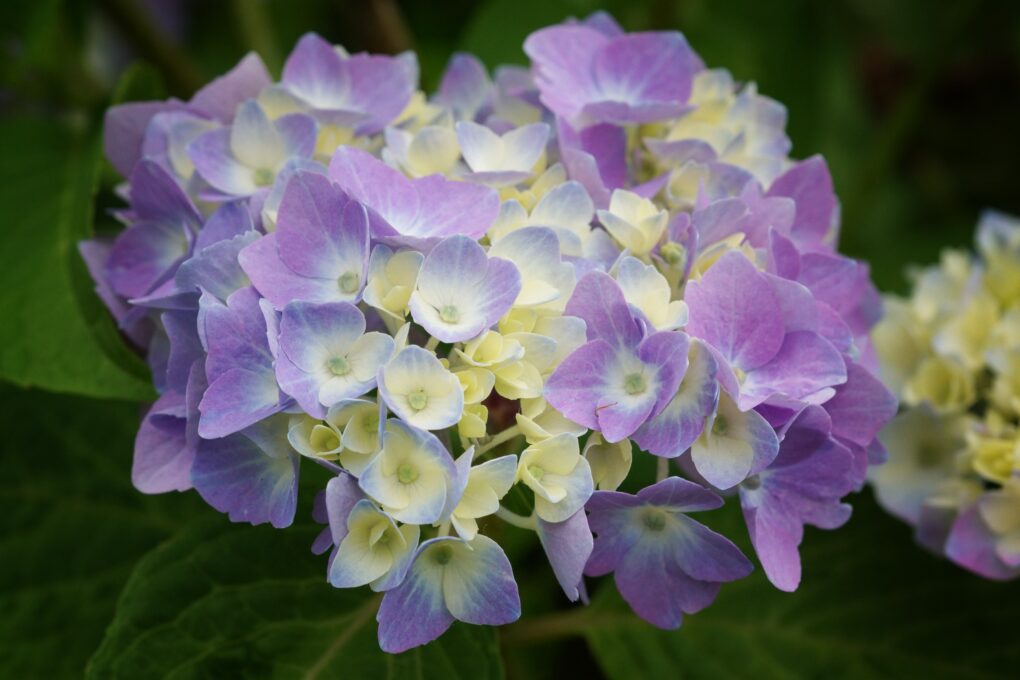
- Amount of sunlight: Hydrangeas prefer partial shade to full sun.
- Soil drainage: Hydrangeas require well-draining soil to prevent root rot.
- Soil pH: Hydrangeas thrive in acidic soil with a pH between 5.2 and 6.2.
- Space: Hydrangeas can grow up to 6 feet wide, so make sure to give them enough space to grow.
Preparing the New Planting Hole
Follow these steps to prepare the new planting hole:
- Dig a hole twice as wide and deep as the root ball of the hydrangea.
- Amend the soil with compost or organic matter to improve soil quality and drainage.
- Add a root stimulator to the hole to encourage root growth.
- Fill the hole halfway with amended soil and water thoroughly.
- Place the hydrangea in the hole and backfill it with soil.
- Water the hydrangea again and add a layer of mulch to retain moisture.
Removing the Hydrangea
Before moving your hydrangea, preparing the plant for the transition is important. This involves removing it from its current location, pruning its roots, and preparing the root ball for transport. Follow these steps to ensure a successful transplant:
Digging Up the Plant
The first step in removing your hydrangea is to dig it up from its current location. Use a shovel to dig a circle around the base of the plant, cutting through any roots extending beyond the shrub’s perimeter. Be sure to dig deep enough to capture the entire root system, which can be extensive for mature plants. Once you’ve loosened the soil, gently lift the plant out of the ground, taking care not to damage the roots.
Pruning the Roots
Once you’ve removed the hydrangea from the ground, it’s time to prune its roots. This will help the plant recover from being transplanted and encourage new growth. Use sharp pruning shears to trim away any damaged or diseased roots and any that are excessively long or tangled. Be sure to leave plenty of healthy roots intact, as these will be crucial to the plant’s survival in its new location.
Preparing the Root Ball
After pruning the roots, it’s time to prepare the root ball for transport. This involves removing any excess soil from around the roots, making the plant easier to handle and reducing the risk of damage during transport. Use your hands or a small garden trowel to gently remove soil around the roots, being careful not to damage them. Once you’ve removed as much soil as possible, wrap the root ball in burlap or similar material to protect it during transport.
Replanting the Hydrangea
Replanting a hydrangea is a delicate process that requires attention to detail. Here are the steps to follow:
Placing the Plant in the New Hole
After digging up the hydrangea, choose a new location that offers partial shade during the day. Dig a hole twice as wide as the root ball and deep enough to accommodate the plant. Place the hydrangea in the hole, ensuring the top of the root ball is level with the soil surface.
Backfilling the Hole
Fill the hole around the root ball with soil, making sure to break up any clumps. Gently tamp down the soil to eliminate air pockets. Water the plant to help settle the soil and ensure the roots make good contact with the soil.
Watering and Mulching
Water the plant thoroughly after replanting. To help retain moisture and suppress weeds, apply a layer of mulch around the base of the plant. Ensure that the mulch does not touch the plant’s stem, which can cause rotting.
Following these simple steps, you can successfully replant your hydrangea and enjoy its beautiful blooms for years.
Caring for the Transplanted Hydrangea
After transplanting your hydrangea, it is important to provide proper care to ensure its survival and growth. This section will cover the key aspects of caring for your newly transplanted hydrangea.
Watering
Hydrangeas require consistent moisture, especially during the first year after transplanting. Water your hydrangea deeply once a week, ensuring the water reaches the root ball. Avoid over-watering, as this can lead to root rot. During dry spells, increase watering frequency to twice a week, and consider using a soaker hose or drip irrigation to provide consistent moisture.
Fertilizing
Hydrangeas benefit from regular fertilization to promote healthy growth and abundant blooms. Apply a balanced, slow-release fertilizer in early spring, and again in early summer. Be sure to follow the manufacturer’s instructions for application rates and methods. Avoid fertilizing in late summer or fall, as this can stimulate new growth vulnerable to frost damage.
Pruning
Pruning hydrangeas is essential for maintaining their shape and promoting healthy growth. After transplanting, prune back any damaged or broken branches, but avoid heavy pruning until the plant has become established. In subsequent years, prune your hydrangea in late winter or early spring, removing any dead or diseased wood and shaping the plant as desired. Avoid pruning too late in the season; this can remove flower buds and reduce blooming.
Maintenance
In addition to regular watering, fertilizing, and pruning, there are other maintenance tasks to remember when caring for your transplanted hydrangea. First, mulch around the base of the plant to help retain moisture and suppress weeds, but avoid piling mulch against the stem, as this can lead to rot. Watch for pests and diseases, and treat promptly if necessary. Finally, consider staking or supporting your hydrangea if it tends to flop over or become top-heavy.