
How to Propagate Hydrangea from Cuttings: A Step-by-Step Guide
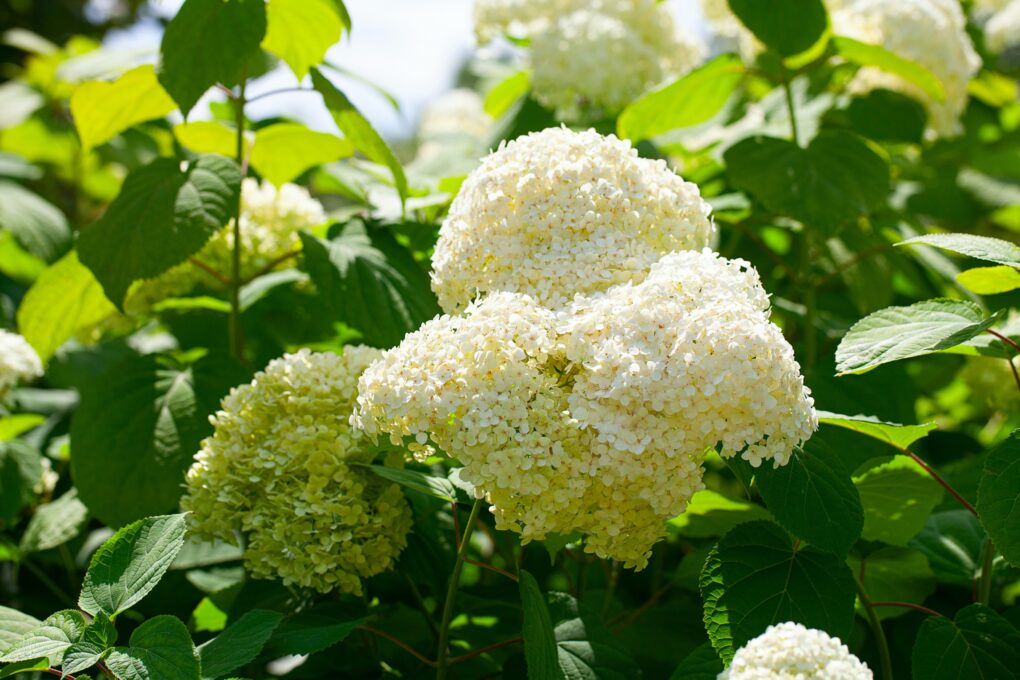
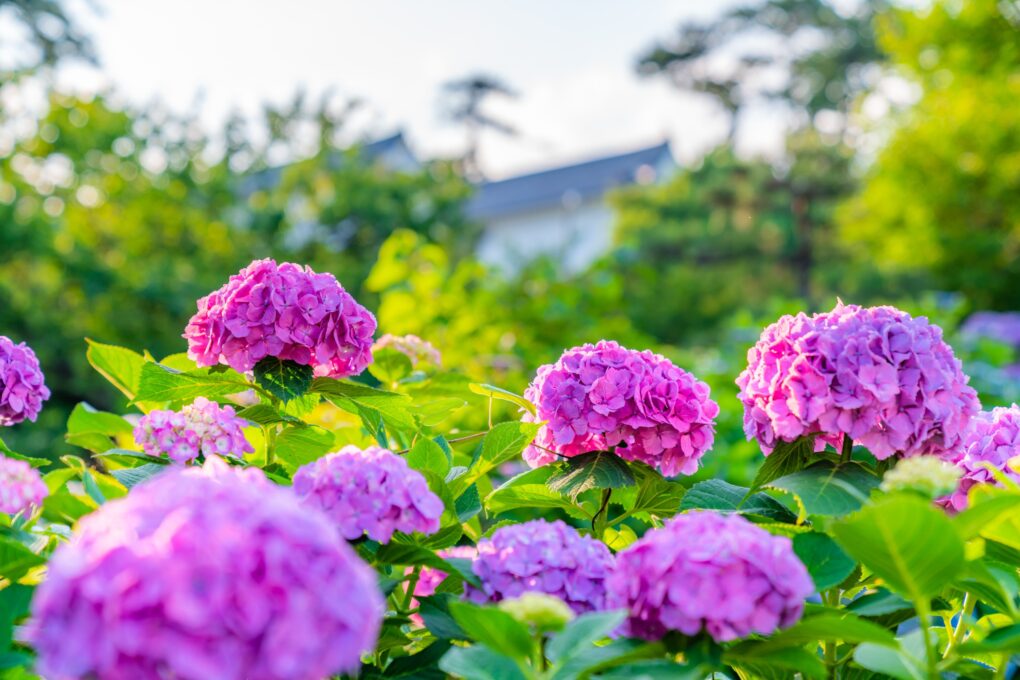
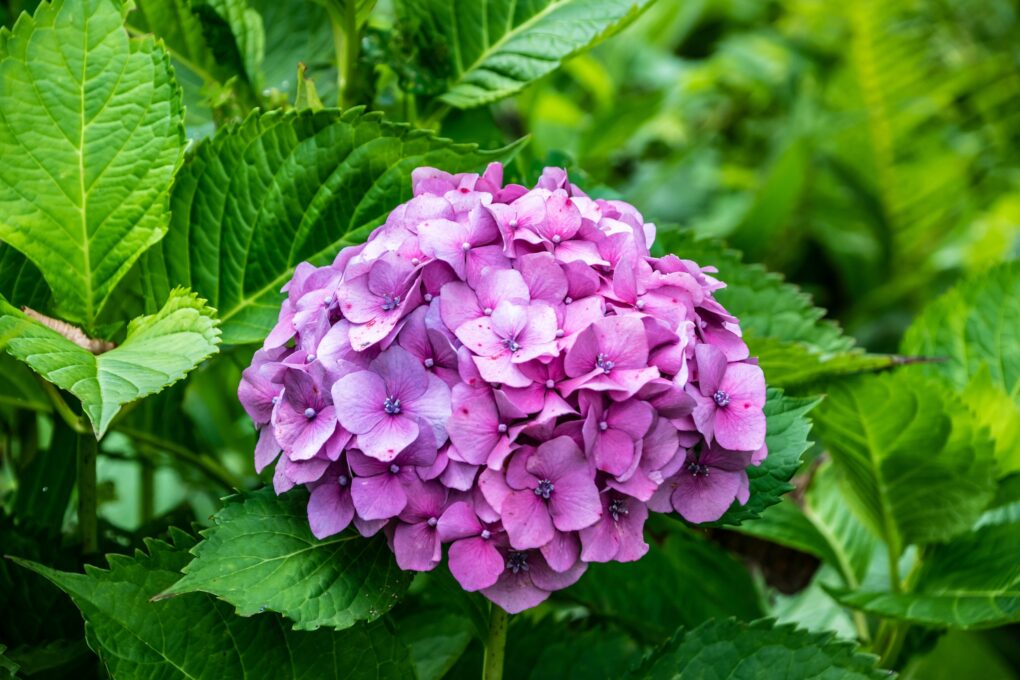
Hydrangeas are beautiful flowering shrubs that are popular in gardens and landscapes. They are known for their large, showy blooms in various colors, including pink, blue, and white. While hydrangeas can be grown from seeds or purchased as young plants, propagating them from cuttings is a simple and cost-effective way to grow new plants.
Propagating hydrangeas from cuttings is a great way to expand your garden or share your favorite plants with friends and family. With the right technique and patience, you can easily grow new hydrangea plants from stem cuttings.
Table of Contents
Propagating the Hydrangea Cuttings
Planting the Cuttings
After taking the cuttings from the hydrangea plant, the next step is to plant them. Here are the steps to follow when planting the cuttings:
- Prepare the potting mix by adding a seed-starting potting mix to a pot.
- Moisten the mix thoroughly.
- Stick the cutting into the prepared pot.
- Push gently until the cutting is 2 inches (5.1 cm) into the soil.
It is best to use an 8- to 10-inch terra-cotta pot that can hold several cuttings. Other sterile growing media such as vermiculite or coarse sand can also work.
Caring for the Cuttings
Once the cuttings are planted, it is important to care for them properly. Here are some tips for caring for the cuttings:
- Keep the soil moist but not waterlogged.
- Place the pot with bright, but not direct sunlight.
- Keep the temperature between 70-75°F (21-24°C).
- Use a humidity dome or cover the pot with a plastic bag to maintain high humidity around the cuttings.
- Avoid fertilizing the cuttings until they have developed roots.
- After 2-3 weeks, check for root growth by gently tugging on the cutting. If there is resistance, the cutting has developed roots and can be transplanted to a larger pot or outside.
Transplanting the Rooted Cuttings
Preparing the New Location
Before transplanting the rooted cuttings, it is important to prepare the new location. Choose a spot where the plants will receive partial sun and well-draining soil. Hydrangeas prefer soil rich in organic matter, so consider adding compost or other organic materials.
If planting multiple hydrangeas, space them at least 3 feet apart for proper growth. Keep in mind that hydrangeas can grow quite large, so plan accordingly.
Transplanting the Cuttings
Once the new location is prepared, it’s time to transplant the rooted cuttings. Carefully remove the cuttings from the rooting container, ensuring not to damage the roots. Gently loosen any tangled roots and remove any dead or damaged roots.
Dig a hole in the prepared location slightly larger than the root ball of the cutting. Place the cutting in the hole, backfill with soil, and tamp the soil around the cutting to remove any air pockets.
Water the newly transplanted cutting thoroughly, and continue to water as needed to keep the soil moist but not waterlogged. Mulching around the plant’s base can help retain moisture and prevent weeds.
Caring for the New Plants
After transplanting, it is important to care for the new plants properly. Keep the soil consistently moist, but not waterlogged, and fertilize with a balanced fertilizer once a month during the growing season.
To promote new growth and blooming, it’s important to prune the plants regularly to control their size and shape. Removing spent blooms will also encourage new growth. If you live in colder climates, protect the plants from harsh winter weather by covering them with mulch or burlap.
The newly transplanted hydrangeas should thrive and provide beautiful blooms for years with proper care.