
How to Propagate Hydrangea: A Step-by-Step Guide
Propagating hydrangeas is a great way to expand your garden, create new plants, or share with others. Hydrangeas are beautiful flowering shrubs that can be propagated through stem cuttings. Propagation is a simple process that requires minimal tools and supplies and can be done any time of the year.
When propagating hydrangeas, choosing a healthy parent plant with desirable characteristics is important. This can include the color and size of the blooms, the shape of the leaves, and the overall growth habit of the plant. Taking cuttings from a healthy parent plant will increase the chances of success and ensure the new plants have the same desirable traits as the parent.
There are several ways to propagate hydrangeas, including rooting cuttings in soil or water and layering. In addition to the advantages and disadvantages of each method, the best way will depend on your preferences and available resources. With patience and care, you can successfully propagate hydrangeas and enjoy their beauty for many years to come.
Table of Contents
Types of Hydrangea
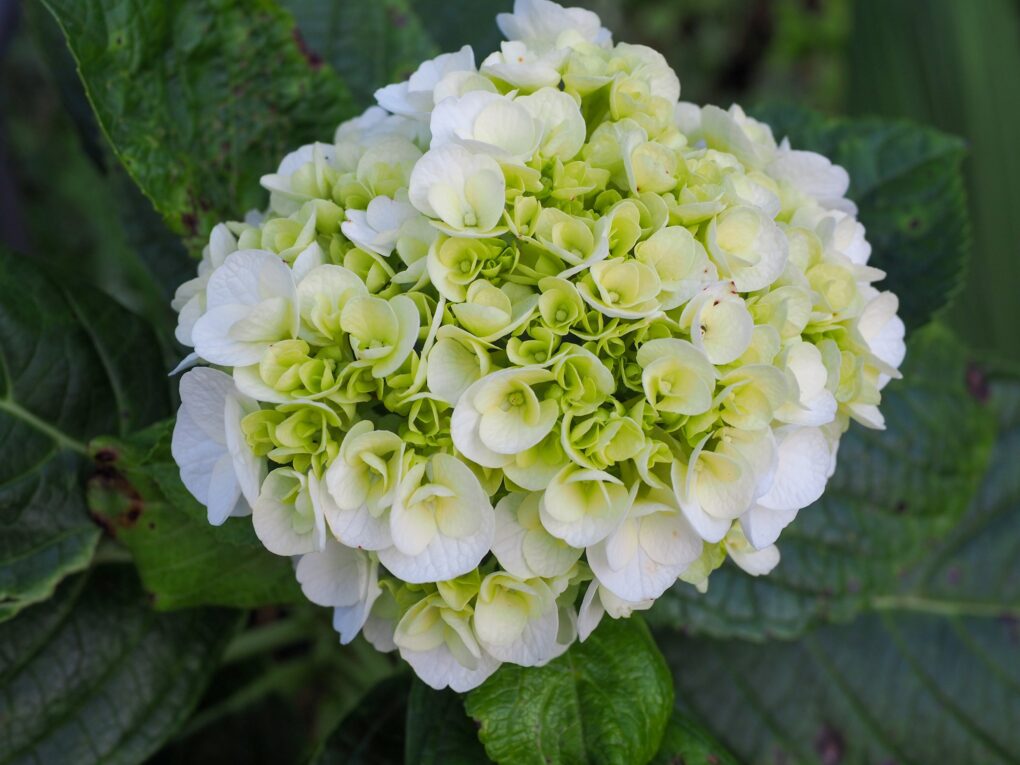
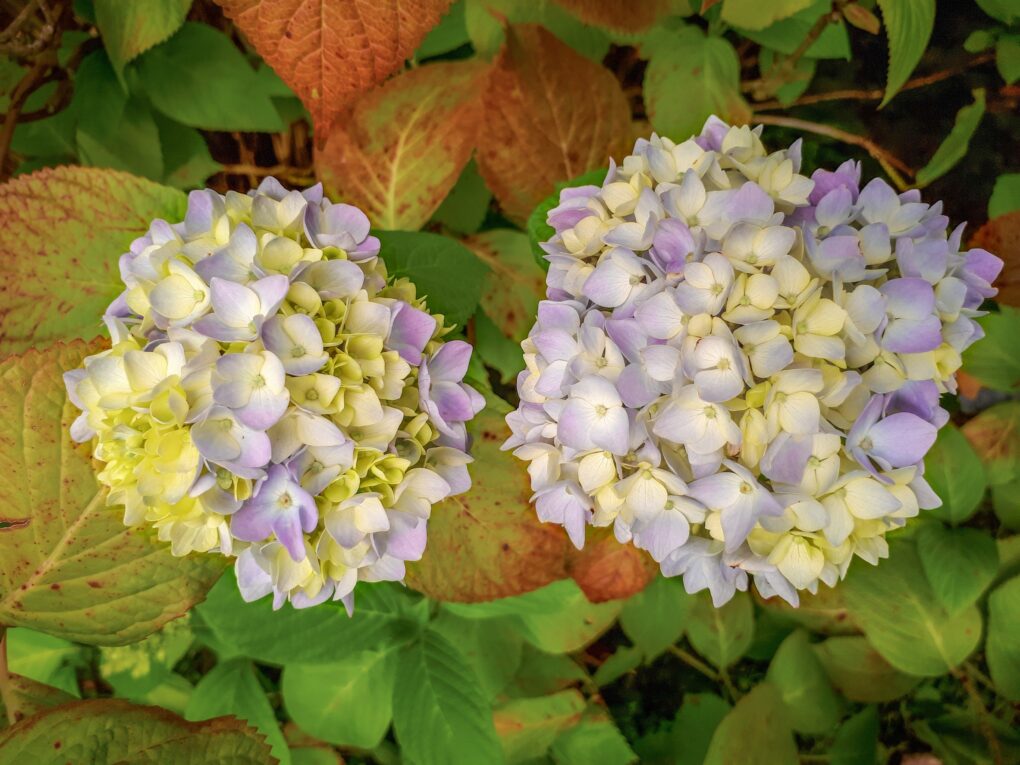
Hydrangeas are popular flowering shrubs that come in many different types. Here are the most common varieties:
| Type | Also known as mophead or lace-cap hydrangeas, these are the most common hydrangeas. They have large, round flowerheads in pink, blue, and white shades. |
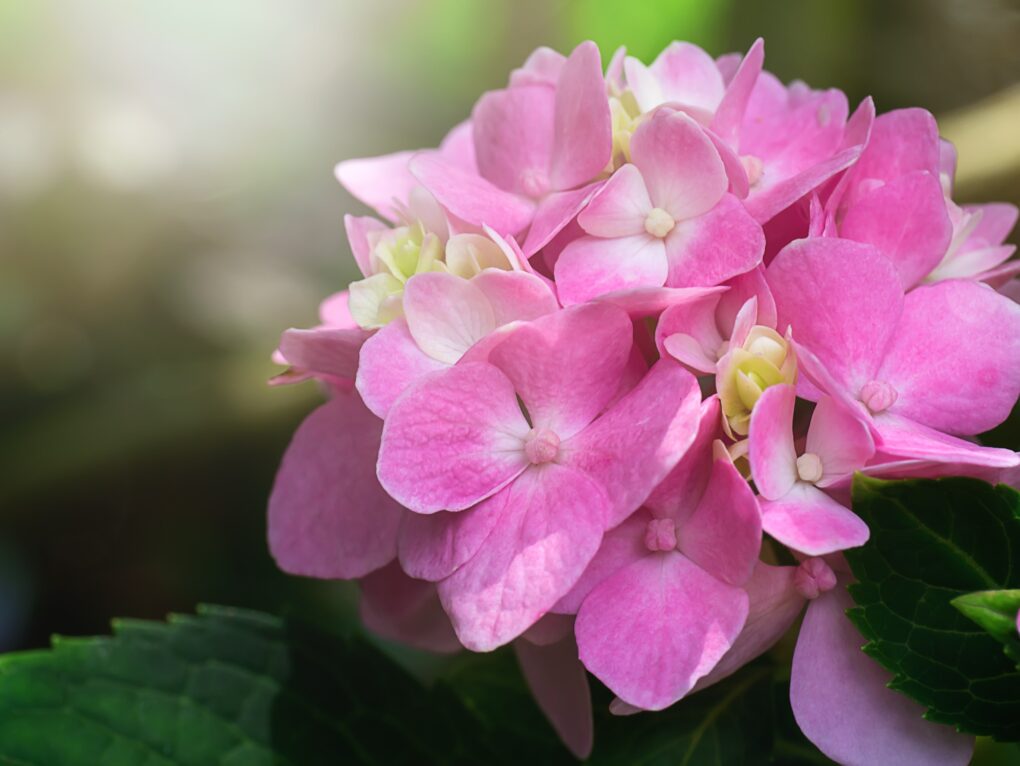
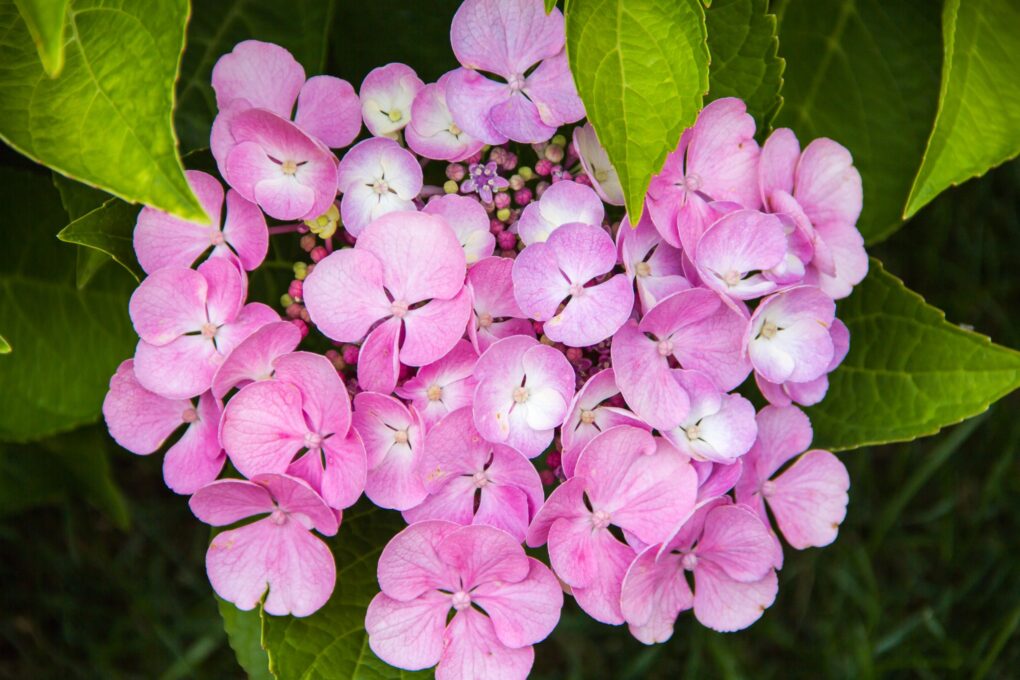
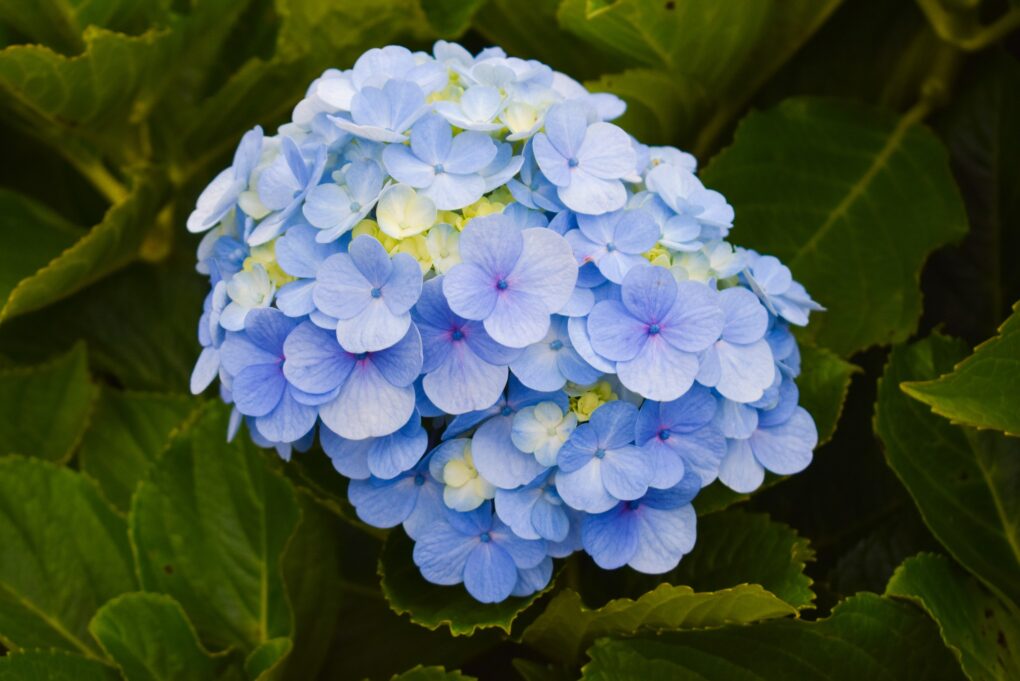
| Bigleaf Hydrangea | Also known as mophead or lace-cap hydrangeas, these are the most common hydrangeas. They have large, round flower heads in pink, blue, and white shades. |
| Paniculata Hydrangea | These hydrangeas have cone-shaped flowerheads and are known for their hardiness and ability to tolerate more sun than others. They come in shades of white, pink, and red. |
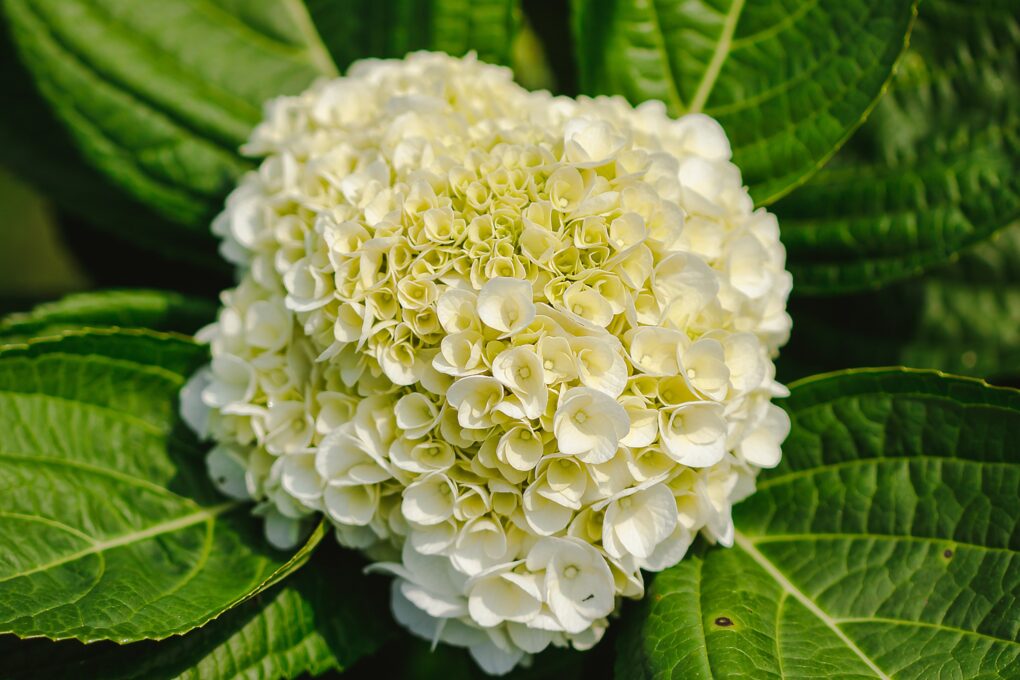
| Smooth Hydrangea | These hydrangeas have round flowerheads and are native to North America. They are known for their hardiness and ability to thrive in shade. They come in shades of white and pink. |
| Climbing Hydrangea | These hydrangeas are vines that can climb up walls, fences, and trees. They have white, lace-like flowerheads and are known for tolerating shade. |
Each type of hydrangea has its unique characteristics and growing requirements. When propagating hydrangeas, it’s important to know what type you’re working with so you can provide the right conditions for success.
When to Propagate Hydrangea
Knowing when to propagate hydrangea is the first step to success. The best time to take cuttings is early to mid-fall when the plant is developing new growth. This period is around June to September. Taking cuttings during this time will help distinguish the fresh growth from the older, more mature growth as the stems will differ greatly in color.
It is important to note that propagating hydrangea during the growing season is ideal. This is because the plant has enough time to develop roots and establish itself before the first frost. Propagating during the growing season also ensures that the cutting will have enough time to develop before winter sets in.
When propagating hydrangea, choosing a healthy plant with no signs of disease or insect infestation is important. The cutting should be taken from the newer, softer stems near the top of the plant. These stems are more likely to root successfully compared to the older, woody stems near the base of the plant.
Overall, propagating hydrangea is a simple process that can be done successfully with the right timing and technique. Gardeners can easily propagate new plants from their favorite hydrangea varieties by taking cuttings during the growing season and choosing healthy stems.
Methods of Propagation
Hydrangeas can be propagated through several methods, including cuttings, division, and layering. In each case, there are pros and cons, and the choice will depend on the gardener’s preferences and the specific characteristics of the plant.
Propagation by Cuttings
Propagation by cuttings is one of the easiest and most common methods of propagating hydrangeas. The best time to take cuttings is in late spring or early summer when the new growths have hardened off but before they begin blooming. Here are the steps to follow:
- Take a 6-inch cutting from a soft hydrangea stem.
- Remove all but the topmost set of leaves from the cutting.
- Dip the cutting in the rooting hormone.
- Plant the cutting in a moist and well-draining potting medium.
- Cover the pot with a plastic bag to create a greenhouse effect.
- Place the pot in a warm and bright location, but not in direct sunlight.
- Water the cutting regularly, but do not let the soil waterlog.
- After a few weeks, the cutting should start to develop roots and new growth.
Propagation by Division
Propagation by division is another common method of propagating hydrangeas. This method is best suited for mature plants that have become too large and must be divided to maintain their health and vigor. Here are the steps to follow:
- Dig up the entire plant, not damaging the roots.
- Using a sharp and clean knife, divide the plant into several sections, ensuring each section has a healthy root system and some foliage.
- Plant each section in a new location, watering them well and keeping them moist until they become established.
Propagation by Layering
Propagation by layering is a method of propagating hydrangeas that involves bending a branch down to the ground and encouraging it to root while still attached to the parent plant. This method is best suited for plants with low-lying branches that can be easily bent down to the ground. Here are the steps to follow:
- Select a low-lying branch that can be easily bent down to the ground.
- Make a small cut in the underside of the branch, about 6 inches from the tip.
- Bend the branch down to the ground and pin it with a U-shaped wire or a stone.
- Cover the branch with soil, leaving the tip exposed.
- Water the branch regularly, keeping the soil moist but not waterlogged.
- After a few weeks, the branch should start to develop roots.
- Cut the branch from the parent plant and transplant it to a new location.
Preparing for Propagation
Before propagating hydrangeas, gathering the necessary materials and preparing the soil is important. This will ensure the cuttings have the best chance of rooting and growing into healthy plants.
Gathering Materials
Here are the materials you will need:
- Pruning shears
- Clean container with drainage holes
- Well-draining soil or soilless mix
- Rooting hormone (optional)
- Plastic bag or clear plastic wrap
- Watering can or spray bottle
Preparing the Soil
The soil should be moist but not waterlogged. To prepare the soil:
- Fill the container with well-draining soil or soilless mix.
- Water the soil until it is thoroughly moistened.
- If using rooting hormone, dip the cut end of the hydrangea cutting into the hormone powder and gently tap off any excess.
- Make a hole in the soil with a pencil or finger.
- Insert the cutting into the hole and gently firm the soil around it.
- Water the cutting until the soil is damp but not waterlogged.
- Cover the container with a plastic bag or clear plastic wrap to create a mini greenhouse. This will help to maintain humidity around the cutting.
- Place the container in a bright location out of direct sunlight.
Following these steps, you can prepare the materials and soil needed for successful hydrangea propagation.
Propagating Hydrangea by Cuttings
Taking the Cuttings
Before taking cuttings from a hydrangea plant, choosing a healthy plant with no signs of disease or pest infestation is important. The best time to take cuttings is in the early morning or late afternoon when the plant is not under stress from the day’s heat.
Using a clean, sharp pair of pruning shears, cut a stem from the hydrangea plant that is at least 4 inches long and has no flowers. It is best to choose a stem that is new-growth and still green and fleshy, as opposed to the older, woody stems near the base of the plant.
Preparing the Cuttings
After taking the cutting, remove all but the topmost set of leaves from the stem. This will help reduce water loss and encourage the cutting to focus its energy on developing roots.
Next, dip the cut end of the stem in rooting hormone powder to help stimulate root growth. Finally, tap off any excess powder before planting the cutting.
Planting the Cuttings
To propagate a plant, fill a small pot or container with a well-draining potting mix like peat moss and perlite. Use a pencil or your finger to make a small hole in the soil and gently insert the cutting, burying at least two sets of leaf nodes below the soil’s surface.
To help a cutting grow successfully, it is important to water it thoroughly and cover the pot with a plastic bag. This will help to keep the moisture in and create a humid environment, which is ideal for growth. Ensure that the pot is placed in a spot with bright, indirect light, and keep the soil moist but not waterlogged.
In a few weeks, the cutting should start to develop roots and new leaves. It can be transplanted into a larger pot or directly into the garden once it has developed a strong root system and several sets of leaves.
Remember to be patient when propagating hydrangea by cuttings, as the cutting can take several months to develop into a mature plant fully. However, you can successfully propagate a beautiful new hydrangea plant in your garden with proper care and attention.
Propagating Hydrangea by Division
Hydrangeas can also be propagated by division. This method is best done in the spring or fall when the plant is dormant. Here are the steps:
Preparing the Plant
Before dividing the plant, make sure it is well-watered and healthy. Dig around the base of the plant to expose the roots. Gently shake off any excess soil to make it easier to see the root system.
Dividing the Plant
Cut the root ball into sections using a sharp knife or garden shears. Each section should have at least one stem and a healthy root system. Make sure each section has enough roots to support the plant.
Planting the Divisions
Plant each division in a hole that is twice as wide as the root ball. Ensure the top of the root ball is level with the soil surface. Water the plant thoroughly after planting.
Propagating hydrangea by division is a great way to create new plants from existing one. It is a simple and effective method that anyone can use with some gardening know-how.
Propagating Hydrangea by Layering
Hydrangea is a beautiful flowering shrub that can be propagated by layering. Layering is a simple and effective way to create new plants from existing ones. Here are the steps to propagate hydrangea by layering:
Preparing the Plant
Before layering, choose a healthy and vigorous stem from the mother plant. The stem should be flexible and have several sets of leaves. Remove any leaves from the bottom 6 inches of the stem. This will be the part of the stem that will be buried in the soil.
Layering the Plant
Dig a shallow hole where you want to layer the stem. Bury the stem in the hole, exposing the top 6 inches of the stem. Use a small stake to hold the stem in place if necessary. Cover the buried stem with soil and water well.
Alternatively, you can use a pot filled with potting soil to layer the stem. Bury the stem in the potting soil, leaving the top 6 inches of the stem exposed. Then, water the soil well and cover the pot with a plastic bag to create a humid environment.
Planting the Layered Plant
After a few weeks, the buried stem will start to develop roots. You can check for roots by gently tugging on the stem. If it resists, it has formed roots. Once the roots have developed, cut the stem from the mother plant and transplant the new plant to its permanent location. Water the plant well and keep it moist until it becomes established.
Propagation by layering is an easy and effective way to create new hydrangea plants. With a little patience and care, you can enjoy the beauty of hydrangea in your garden for years to come.
Caring for Newly Propagated Hydrangea
After successfully propagating your hydrangea, it is important to take proper care of it to ensure its growth and health. Here are some tips on how to care for newly propagated hydrangea:
Watering
Hydrangeas require consistent watering, especially when they are newly propagated. Water the plant deeply once a week, ensuring the soil is moist but not waterlogged. Avoid letting the soil dry out completely between watering, as this can cause stress to the plant.
Fertilizing
It is important to fertilize newly propagated hydrangeas to encourage healthy growth. Use a balanced, slow-release fertilizer once a month during the growing season. Avoid over-fertilizing, as this can cause damage to the plant.
Pruning
Taking care of hydrangeas includes the crucial task of pruning. It is recommended to prune newly propagated hydrangeas only after they have settled in their new environment. When the plant has established itself, prune it early in the spring or late in the winter before new growth starts. Eliminate any dead or damaged wood and give the plant the desired shape.
Transplanting
To transplant your newly propagated hydrangea, wait until the fall or early spring when the plant is dormant. Find a spot with good drainage and partial shade. Dig a hole twice the size of the plant’s root ball and put the plant in the hole, making sure the top of the root ball is level with the soil. Water the plant deeply and add mulch around the base to keep the soil moist.