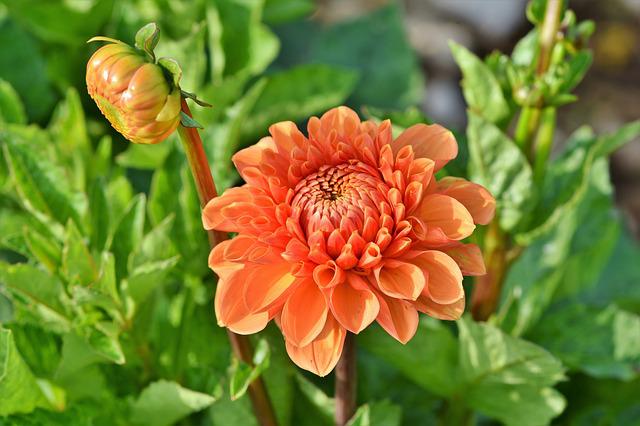
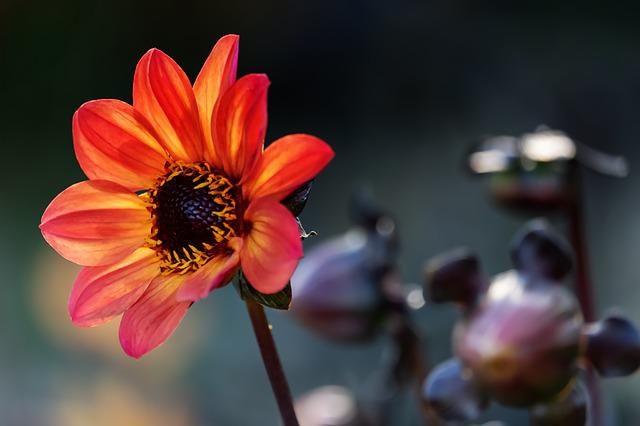
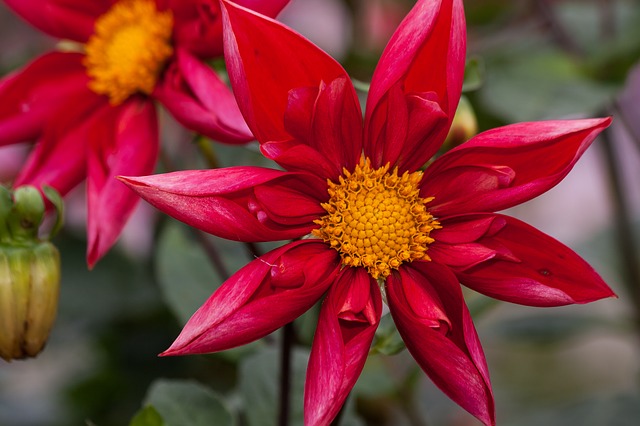
How To Propagate Dahlia? 3 Different Methods in Planting Dahlia
There are a few ways to propagate Dahlias through stem cuttings, seeds, and root division. The easiest way is by taking cuttings from mature plants with at least three leaves left. Dahlias are among the easiest plants to grow and can be enjoyed indoors or outdoors. In this article, we will teach you everything you need to know about propagating dahlia, from planting to caring for the plants. We’ll also discuss some of the different propagation methods available and offer tips on how to get the most out of your dahlias. So if you’re looking to expand your dahlia collection, read on!
Table of Contents
Propagating Through Stem Cuttings
We Need to “Wake Up” the Dahlia Tuber
In the same way, potatoes develop and multiply underground tubers. Dahlias also do so, though their tubers are starchier.
Dahlia tubers, when ordered or purchased, typically arrive single rather than in a large grouping of several tubers. Tubers are much simpler to pot up at the beginning of the growing season if the supplier has already divided them into individual tubers.
The tuber should be planted with the “neck” pointing upward into a small pot of moist, well-draining potting mix. The tuber’s “eyes,” or buds, are located at its narrow neck. The original root system remains visible at the tuber’s narrow neck end. If a tuber has more than one eye, it is not likely to be healthy.
Spread the tuber out in the container. Keep the neck protruding, so the eyes remain exposed and within easy reach.
Have Some Patience. The Right Amount of Moisture and Light Will Be Provided
After planting the tubers with their necks protruding, you should keep them in a bright, moderately warm area (between 50-60°F). After two weeks, a new shoot will emerge from the bud.
Keep these shoots in a sunny window to prevent them from becoming etiolated. Etiolation is characterized by the lanky, stretched appearance of young plants, also known as seedlings or shoots, and their typically pale coloration. The insufficient lighting is to blame for this. Without a bright south window, you may want to install some additional lighting.
Be sure to keep the potting soil moist but not soggy. To hasten the development of your seedlings, you can place the containers on a heat mat.
You shouldn’t take your first cutting until the shoots have at least two sets of leaves and are at least 2 to 3 inches in length.
Clean and Organize Your Workspace and Pots
When the cuttings are ready, you should have the appropriate containers or trays ready to receive them. Some options exist for accomplishing this.
First, thoroughly clean and disinfect any containers or trays you’ll be using. If your baby dahlias get infected with harmful microorganisms, they won’t grow up to be beautiful flowers.
Add loose potting mix or seed-starting mix to your cell tray or pot, preferably one that has been cleaned or sterilized. If you’re using a pot or tray, tamp down the mixture after filling it to remove any air pockets and ensure proper drainage.
Next, make holes in the potting soil with a dibble or a pencil where you intend to plant the cuttings. You are now at the appropriate cutting stage.
Use Sharp Cutting Tools
Pick out a spotless, razor-sharp knife for the job. Avoiding contact with any plant pathogens is important for the health of your cuttings and tubers. In the end, dahlia tubers can be quite pricey.
Take note of the node where the shoot joins the tuber. This shoot should be cut off cleanly at its base. While some gardening experts recommend removing a piece of the tuber for use later, others warn against it. When deciding, I usually go with a middle ground. Be sure to clean your knife after each use to prevent the spread of germs.
Remove the Dahlia’s Lower Leaves
In addition to their vital role in photosynthesis, shoot leaves are an integral part of the plant and require care from the plant itself. Therefore, they need a source of power.
When a plant lacks roots, we don’t want the majority of its energy to be used to grow its tips. Put down some roots, please! Therefore, we decided to temporarily prune the plant’s foliage to allow for increased root development.
Soak a Cutting in Rooting Hormone
Using rooting hormone is optional but will help your cuttings establish roots sooner so you can transplant your baby dahlias outside.
Rooting hormones are available in liquid or powder form. The powdered form is the most common and is commonly sold at garden centers. Using rooting hormone is common practice among propagators because it has been shown to hasten the onset of root development, reduce the time required for the production of sufficient roots, and in some cases, even increase the number of roots compared to when no rooting hormone was used.
Plant Your Cutting
You should now insert your cuttings into the potting mix holes you made earlier with the dibble. To prevent the soil from settling around the cutting and keep it securely in place, press the soil firmly around it.
Conditions of high humidity and bright light are crucial at this time. The cuttings should be kept moist but not soaked. You can achieve this by spraying the leaves and soil surface with water at regular intervals. Clippings should be kept in a humid environment between 65 and 72°F for two to four weeks.
The first 14 days are crucial for root development. Put the pots on a heat mat if you like.
Propagating Through Seeds
- Do not try this with a dahlia cultivar, as you can never be sure what will sprout from the seeds.
- If you own a real dahlia species or are feeling particularly bold, continue reading.
- Plant seeds in a starter pot or tray filled with seed starting potting mix or a mixture of soil and perlite or vermiculite.
- After the soil has been lightly dampened, make holes 1/2 deep and 1 in. apart.
- Plant the seeds carefully, then cover them with soil.
- Be sure to water the container daily and place it in indirect sunlight or a grow lamp.
- Two weeks is about right for seed germination; a seed mat will speed things up.
- When the seedlings reach 2 to 3 inches in height or when their leaves begin to touch, they should be transplanted to individual containers.
- If planting in a garden, the seedlings should be acclimatized to the outdoors by being brought there for increasing amounts of time over a week or so.
- To promote fuller, bushier growth, pinch the central growth bud on taller plants when they are 12 to 18 inches tall.
Propagating Through Root Division
- Root division is an excellent springtime cloning method, especially for those who must bring their dahlias inside for the winter or who have container specimens.
- Before you plant your dahlia or when you repot it, inspect the root ball.
- As the mother tuber’s yield declines after the first year, many farmers find it more convenient to remove and dispose of it.
- Look for tubers with thin necks or other signs of damage or disease as you rummage through the roots.
- To remove them, use clean, sharp shears.
- It’s time to divide them up and give them their spaces to flourish.