
Growing Chrysanthemums Outdoors: The Basics You Need To Know
Looking to add some visual interest to your garden or flower bed? Check out chrysanthemums! These beautiful flowers are easy to grow, require little maintenance, and can provide years of enjoyment. This article will provide the basics you need to know if you’re considering growing chrysanthemums outdoors. We’ll also discuss some of the benefits of growing chrysanthemums in a garden or flower bed and answer some common questions. Ready to get started? Let’s get started!
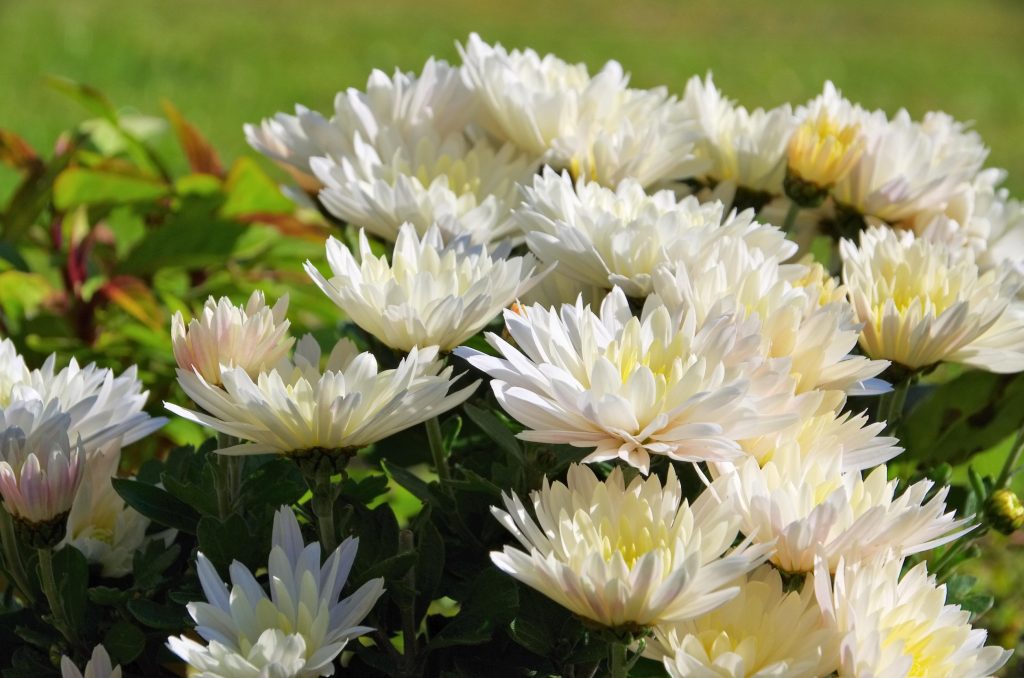
Chrysanthemums are generally best known as cut flowers, but in addition to their use as cut flowers, they make for striking and adaptable garden plants. When many other plants have passed their prime in late summer and autumn, they continue to provide a splash of color in beds and containers.
They come in a wide variety of forms, but for the sake of this article, we will concentrate on “early” or “hardy” garden varieties. These may be found almost anywhere, are not difficult to cultivate, and produce abundant flowers outdoors in the late summer and fall. Even though they are typically regarded as sturdy, protecting them from the cold is still in their best interest. Chrysanthemums are perennials, meaning they rest throughout the winter and begin growing again in spring.
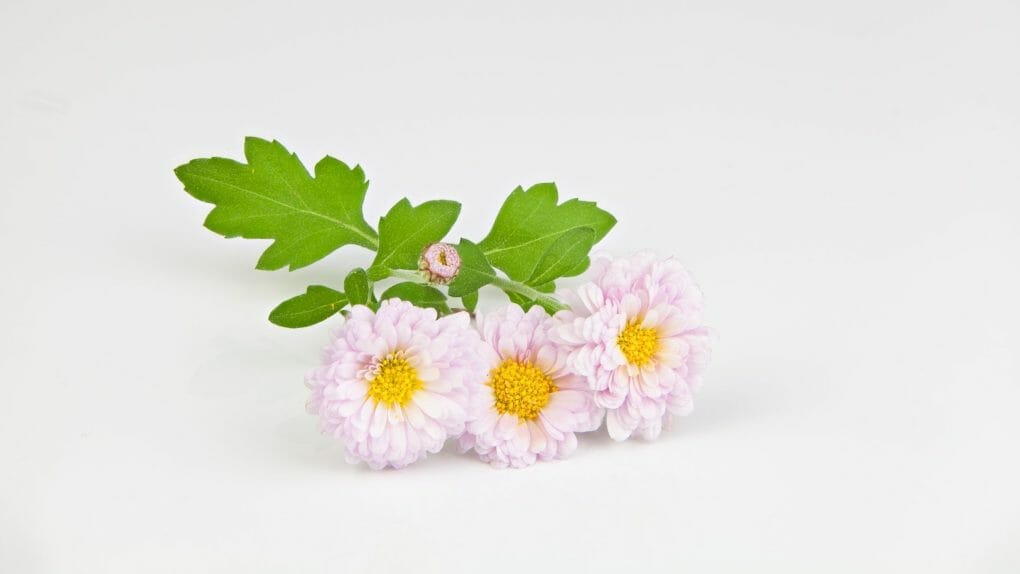
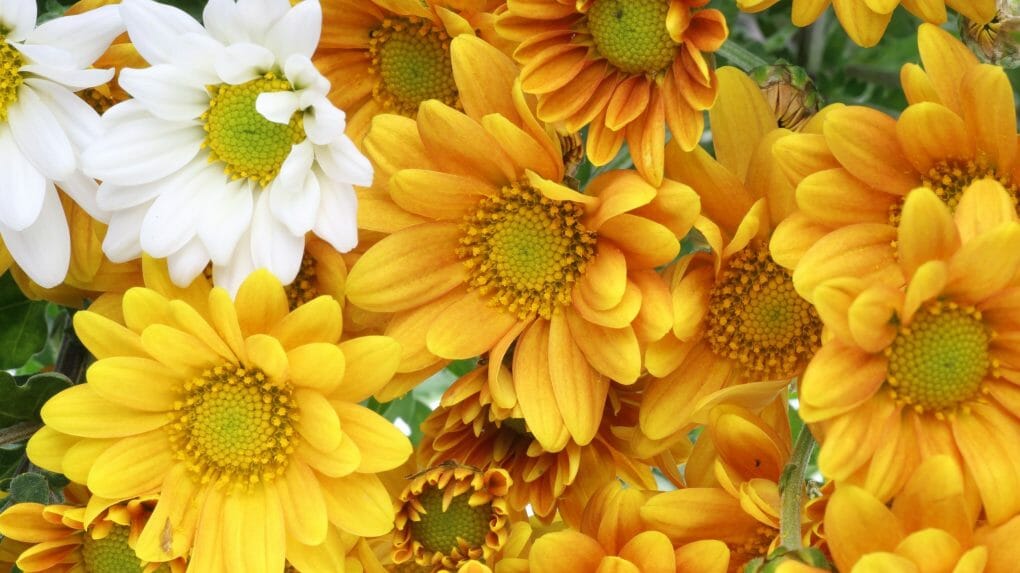
The blooms can be found in a wide variety of forms, sizes, and hues. They can be either single or double daisies, and their colors range from deep, flaming tones to light, bright, or pastel tones. Chrysanthemums known as ‘Spray’ produce many flowers arranged in dense clusters, giving the plant its name.
Table of Contents
Planting Guide
By Cutting
- Use the strong new shoots in the spring to make softwood cuttings from the base. These roots grow quickly and reliably to make plants that will bloom in late summer:
- Take off a few 5–7.5cm (2–3in)-long shoots from the outside of a clump. Use a sharp knife to cut right at the base, as close to the crown as possible.
- Take off the bottom leaves and put the cuttings in a half-peat-free multipurpose pot.
- Ensure the soil is always damp but not soggy to help roots grow.
- In about three weeks, they should grow roots. As they grow, move them to bigger pots.
- In about two months, they should be ready to plant out. Wait until after the last frost, carefully toughen them up, and keep slugs and snails away.
- Plants put away for the winter can be made to grow earlier than usual, so they can send up shoots before plants grow outside. These can give cuttings a head start of several months:
- Bring plants out of storage in early January and put them in a greenhouse at 7–10°C (45–50°F).
- Water them until the soil is completely wet, then keep it just damp.
- By the middle of February, you should have big enough shoots to use as cuttings. Follow the steps shown above.
By Division
- Like many other perennials, chrysanthemums benefit from division every three to four years. Your mums can start to develop thin cores and strange shapes. The plant’s outer roots may grow older and more woody compared to the central roots, which may remain younger and healthier. It might only be necessary to divide your moms if you find that they aren’t growing round and full anymore. The optimum time to divide your mums is in the spring. Break the plant into tiny pieces after gently removing it from the ground. The plant’s woody heart can be thrown away because it won’t produce as well as the younger, surrounding regions. Replant in organically rich garden soil.
By Seed
- A few varieties can be bought as packets of seeds. Plant seeds in the spring when the temperature is 15°C (59°F). They should sprout in two weeks, and the plants that grow from them should bloom the same year.
The Best Time To Plant
If you’ve kept your plants in a cool, frost-free location all winter, you can finally put them outside again after the last frost has passed in the spring, usually between the middle of May and the beginning of June.
Root cuttings, stem cuttings, leaf cuttings, and bud cuttings are all plant parts that can propagate new plants. Roots can grow, and the plants can become self-sustaining if properly prepared and planted. Depending on the plant and the season, there is a wide variety of options for taking cuttings.
When the roots of a cutting are established, and it has begun to develop strongly, it can be transplanted to an outside location. Wait till after the last frost, after you’ve hardened them off to the outdoors for a few weeks.
Plants purchased in the summer can be planted directly into flowerbeds and planters. If purchased in the late summer, they will be at their peak bloom and ready to provide color to any room.
Plant Spacing
It’s easy to get carried away and crowd your mums in a row. Tinier spring mums don’t appear as effectively covering the ground. Keep in mind that a well-planted mum can grow as tall as 3 feet and as wide as 1 foot by fall. Mums, like many perennials, tend to grow in size from year to year. Mums need plenty of room to grow, so don’t worry if your flower garden seems sparse when you initially plant them. Too many plants in one space can cause problems with the soil, the root system, pests, and disease. Carefully adhering to the plant spacing recommendations for your specific chrysanthemum type will ensure the best possible results from your gardening efforts and help preserve your hard-earned money.
Landscape Gardens
Chrysanthemums go well with various garden designs, whether formal or casual, classic or modern. Bright-flowered varieties are best for use in exotic plantings, while pastel hues mix nicely in cottage garden borders and warm, burnished tones go well with decorative grasses.
Growing Conditions
Sunlight
Chrysanthemums do best in bright, direct sunlight. If they are grown outdoors in the summertime, provide a light layer of mulch so that the roots don’t heat up too much and burn. To develop, blossom, and be hardy, they need only 6 hours of sunlight per day, but the more they get, the better. Mild afternoon shade is recommended in warmer gardening zones to protect mums from scorching. Mums bloom at specific times of the day based on the light cycle. When the plant detects a shift in the duration of darkness in late summer, it begins to set buds. Mums’ flowering schedules can be influenced by proximity to artificial lighting sources like porches and security lights.
Watering
Chrysanthemums in borders or pots that have just been planted need to be watered often as they grow. Don’t let the soil or compost get all the way dry. But don’t give them too much water, either, because they don’t like being soggy.
It is important to water plants regularly in the spring, summer, and fall. Once the ground is frozen, you can stop watering until the soil warms up in the spring. It is best to water early in the morning to a depth of 6 to 8 inches. The best way to water mums is by putting water directly at the base of the plants. This keeps water from getting stuck in the dense foliage. Soaker hoses can water the ground evenly and consistently, and a water timer will keep you from remembering to water by hand.
Soil
Even though chrysanthemums will grow in various soil types, they do best in consistently moist, well-drained soil. Soil that is too hard or too dry hinders the establishment of mums’ roots, while soil that is too damp drowns them. The key is to find a compromise. Planting chrysanthemums is similar to planting any other perennial flower. Dig down 8 to 12 inches to uncover prime planting ground for your mums. Adding 2–4 inches of organic material like compost or peat moss. The soil might have the ideal texture if you take a handful and squeeze it. Soil shouldn’t clump or immediately separate when your hand is opened. Ideally, it would just fall apart.
Fertilizer
The need for nutrients is universal throughout plant species. Mums benefit greatly from fertilization since it gives them the nutrient boost they need to flourish. Different chrysanthemum flowers bloom and expand most rapidly in the spring and early summer. Chrysanthemums need a lot of food when they’re growing. Choose a balanced, water-soluble fertilizer and apply it once a month from early spring to late July to encourage your mums to grow bigger and produce more blooms. Put off fertilizing fall mums until the following spring. Chrysanthemums’ ability to withstand harsh winters can be compromised by fertilizing in the fall.
You can also apply a general fertilizer like Growmore or blood, fish, and bone at the end of April to stimulate growth. A nitrogen-rich feed can be applied in June to promote luxuriant development further. You can use sulfate of ammonia or dried poultry manure pellets, but follow the package’s directions if you’re an organic gardener.
To get the most out of the blossoms, feed them a high-potassium diet with tomato fertilizer or something similar once a week.
Temperature and Humidity
Mums prefer mild weather. Heat stresses plants. Plants can die without mulch in chilly places with a harsh winter freeze. They love some humidity, but extreme humidity requires efficient air circulation to prevent rot or illness.
Autumn mum’s roots and crowns need particular protection in chilly areas. Leave plant leaves until April. After frost, don’t prune them back. Then, mulch the plants with 4 to 6 inches of mulch or transfer them to a protected area in the garden for the winter. Before the first harsh freeze, transfer the plants.
Consider heat delay in warmer climates. High temperatures, especially at night, might delay flowering. Heat delay can cause malformed flower buds, unpredictable blossoming, and other developmental difficulties. In hotter areas, use heat-tolerant varieties.
Extra Care Tips
Pinching
Mums must be frequently pinched or clipped to keep their compact shape. Many new cultivar breeders assert that pinching is not necessary. Still, in my opinion, this traditional technique results in bushier plants with more blossoms, especially after their first year of growth.
Pinch or prune all stems more by an inch when the new side branches reach a height of 6 inches. For varieties that flower early, keep pinching until mid-June. For those that flower in September and October, keep pinching until mid-July. The result will be bushier plants with more blooms. Just use your thumb and first finger to snip off the tip of the shoot, or use the tip of your secateurs to cut it off just above a pair of leaves.
Also, pinch or trim the top inch of each stem in late winter once the new growth has grown to a height of 6 to 8 inches. This will result in new side branches.
Increasing Winter Hardiness
A stable soil temperature is key to making it through the winter. When it freezes and thaws, it hurts the roots and confuses the plant. Adding a thick layer of mulch, up to 4 inches, can help keep the soil at the same temperature all winter. Spread mulch under your mums when the soil starts to harden and the temperature drops into the 20s. Using a loose mulch, like straw, helps prevent compaction and increases the insulation of the ground.