
Can Zinnias Be Transplanted? | 11 Steps To Transplant Zinnias That Will Get You Amazing Plants in Your Garden
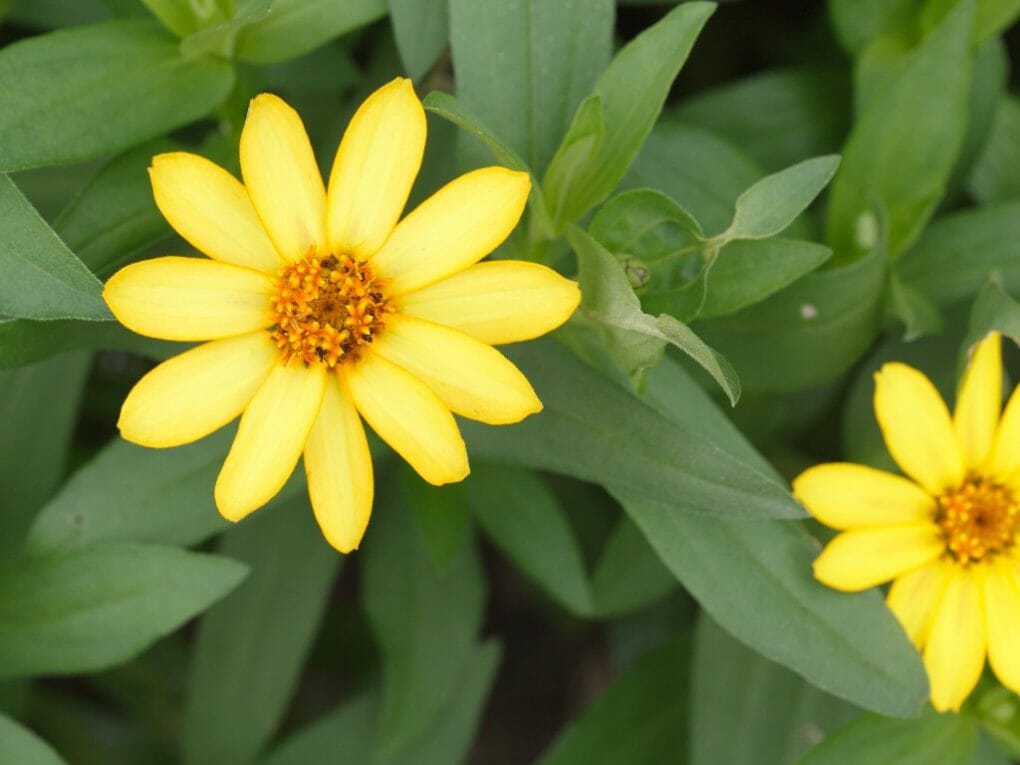
Yes, Zinnias can be transplanted. However, it is important to follow the right procedures to ensure success. First, you will need to find a location suitable for zinnia growing and transplanting. Secondly, prepare the ground before planting by installing organic matter and preparing the soil properly with compost or manure. Finally, ensure that you choose healthy zinnia plants that are well-rooted and have long stems so they don’t get damaged during transplantation. Zinnias are a type of flower used in various arrangements or as part of a bouquet. They come in many colors, including pink, purple, and white, and their blooms tend to last for several weeks. Zinnias are easy to grow from seed and thrive in soil or water. Read further to know more steps in transplanting zinnias.
Table of Contents
11 Steps to Transplant Zinnias
1. Select a Good Location
Selecting a great location is the first step in moving zinnia seedlings from their container to the ground. To maximize flower production, plant your zinnias where they will receive direct sunlight.
Give your zinnias room to flourish. Only 8 to 10 inches of space is required for my dwarf zinnias to bloom. Give larger zinnias about 30 inches of space between them, as they can reach heights of 3-8 feet. Weeds can be kept at bay by planting zinnias in dense clusters, supporting one another.
Zinnias do best when planted in different locations each growing season. Plant your zinnia seedlings in a different location than last year to prevent any lingering plant diseases or fungi from one year to the next.
2. Getting the Soil Ready
Preparing the soil with high-quality organic matter is the next step after germinating zinnia seeds. Compost with some cow manure and see if that helps. Flowers’ development is not stunted by my preferred mild fertilizers and soil conditioner, which include aged cow manure and compost.
You should avoid using nitrogen-based fertilizer on your flowers because it can stunt their development. After a plant has been growing for about a week, you can fertilize it with a low-nitrogen, high-phosphorus, and high-potassium formula designed to encourage flowering and fruiting.
3. Dig a Hole
Before planting your zinnia seedling, make a hole in the soil 1 inch wider than the root ball. I have two zinnias in a pot that I intend to plant side by side. It’s important to dig the hole to the exact depth of the soil’s top in the pot.
After working through organic matter, the soil should be light and easy to dig.
4. Take the Plant Out of the Container
To free the plant from its container, squeeze the rim gently. By doing so, you can carefully free the plant from its container. If you gently invert the pot, you can catch the plant in your hand. Make sure the plant’s roots aren’t too tight and gently work them out if they are.
5. Set the Plant in the Soil Carefully
Be sure the soil is at the correct depth after placing the plant in the hole. The pot’s soil should be at the same level as the surrounding soil.
6. Fill in the Hole with the Enriched Soil After it Has Been Backfilled
After the soil around the plant has been amended, it can be used to fill the space where it once stood. Using a spade or your hands, carefully push the soil into the hole. You should use gloves if you don’t want your hands dirty while gardening.
Carefully compact the soil around the plant’s roots. You shouldn’t squeeze it too hard, or all the air will escape. Rather, snug the soil around the plant until it’s level with the surrounding ground.
7. Spread Mulch All Around the Edges
Mulch should be used around flowering zinnias to prevent weeds from competing with them. You can also cut down on your watering needs during the summer by using mulch to keep the soil moist.
Mulch your zinnias with a depth of 3 to 4 inches. Bark mulch is my go-to, but other options include straw, hay, and sugar cane that has been mulched. Straw mulch might need to be replenished every two to three months, whereas bark mulch will last for about six months.
Zinnias greatly benefit from mulch because it prevents water from splashing onto the leaves, which would otherwise encourage the growth of harmful fungi. Fungal growth on zinnia leaves is common in areas that receive a lot of rain during the summer or where the plants are watered directly on the leaves.
8. Water Well
Be sure to give your zinnias a good soaking after you’ve mulched and replanted them. First-time waterings should be done thoroughly, so use a sprayer nozzle on your hose. Following this, it is best to give them a light, localized soaking at the base of their stems.
The spread of disease and fungus can be kept to a minimum by preventing water from getting on the leaves. If you must water while the leaves are still wet, do so first thing in the morning.
Once a zinnia plant is established, it can withstand dry conditions well. Some dryness between waterings is preferred. They need watering if the soil is dry two inches below the surface, so if you’re unsure, check it.
9. Eliminate Spent Blossoms
Deadheading zinnias regularly will keep them in good bloom. This can be done immediately after the seedling has been transplanted, or it can be delayed for a few days. If you deadhead zinnias regularly during the spring and summer, they will continue to bloom throughout the season.
10. Fertilize Zinnias After Planting
They will continue to bloom if you provide the proper nutrients for your zinnias. About 4 weeks after planting, zinnias benefit from a bloom and fruit fertilizer. Amend your soil with compost and cow manure to grow them successfully throughout the summer.
Zinnias will benefit from adding a handful of pelleted chicken manure to your soil if it is particularly poor.
11. Rotate Your Zinnia Position the Next Year
Pick a new spot far from where last year’s zinnias grew when it comes time to plant them again. There’s no need to fret if your zinnias keep coming back from seed. It’s wonderful to reap the benefits of self-sustaining plant life without investing a dime.