
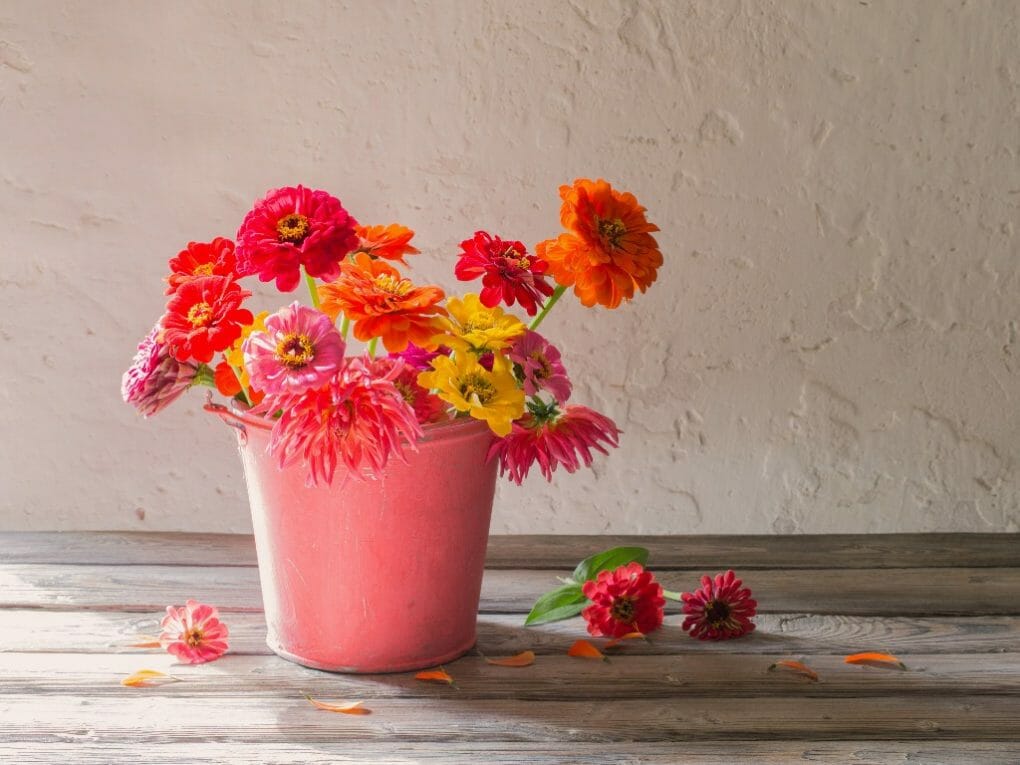
Growing Zinnias in Pots: A Complete Guide for Beginners

Zinnias are a popular choice for gardeners who want easy care. These plants come in various colors and shapes, and their blooms can last for weeks. Growing zinnias in pots is an easy way to take advantage of their flowers without worrying about the maintenance required by full-grown plants. You’ll need several things before starting your potting journey with Zinnias.
Table of Contents
Tips for Growing Zinnias in Pots
Choose the Right Pot
Choose the right pot size. Zinnias prefer shallow soil and compacted roots, so choose a pot about two-thirds the diameter of your plant’s root ball. Ensure the drainage holes are large enough so water won’t pool inside the pot and cause root disease.
Zinnias can be grown in virtually any container, such as a window box, a hanging basket, plastic or clay pots, or wooden half-barrels. However, using a container with at least one drainage hole is important to reduce the risk of fungus growth in the soil. Before using an old container again, disinfect it by soaking it for ten minutes in a solution consisting of one part bleach to nine parts water, then cleaning it with water that contains a little dish detergent and rinsing it thoroughly. This will kill any disease-causing organisms or pests in the container.
Zinnias are available in a wide range of heights, from dwarf cultivars that only reach a height of 6 inches to varieties that can reach up to 3 feet. One or more of these can be grown successfully in a container. Since they all spread to approximately one or one and a half feet, set one zinnia in a pot that is six inches in diameter, three plants in a pot that is ten inches in diameter, and up to five zinnias in a pot that is fourteen inches in diameter.
Soil
You can plant zinnias in any potting mix that is available for purchase, or you can make your own. For instance, to fill two 14-inch containers with potting soil, mix two and a half gallons of peat moss, two and a half gallons of perlite, 1 1/4 gallons of compost, 2 cups of fine sand, and 1/2 cup of ground limestone. Do not use garden soil because it may contain organisms that cause disease or pests, and you should avoid using it.
Choosing What to Plant
Choose zinnia bulbs at least one inch larger than the pot they’re going into so they have room to grow. Ensure the roots spread out enough so there is plenty of space above and below the bulb when planted deep into the soil. Plant each bulb shallowly using a spade or fork – make sure not to bury them too deeply!
Sunlight
Zinnias thrive when given an abundance of sunlight, so it is best to plant them in a location exposed to the sun for at least six hours each day. You can ensure that your zinnias receive the optimal amount of light by positioning them close to a window or patio door.
Watering
Zinnias need a lot of water to flower. These plants require high humidity levels to survive.
You don’t want to stifle your plant’s growth by drowning it. Determining the optimal water supply for sustainable soil health is difficult.
Approximately every five to seven days, zinnias need an inch of water. It could be more or less, depending on the weather conditions.
Before watering, check the soil’s condition. It’s suggested that a constant 6-inch layer of soil moisture be maintained. Important for the development of young plants. Plants like zinnias do better in dry soil once they have become well-established. However, for optimal development, moist soil is essential. When watering the plant, direct the water stream down into the soil.
Fertilizer
They only require a small amount of fertilizer to be applied. Many blossoms are produced early on, and their rate of development is relatively rapid compared to that of other flowering plants. There may be negative outcomes from using too much fertilizer.
Kevin from Gardening Mentor recommends using a 5-10-5 fertilizer formula. The amounts of nitrogen, potassium, and phosphorus in the item are displayed here. Zinnias do well with a 5-10-5 formula due to the relatively low nitrogen and potassium levels.
In addition to nitrogen and potassium, phosphorus will promote your plant’s growth. Phosphorus is vital in photosynthesis, the conversion of food into energy for plants.
The fertilizer’s effectiveness can be reduced by half if you dilute it with water. Reduce the recommended amount by half, or drink four times as much water. Full-strength fertilizer will cause excessive growth in your plants.
It is best to apply the diluted fertilizer when the plant is young. You should start giving your zinnia seedling food when it is about 4 inches tall. The plant needs a lot of extra nutrients right now.
The zinnias can be fertilized again in the middle of summer. If you do this, the plant will get a new lease on life and can keep producing food indefinitely. The fertilizer’s effectiveness can be reduced by half if you dilute it with water. Reduce the recommended amount by half, or drink four times as much water. Over-fertilization occurs when more nutrients are added to the soil than the plant can use.
Put the watered-down fertilizer on the plant while it’s still young. Your zinnia seedling should be no more than four inches tall before you begin feeding it. The plant needs a lot of nutrients at this point.
Zinnias can be fertilized again in the middle of summer. Because of this, the plant will receive new life and be able to keep producing food. For the sake of convenience, use an only water-soluble fertilizer. The solution can be used to water your plant instead of having to do so manually.
Planting Zinnias in Pots
The process of planting zinnias is not at all difficult. Unlike many other ornamental flower plants, zinnias are easy to grow from seed. After flowering, these plants will produce seeds, allowing you to carry on with the process the following year.
First things first: get your soil and containers ready. In addition to this, it is a smart move to prepare a warm location inside the house for the seeds to germinate. During the germination phase, temperatures ought to be in the range of 80-85°F (27-29°C). Because this is somewhat higher than the plant’s specific growing preferences, you should use a heating pad or grow light to maintain a warm soil temperature.
Directly in the containers that will become your plants, plant your seeds. Spread a few seeds out across the surface of the soil. After that, cover them with a layer of soil approximately half an inch thick. Spray some water on them, then put them in a warm spot and wait for them to work.
You should start seeing the seedlings emerge from the soil in about a week. As the seedlings get more extensive, you should continue to water the soil to stay moist.
After they have reached a height of about three inches, thin them out. Pick out just one seedling to grow and cultivate. It ought to be the seedling that appears in the best possible health and has the most robust physical appearance. Remove the remaining seedlings from the container to have a suitable number of plants.
Grow the zinnia plant indoors for another four to five weeks until you bring it outside. When those conditions are met, the temperatures should be suitable for growing things outside. Before relocating the plants to their new home, allow them to acclimate to their temporary surroundings for at least a week.
If you want to start your plants from seedlings instead of seeds, you should plant them outside as soon as possible after the weather has stabilized. Transplant the young zinnia carefully from the nursery pot into the pot you will use.
Maintain vigilance about the plant. Zinnias have a well-deserved reputation for being difficult to care for after being transplanted. Make it a point to give the plant plenty of water to give it the best possible chance of overcoming any challenges posed by the transplant.