
Growing Anemones in Pots | The Beginners Guide to Having Them at Home
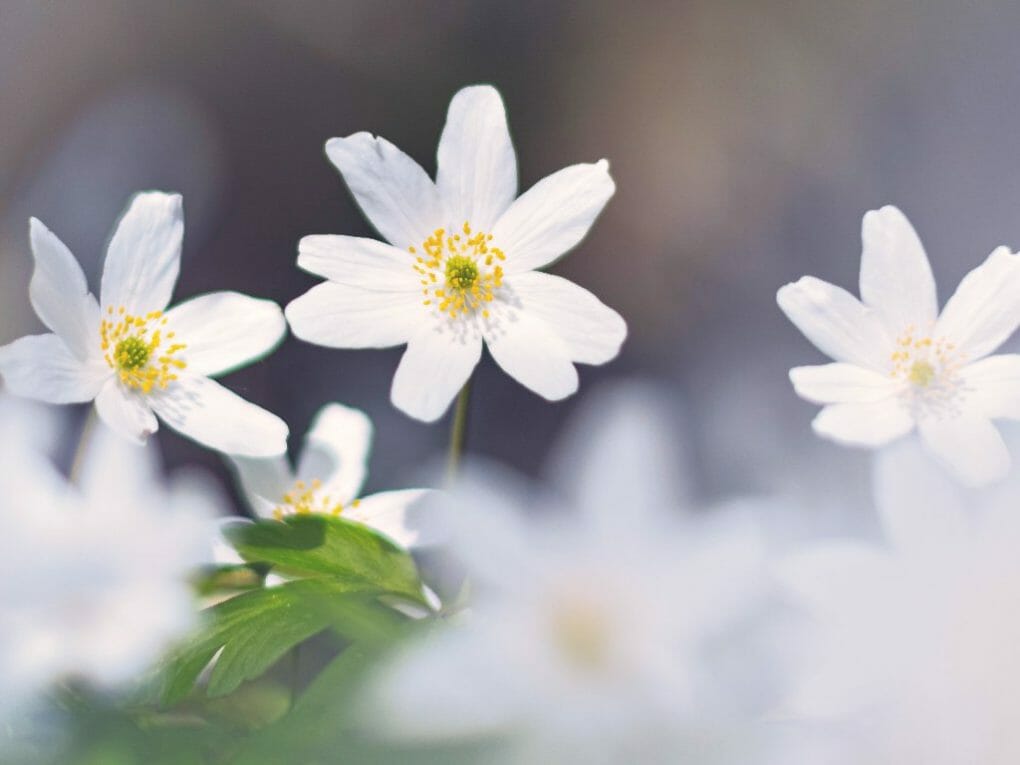
Can you grow anemones in pots? Of course, you can! Growing anemones in containers are possible, although both Anemone nemorosa and Anemone blanda thrive when planted in the ground. Anemones are an exciting plant known for their ability to grow in various conditions, including in pots. This guide will show you how to grow anemones in pots, including tips on watering, feeding, and keeping them healthy. By following these steps, you’ll be able to enjoy these beautiful plants in your home without any trouble at all!
Table of Contents
Planting Anemones in Pots
Before Planting
Choose the Right Type
When you grow anemones, it’s important to know that there are different kinds that you can plant at different times. You can start them in the fall or at the end of winter, or beginning of spring. Corms planted in the spring don’t grow as well as those planted in the fall, but the harvest is still beautiful. If you live where it doesn’t get too cold in the winter, you can plant them in the fall and let them stay outside all winter if you give them a little protection. But more on how to take care of them later. For now, all you have to do is ask the nursery if the bulb you want to buy will work for what you want to do with it.
Pick the Right Soil
When growing anemones, choosing a spot with soil that drains well is important. If there are still puddles of water 5–6 hours after it rained, it’s best to choose a different spot. You can also change the soil by mixing in some organic matter. This brings the level up 2–3″ and helps improve drainage even more. You can use peat moss garden tips, ground bark, compost, or broken-down manure. All of these things are easy to find.
Make Sure There Is Enough Sunlight
Generally, anemones require anywhere from 12 to 6 hours and a half hours of sunlight daily. If you reside in a warmer region, another option is to provide them with some light shade. For example, the De Caen and St. Brigid kinds can grow in full sun and shade. However, if you reside in a cooler zone, keeping them in full sun is recommended. Similarly, Anemone sylvestris, Anemone x hybrida, and Anemone canadensis can all flourish in either full sun or partial shade.
Choose a Right Container
It is essential to pick the appropriate container for planting your anemones indoors if you decide to do so. You can use practically any potting medium you find on the market, regardless of whether you plant your seeds in a pot, a barrel, a tub, or an urn. Checking to see if the container you’re using to grow anemones has sufficient drainage holes is the most critical thing to do when using pots. Remember that anemones should never be allowed to sit in soil saturated with water because doing so will cause them to decay.
After that, you must fill your pots with good soil and water them thoroughly. Anemones can be grown in containers under nearly identical conditions to those under which they are grown in soil. This is the only significant difference.
Soak the Bulbs
When you take the anemone corms out of their packaging, you will notice that they don’t look too good. Most of the time, they look like brown acorns that have been dried out, which is not what some gardeners expect. But there’s no need to worry because the little animals will make many flowers in your garden or home. It’s important to soak the corms before you plant them. Put them in tepid water for two to three hours or even overnight. You should only let a little water run during the process to give them more oxygen. As the corms soak up water, they will start to get bigger and bigger until they even double in size. This step wakes them up so they can put down strong roots in their first fall.
Presprout the Corms
This step is optional, as you can plant the anemones directly into the ground after soaking them. However, the plants will be jump-started if you choose to do so. Thus, you can appreciate their flowers a few weeks earlier than if you did nothing. You must fill a seed tray with a flat bottom with moist potting soil to accomplish this. After you have soaked the corms, scatter them over the soil. Cover the seeds with additional soil until they are all buried.
Allow the tray to rest in a cool location for 10 to 14 days. Ensure that no rodents can access the tray. Check on it every few days to ensure the soil is moist. Nevertheless, it should not be soggy. Remember to remove any moldy or rotting parts. During this stage, the corms will increase in size two-fold and produce rootlets. When the roots are 1/8 to 1/2 inch long, they are ready to be planted. Their length can be determined by tugging them up.
During Planting
Create Holes
First, loosen the soil or add the coarse growing mix to the container. You should generally space the corms 5 to 6 inches apart and establish five rows per raised bed.
Establish the Anemones
Some other bulbs have a certain form that indicates how they should be planted. In contrast, anemones have an uneven and lumpy form. You can arrange the corms in any direction, and as they grow, they will make their way to the sun. Keep in mind that they must be placed 2 to 3 inches deep.
After Planting
Thoroughly Water
Immediately after planting the corms, you should thoroughly water the containers (or the soil outdoors). Soak the dirt around the bulbs until it settles. In the autumn, you will observe the formation of roots. In a warmer region, you may also observe foliage development during autumn. Typically, anemones produce buds and blooms in the spring. However, this is dependent on the initial variety chosen for cultivation.
Indoor Care Tips for Potted Anemones
Now that you understand the fundamentals of anemone cultivation, it is time to learn how to care for them. About three months after planting, the blooms will begin to bloom. Generally speaking, these plants demand minimal upkeep.
Watering
Anemones need an ample amount of water to thrive. Keep the soil moist but not wet. We recommend using an automatic watering system or planting a drainage mat in the pot to help drainage and keep your plants healthy.
Anemone nemorosa and Anemone blanda didn’t need additional watering after planting unless they were kept in containers.
Overwatering is more of a problem than underwatering when it comes to Anemone coronaria. So make sure to give it enough water when planting in containers and only a moderate amount in the first stages of growth. During their dormant phase, anemones need to be kept dry.
The ones you planted in the fall will blossom in early spring for approximately 8 to 10 weeks. Late-winter-planted anemones will bloom by mid-spring and continue for around six weeks. Throughout this phase, you should only water them if you observe that the soil is dry. However, the rainfall may be sufficient if you live in a rainy region. During periods of active development, they require approximately 1″ of water per week.
Fertilizing
We do not recommend fertilizing anemones in pots as they quickly deplete any nutrient you provide them. To feed your anemone flowers or foliage products, dilute them before adding them to the potting soil mix.
If you are growing Anemone nemorosa or Anemone blanda in containers, feed them a liquid fertilizer. When the anemone coronaria is in bloom, it can be fed a liquid diet, just like the fluid ocean growth.
Staking
Staking wood anemones or Anemone blanda is unnecessary. Anemone coronaria grows to a modestly greater height, and twiggy support can be used if necessary.
Deadheading
Do not prune the foliage once flowering has ended. The remaining leaves have a crucial function: they absorb sunlight and produce nourishment. This strengthens the bulbs in preparation for future blooming. At the end of summer, the leaves will turn yellow and die back. This is the time when the plant returns to its condition of dormancy. Only now can the foliage be removed and the anemones allowed to rest. They will remain in this state for a few months until the subsequent growth cycle begins.
Anemone blanda and wood anemones don’t need their spent flower heads removed. Plants that haven’t been picked can have their foliage trimmed. By cutting down the plant, you can encourage the growth of fresh blossoms.
Lifting and Relocating
In the spring, once the flowers of Anemone nemorosa and Anemone blanda have faded, you can uproot a cluster and transplant it to a new location in the nursery.
After flowering, Anemone coronaria can be cut and dried for later use. Anemone coronaria should be dug out and dried at regular intervals before replanting. Water the corms thoroughly before planting.
Overwintering
When growing Anemone coronaria in containers, after blooming, you should let the plants dry up and fall dormant for a while before reviving them into active growth.
Whether you plant outside or grow anemones indoors, preserving your blooms from the harsh winter weather is essential. Cover the anemones with frost cloth when the temperature falls below the freezing point. One layer should do, but if you wish to err on the side of caution, try two.