
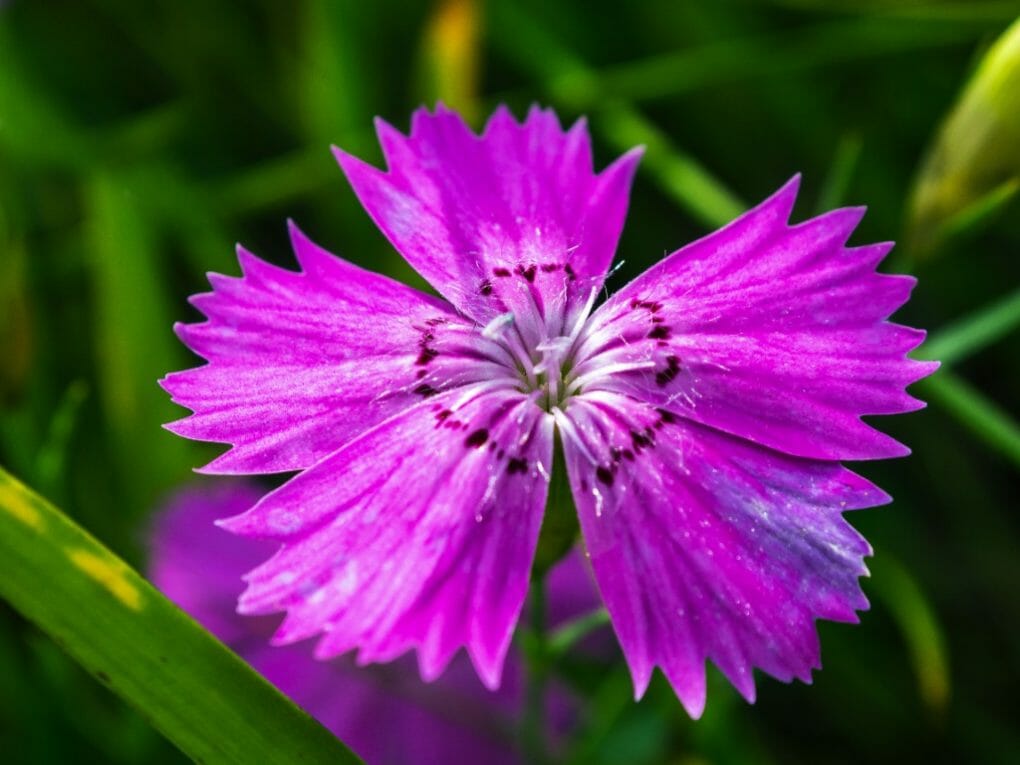
How to Preserve Carnations? Drying and Preserving Flowers
Drying flowers is a common method for preserving them, especially among those who want their bouquets to have a more nostalgic and homey appearance. This process of drying flowers can be done in several ways, depending on the type and size of flower. Many people hang dry carnations or place them in an oven set to low heat. Smaller flowers such as violets may be dried by placing them in a scarf or tie-dye bag and leaving them out for several days to weeks, while larger carnation varieties require more attention and could be dried using the microwave. You may need clarification about how to dry flowers or where to begin! Whether you decide to dry your flowers or use some other method to preserve them, the result will be the same: you will have an exquisitely unique representation of a significant moment in your life. Check out the various methods of drying and preserving your flowers that we’ve outlined in the step-by-step guides that follow below.
Table of Contents
Drying Flowers
Drying flowers is a common method for preserving them, particularly among people who are going for a more nostalgic and homey appearance for their bouquets. Dried flowers can be used as ornamentation to add texture to a living space, as a conversation-starting centerpiece for a dining table, or as a tangible reminder of an important memory.
- Before you get started, here are some expert pointers to keep in mind so that the drying process goes as smoothly as it possibly can and so that you know your flowers are up to the challenge:
- Bouquets, hardy flowers like roses, and small, long-lasting varieties like lavender, benefit the most from the air-drying method.
- Flowers, such as individual gerbera daisies, chrysanthemums, roses, and tulips, can maintain their color and structure exceptionally well when dried using microwave drying.
- Use alternative preservation methods such as pressing or framing for more delicate flowers such as lilies.
- If you wait too long to dry your flowers, the fully mature blooms will likely lose their petals during the drying process. This can be avoided by drying the flowers as soon as possible.
Now that you are familiar with the fundamentals of drying flowers with the air let’s get started with various options available, including air drying and drying in the microwave. Remember that dried flowers will quickly lose their color when exposed to direct sunlight or extremely high temperatures; therefore, it is important to store your flowers in cool areas away from windows.
Air Drying Flowers
Drying your flowers in the air is one of the most time-honored methods, even though it takes the most time. You will be able to kick back, relax, and wait for the result if you choose this method, which entails letting nature do the majority of the work to dry out your flowers over time.
This method works particularly well for larger flowers and floral arrangements, such as bouquets, and for larger flowers, such as sunflowers.
When drying flowers using air, the following steps need to be taken:
- Flowers should remove any excess foliage, and their stems should be cut to the desired length (no shorter than six inches). When drying the flowers, it is important to ensure they are not exposed to direct sunlight for as long as possible after being harvested. This will ensure that the flowers’ vibrant colors are maintained.
- You can either hang the flowers by their stems or use rubber bands to create a bouquet.
- Find a place that is dim, dry, and has good air circulation; for example, an attic or a closet that isn’t being used. You can dry the flowers more quickly if you hang them upside down from a hanger and secure the bottom of the stems of the flowers with unflavored dental floss.
- Keep the flowers out of direct sunlight for two to three weeks or until they are completely dry.
- Take the flowers off the hangers and protect them with hairspray that does not have a scent.
The Microwave: An Easy Method for Drying Flowers

The good news is that you can have beautiful dried flowers by using an appliance you most likely use daily. We have some good news for you if you are looking for a quicker alternative to air-drying. To dry flowers using the microwave, you will need silica gel, which can be purchased at hobby and craft stores. The flowers can maintain their original form thanks to the gel, which allows for multiple reuses.
The following is a guide for drying your flowers using a microwave:
- Find a container that can withstand the heat of the microwave and can also accommodate the flowers you want to reheat. When working on this project, use something other than a plate or bowl you intend to later put food in.
- Cover the bottom of the container with one or two inches (or more for larger blossoms) of silica gel. Put the flowers in the gel with the blossom side facing up, and then pour more gel over the flower petals. Use a gentle pouring motion or your hands to prevent the petals from being squashed.
- Put the container, which has its lid removed, in the microwave. This step requires a little bit of trial and error because the temperature and length of time in the microwave will differ depending on the type of flower you are using. Please turn on the microwave and set it one or two heat levels higher than the defrost setting. Let it run for two to five minutes. Daisies dry best at lower temperatures, while roses can last longer at higher temperatures.
- After about a minute and a half in the microwave, check on the progress of your flower approximately every 30 seconds. Adjust the temperature and the length of time accordingly.
- After the flowers have been thoroughly dried, the microwave should be opened, and the container should be covered as soon as possible.
- Take the container out of the microwave after it has been covered, crack the lid a quarter of a centimeter open, and then let it sit for a full day.
- Using a brush with a fine tip, remove the gel from the petals and mist the surface with an acrylic spray (also available at craft stores).
- Finally, you can choose to put your dried flowers on display or use them in various craft projects.
How to Keep Flowers Fresh for a Long Time
If you are looking for alternative methods of preserving flowers, including suggestions for craft projects that you can use to display dried or preserved flowers, then you have come to the right place. You can choose from many options, such as preserving flowers in resin or pressing flowers between two sheets of paper. Below, you will find information regarding the various techniques used to preserve flowers.
How to Keep Dried Flowers Fresh for Longer
When you preserve dried flowers, you extend their life and ensure they will remain beautiful for as long as possible. Even though dried flowers can be enjoyed for longer than fresh ones, they still run the risk of becoming less vibrant or even falling apart after some time has passed.
Your dried flowers can be given a new lease on life through preservation techniques such as dipping them in wax, mounting them in frames, or drying them in resin, amongst other techniques. After the flowers have been preserved, they can serve as living memories in your home by being worn as jewelry, incorporated into home decor, or making a bold statement all on their own.
When it comes to preserving dried flowers, here are some helpful pointers to keep in mind. This will ensure that your projects will be around for years to come.
- Before you dry your flowers and preserve them in any way, wait until they have at least some of their petals opened.
- The best way to preserve larger, more robust flowers or whole bouquets (like roses, for example) is to dry them, while the best way to preserve smaller, more delicate flowers is to press them (like lavender sprigs or daisies).
- Dried flowers have a long shelf life regardless of the method used to preserve them. To ensure that the color of your flowers is maintained, it is important to store them in an environment that is neither extremely cold nor hot.
- Once finished, you should spray your flowers with an acrylic sealer or wax to remain sturdy.
How to Fix Flowers in Resin to Preserve Them
Epoxy resin preservation of dried flowers is another method that has recently gained much popularity for displaying meaningful flowers. When working with resin, you should always wear face protection, such as a mask or a covering for your face, because the resin is a powerful chemical that can harm your health if you breathe it in.
Resin can be used to preserve dried flowers more easily than fresh ones, and virtually any flower can be incorporated into a creation made with resin.
Materials for Resin Flowers:
- Dried flowers of your choice: Resin Choose your dried flowers with consideration given to the size of the finished product you intend to produce. For instance, if you make a necklace out of resin, the flower that you decide to use should be smaller and more delicate, such as lavender. When working with a larger piece of resin, such as a coaster, you have more flexibility in choosing the size and number of flowers to incorporate.
- Other fillings: If you want to, you can incorporate other fillings into your project. Some examples of these fillings include glitter, beads, sequins, and other objects.
- Resin: If you want your project to have a stable foundation, you should use resin of good quality. Craft supply stores and even some websites sell resin these days.
- Silicone Mold: It is essential to ensure that your mold is made of silicone, as this material is flexible and not rigid plastic. Craft stores are another good place to look for these kinds of supplies.
- Heat Tool: The tool generates heat. You can remove any air bubbles from your resin using a heat gun or a hair dryer while it is curing.
- Mixing Cups: Cups for mixing drinks should be either brand new and made of plastic, or they should be cups the user will not use for drinking after this activity.
- Mixing Sticks: Popsicle sticks or other wooden paint mixing sticks are your best bet; you can buy these at any store selling arts and crafts or hardware.
- Catch Tray: Use an old plate or a plastic dish as a catch tray to prevent resin from getting all over your workspace.
- Rubber Gloves: Because resin can be harmful if it comes into contact with the skin, you should always wear gloves made of rubber when working with it and make sure they are clean and free of tears.
- Facial covering: Because the resin is a potent chemical with potentially harmful side effects, it is crucial to always wear a face mask when working with it. It is also very important to make sure that the covering fits properly.
- Sandpaper: It is something you should use if your mold has any jagged edges or if you want your project to be as smooth as possible.
- Toothpicks: As an alternative to using larger sticks, you can arrange your flowers in the mold using toothpicks and use them to pop air bubbles as the resin cures using toothpicks.
The following instructions will show you how to preserve flowers in resin once the materials are ready.
- Combine the hardener and the base resin in a mixing bowl. These two-part systems are present in all epoxy resins, and their presence guarantees a smooth curing process for the resin. Because the exact ratios of the hardener and base will change depending on the brand and type of resin, it is important to read the instructions that come with your specific variety carefully. Let dry between 12–48 hours.
- After the resin has been adequately combined, pour the resin base into your chosen silicone mold. Before you begin pouring the resin, ensure that your mold is clean and free of any dust or lint, as anything in the mold will float in the resin. Resin should be poured into the mold to a comfortable thickness; however, you should take care to fill the mold at most halfway.
- If there are any air bubbles in the resin, you can remove them with a heat tool (like a hairdryer).
- Put the flowers, cut side down, into your silicone mold, and use a toothpick rather than your hands to arrange them in the pattern of your choice. You should also arrange any additional components you use, such as free-standing petals or leaves, glitter, or beads if you have included them.
- Allow the mixture to sit for roughly five hours.
- After the first layer of resin in your mold has had time to harden, you can carefully pour the second layer into it. A heating tool should be used to eliminate the air bubbles in the resin carefully.
- Allow the second layer to cure for an additional five hours, checking it carefully to eliminate any air bubbles that may have formed.
- After the second layer of the mold has cured, you should check it. Although the resin has yet to harden completely, it should not be sticky.
- Remove carefully from the mold made of silicone. Because the item will still have some flexibility after removing the mold, take your time to avoid creasing or breaking it.
- Your finished product should be allowed to finish hardening in a flat position on a paper towel or plate. Sandpaper can be used to round off any jagged edges that might be present. This is done if necessary.
Flowers preserved in the resin can be used for various purposes, including jewelry, home decor, memory boxes, and more. Be very careful to keep your resin creations away from direct sunlight, as exposure to it can cause the flowers to fade and the project to become cloudy rather than clear.
Additional Suggestions Regarding the Preservation of Flowers
It may be challenging to settle on just one flower preservation method, given the abundance of available options in this area. To assist you in narrowing down your options, I have compiled a list of nine additional suggestions for preserving your dried flowers, which range from art projects to floral decorations that can be enjoyed for many years to come.
- You can make an infinity bouquet for a wedding anniversary or another special occasion.
- To make a potpourri, mix some dried flowers and essential oils.
- When putting together a shadow box, meaningful flowers, and other items should be used.
- To make a one-of-a-kind necklace, create an impression of a single flower inside a glass bead.
- During the holiday season, decorate your home with ornaments made from glitter, resin, and dried flowers.
- Jars with dried flowers in decorative containers can seduce a room’s decor.
- Put together a wreath that celebrates the season using dried flowers to make your door more inviting.
- For some thoughtful wall decor, frame some pressed flowers with a handwritten note or a poem that is special to you.
- Waxing flowers creates a centerpiece for the table that will last forever and never need to be replaced.