
Do Daylilies Multiply? How to Know When to Divide
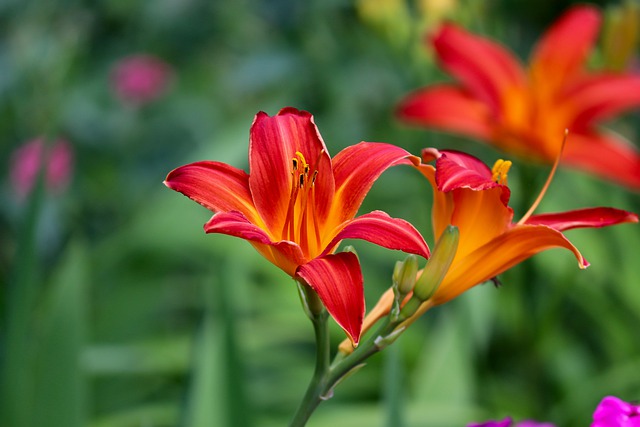
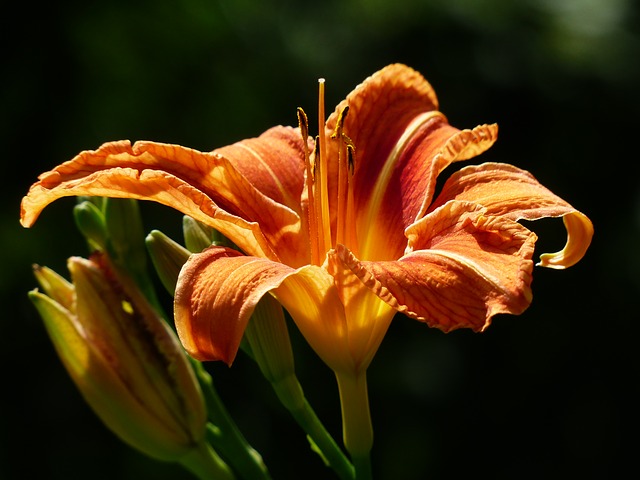
Daylilies quickly grow into large clumps, and as a result, their blooms begin to suffer. Even if your daylilies appear to be flowering less frequently, it may be time to split them up every few years. Beautiful blooms, graceful foliage, and wide-open blossoms make daylilies an ideal garden flower for attracting pollinators like butterflies and hummingbirds. And when it comes to spreading the word, they’re just as generous. Even a well-established daylily garden can provide you with plenty of divisions so that you can expand your garden or spread some horticultural love around. In addition, by dividing established beds, you can increase flowering by ensuring that plants remain healthy and have ample access to soil nutrients.
Although daylilies can be divided between spring and mid-autumn, the best time to divide your beds is probably late summer to early fall, once all the plants have bloomed. Preparing plants for winter by dividing them in early fall allows roots to establish themselves before the harsh weather. So why bother with spring plant divisions? The best times to check on their performance are in the spring and summer to determine if your daylily beds need to be thinned out.
Table of Contents
The Best Time to Divide Daylilies
Climate plays a role. Except in the deep south, spring is a good time to divide, but fall is generally considered the best. Spring is a good time to divide daylilies because it’s warm and moist, and the plants are actively growing, but doing so can reduce your yield. As long as they have enough time to establish themselves before winter sets in, it’s preferable to plant them in the fall after they’ve finished blooming. Six weeks before the first frost is a good guideline for establishing them. You can get an idea of what to expect based on your climate zone in the following table:
| Zone | Spring | Fall |
| 4 | May | August |
| 5 | May | August |
| 6 | April-May | August-September |
| 7 | April | September- Mid October |
| 8 | February-March | September-October |
| 8 (Pacific Northwest) | April-May | August-September |
| 9 | January-February | October-December |
Dividing Daylilies
Daylilies quickly grow into large clumps, and as a result, their blooms begin to suffer. Even if your daylilies appear to be flowering less frequently, it may be time to split them up every few years.
Tips on how to divide them up:
- For most modern daylily cultivars, the quantity and quality of blooms will gradually diminish after four years or more of being left alone. This is their way of letting you know they’re ready to be split apart, so take it as a sign. Digging and dividing the overgrown clump is necessary when daylily performance begins to deteriorate. Daylily division is a simple process, but if the clumps are large, it may necessitate the use of some muscle. Even though it can be done whenever the soil is workable, the best time to do it is right after the daylily blooms.
- There are several methods for dividing daylilies. The clump can be easily divided in half with a shovel and dugout, leaving the other half in place if it is not too large. If the clump is large, it’s best to remove it all and divide it into smaller pieces.
- If you decide to remove the entire clump, you’ll need a tarp, a shovel, or a garden fork. Then, using your hands, remove as much dirt from the clump. To make dividing the clump into single fans easier, you can use a garden hose fitted with a sharp stream nozzle to remove all soil from the roots. Washing the soil off isn’t necessary or recommended if you’re only going to separate the clump into a few pieces.
- Use a shovel or a sharp knife to break up the clump while still on your tarp. You don’t need to be concerned about cutting through the crown of your head. Daylilies’ regenerative and recuperative powers are so great that even damaged crowns can produce healthy plants. You should leave three or four fans in each division to ensure that your new plants will continue to bloom next year. Dividing up a large area into one fan division will not harm the plant if you need many. However, these small divisions will take a little longer to re-grow into showy clumps. Now that the old woody center of the daylily clump has been removed, there are plenty of healthy new divisions. Offer your extra plants to friends if you can.
- After you’ve made your new daylily divisions, plant them as soon as possible. Many additional items will most likely be required to fill the original space. It’s a good sign if you’ve thought about where you’re going to put them in advance. The crown should be about an inch below the soil line, and the plants should be planted at the same height they were when they were first planted.