
Do Anemone Multiply? Multiplying Anemones by Different Methods
There is a wide variety of anemones. And yes, they multiply. They can be multiplied by these three methods: bulbs or corms, root cutting, and root division. The rhizomes and corms of Anemone nemorosa and Anemone blanda will spread and multiply. They will also send out seeds that will grow in new places. The seeds of Anemone coronaria will grow where they belong.
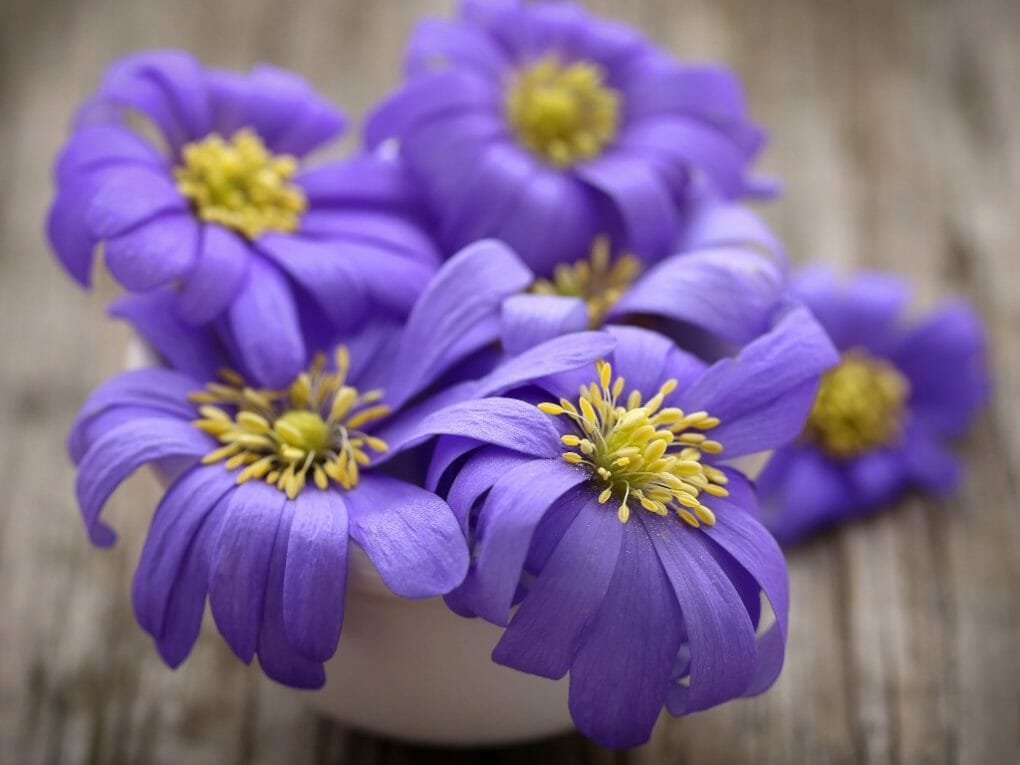
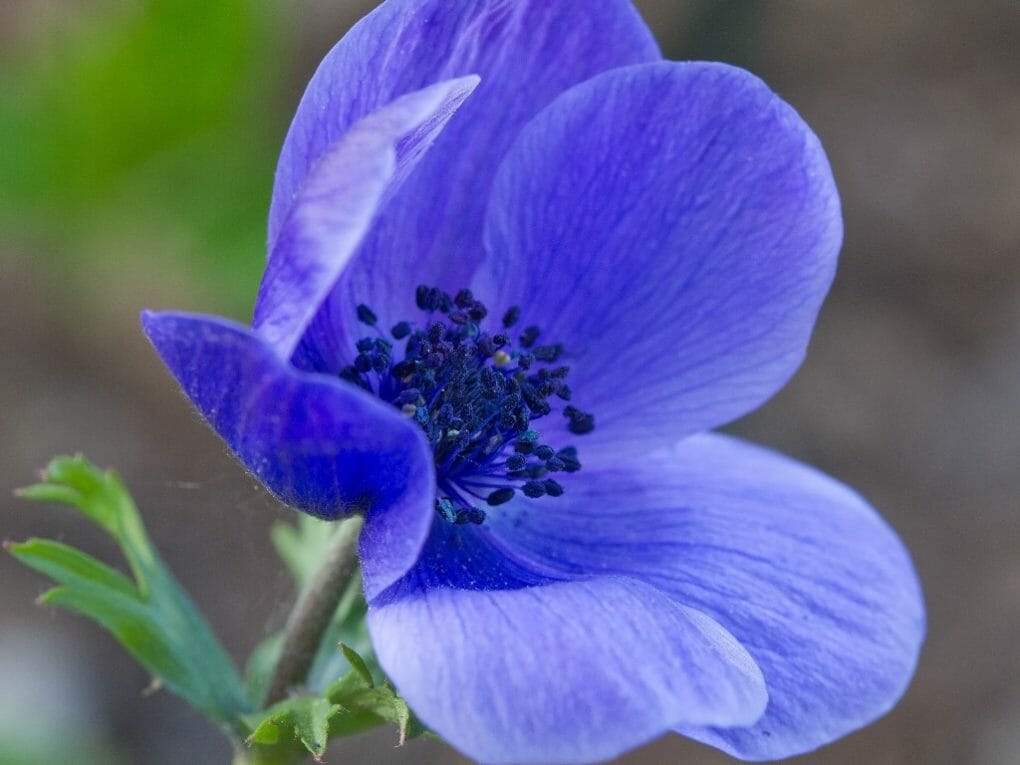
Anemone blanda, sometimes known as the windflower, is the most common. Flowers of various colors, including blue, pink, and white, emerge from the bulbous tubers from which they grow. Anemone coronaria, often known as the florist’s anemone, blooms in late spring and is taller than the average anemone at around two feet. Anemone nemorosa, also known as wood anemone, is a rhizome-based anemone that thrives in partial shade. In the early spring, it blooms with delicate white flowers. The first anemones appeared in the Mediterranean and Europe. They are all perennials, meaning that after they bloom, they die back and rest until the next spring. Hardy anemone species include the blanda and nemorosa varieties, while the coronaria kind does best in containers that may be brought indoors for the winter. These anemones bloom in the spring, although they are not the same as the Japanese anemones (Anemone hupehensis and Anemone x hybrida). Blooming throughout the late summer and early fall, these are noticeably bigger.
Table of Contents
Multiplying Anemones
By Bulbs or Corms
- Anemone corms should be planted in full sun in either late winter or early spring, depending on your location and growing conditions. Corms can be planted in the fall and overwintered successfully outside in locations with mild winter temperatures (USDA zone 7 and above). If you live in a cooler region (USDA zone 6b or lower), you’ll need a hoop house with minimal heating or to wait until late winter or early spring to set out your anemones. Corms will freeze and rot if left below 25 degrees Fahrenheit (-4 degrees Celsius). Make sure they are not exposed to dangerously low temperatures.
- You may be surprised that your corms look like dried, brown acorns when you first package them. Don’t worry. These enigmatic creatures will provide a plethora of beautiful springtime flowers.
- Corms must be soaked for three to four hours in room temperature water before planting. Don’t let them become soaked to the point of decay, though. The size of the corms may increase significantly after soaking, perhaps doubling.
- Corms can be pre-sprouted or planted shortly after being soaked. It is possible to hasten flowering by a few weeks by pre-sprouting corms before planting them. Half-fill a seed tray with damp potting soil and place your seeds in the refrigerator to pre-sprout. Disperse the rehydrated corms across the planting area, and then cover them with additional dirt. Place this tray in a cool (40°F-50°F / 4°C-10°C) and rodent-free location for 10-14 days. Remove any corms that have developed mold or rot and check on them every few days to make sure the soil is moist but not soggy.
- In this phase, the corms will grow to twice their initial size and produce fine, white rootlets that resemble hair. Once rootlets have formed, they can be planted outdoors.
- It is necessary to prepare the planting areas before any seeds are planted. To this, we incorporate a thick layer of compost (two to three inches, or five to seven and a half centimeters) and a well-balanced organic fertilizer (such as Nature’s Intent 7-2-4) into the ground. The corms of anemones are set in place at a depth of 2 inches (5 centimeters) with a spacing of 6 inches (15 centimeters). Corms should be planted with the pointed end facing down.
- It is recommended to use frost cloth to protect plants from frost during cold spells when temperatures fall below freezing. If you plant corms in the fall, they will blossom in the spring, and if you plant them in the winter or early spring, they will bloom in the middle of the season.
- We get a lot of inquiries about the best way to keep anemone corms until planting season and whether or not they should be left in the ground to bloom the following year again. Corms can be kept in their shipping bags until planting time; just be sure to keep them in a cool, dry place. Grow anemones as annuals by planting fresh corms each year in cooler regions. Leave your corms in the ground if you plant in USDA hardiness zone 7 or higher. They may blossom the following year depending on several conditions, such as the severity of your winters, the quality of your soil, and the prevalence of pests in your garden.
- If cut off the plant immediately after opening, anemones can last up to ten days in a vase. If you put flower fertilizer in the water, your blooms will retain their vibrant hues for much longer. Remember to snip off faded blossoms right at their base to encourage fresh growth and more blooming.
By Root Cutting
- Japanese anemones are root-cutting propagated, which is different from the usual method of propagating plants, which involves cuttings of the plant’s stems or leaves.
- When the plants are dormant in the winter or early spring is the ideal time to take root cuttings to propagate new plants.
- Pick your plant out of the ground with care using a garden fork. Pick a robust root that looks healthy.
- You should prune it, so it ends just above the plant’s crown. In that case, you should replant it. Separate the root into sections between 3 and 6 inches in length.
- Make sure the soil is moist, and plant the cuttings horizontally in a flat. To keep the soil moist, put the flat in a plastic bag to create a makeshift greenhouse. In a few weeks, new growth should emerge. The flat must be taken out of the plastic bag at this time.
- Put the unit where it can get enough sunlight.
- Transplant your new plants into your garden once the last frost has passed, making sure to leave as least 24 inches between each one.
By Root Division
- Japanese anemones are a type of coral that prefer not to be touched. Most gardeners give them plenty of space, so they only need to be divided once every decade.
- Dig your plants up carefully with a garden fork and divide them. The fibrous roots are huge, so dig about 6 inches from the clump.
- After you’ve dug up the whole mass, you should wash the soil from the roots and then use a pry bar to separate the roots into two or three individual plants.
- See to it that all of the clumps have their own set of roots and growth. New clumps should be spaced at least 24 inches apart in the garden.