
Sun or Shade: Which One Daylilies Prefer?
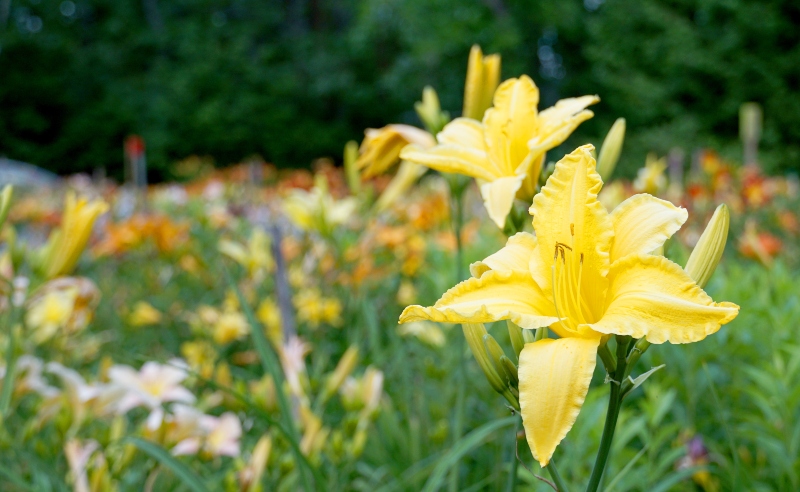
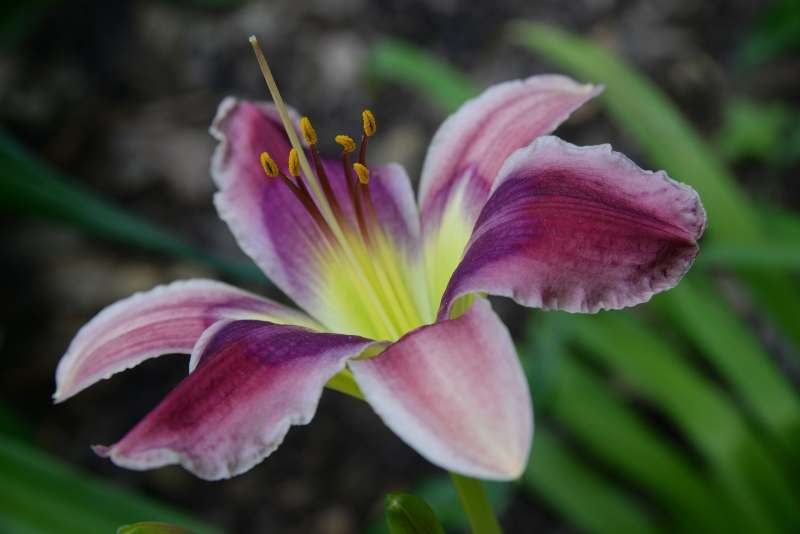
Daylilies thrive for 6 to 8 hours of sunlight, but they can live with dappled shade. A lot of red and purple flowers and those with pastel-colored flowers fade in the afternoon sun because they get too hot. To keep their color and beauty, put them in the afternoon shade.
Consider the sun’s abrasiveness when making your choice. Since these plants may not thrive in direct sunlight, you should determine the best location for them in your garden based on which parts receive the most sunlight at different times of the day.
It is best to avoid areas that receive direct sunlight during the middle of the day and instead seek out areas that receive indirect sunlight in the early morning or late afternoon. Your plants will continue to benefit from the sunlight they require as a result of this. However, rather than being bombarded with the glare and heat of the midday sun, this will be a more subtle exposure. Choose the proper location for your daylilies so that they will receive some shade and protection during the sunniest part of the day. Finding a location that receives the first rays of sunlight is ideal.
It is possible to get the most out of your daylilies if you ensure that they receive the maximum amount of sunlight at the appropriate time of day. Evaluating your garden to determine where and when the sun tends to shine will make it much easier to select the best location for your daylilies to thrive. If you do this, you can ensure that your plants receive the maximum sunlight while avoiding exposure to extremely bright sunlight and high temperatures.
Table of Contents
Daylily Care Tips
Soil Condition
Although most daylilies prefer moist conditions, many of them are able to thrive in dry ones. They can grow in a wide range of soil conditions, from heavy loam to sandy soil. In general, many of the older cultivars and species are hardy. If you want to watch them grow, you can plant them.
Mulching
One to four inches of moisture retention and weed suppression are achieved when mulched around daylily plants. Leaves and other organic matter like grass clippings and hay can also be used, but their slow decomposition removes nitrogen from the soil. Freshly cut wood chips, in particular, may necessitate the addition of fertilizer. Don’t forget to mulch the first year after planting fall-planted daylilies in areas where the ground freezes over the winter.
Fertilizer
Plant nutrients are rarely deficient in an organic compost soil because the soil is rich in organic matter. Adding any slow-release, composted organic matter, such as horse, sheep, cow manure, or your homemade compost, to your daylily garden in either the spring or fall will help to ensure excellent growth for years.
Watering
Pre- and post-flowering watering will help boost the plant’s vigor and the number of blooms.
Planting Daylilies
Spacing
There should be at least 16-18 inches of space around the daylily if it’s going to be split and replanted every three to five years. To keep the daylily clump together for 10-15 years, it will need a space of 24-30 inches. The same is true for a daylily flower border. A bank covered with Daylilies should have the plants spaced 24 inches apart. If you have 100 square feet of the bank, you’ll need 30 daylilies plants. (Square footage times 0.304.) Daylilies can be used as an edging for a walk. They should be spaced 12-18 inches apart in a single line.
Best Time to Plant
Early spring or autumn are the ideal seasons to plant and divide daylilies. Make sure the crowns of your daylilies are just below the soil line when planting them.
Dividing Daylilies
To maintain a healthy crop of daylilies, it is necessary to divide them every few years. It is common for daylily clumps to become overcrowded after four to five years of growth and flowering to decline. To divide daylilies successfully, wait until the end of summer in most areas. Even in the North, early spring is a viable alternative, especially if the weather tends to get cold quickly in the autumn.
Dispose of each clump individually on a tarp. Remove healthy young plants (fans) with strong roots by cutting them apart with a sharp knife or spade. Immediately replant in compost-enriched soil or containers for storage. You’ll get many extra plants to share with family and neighbors for each clump you grow. Toss out plants that are too small or ill to keep.