
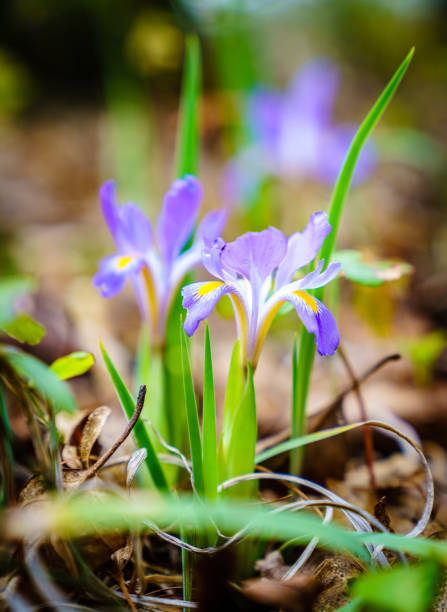
Can Iris Grow In Pots?
You can grow Iris in pots. However, knowing the key requirements for growing Iris in pots is important. It is important to note that the soil should be well-drained and pH balanced, as Irises are acid-loving plants. They also prefer a sunny window or partial shade. Water them well and fertilize them monthly with a high-nitrogen fertilizer.
If you’re also wondering whether you can grow iris in pots from seeds, the answer is yes, you can! It’s a bit of a process, but doable. Remember that growing an iris from seeds can take a while before you see any flowers. You’ll need patience and give your plants lots of love and attention. Make sure to use well-draining potting soil and keep the soil consistently moist until your seeds germinate. Once your seedlings emerge, don’t forget to keep an eye out for any pests or diseases and give them the right amount of fertilizer and water. With some care, your iris will thrive and brighten up your space with its beautiful blooms.

Table of Contents
How to Plant Iris in Pots
Step 1: Select an Iris Plant Pot
The soil capacity should be at least 2 gallons. Choose a 6- to 8-inch-diameter pot for dwarf iris varieties. When it comes to a tall bearded iris, you’ll need a pot at least 12 inches wide. At least 30cm wide is required for tall bearded irises, and even more if you want to pack a lot of color into the pot. To improve drainage, ensure that the pot has adequate drainage holes and that the bottom inch of the pot is filled with gravel. Select a potting soil mix that is light in weight but high in nutrients. Organic potting soil that has been supplemented with time-release fertilizer is the most effective.
Step 2: Place the Iris Rhizome in the Container
Make certain that the soil in the container where you will be planting the rhizome is thoroughly moist. This will help cushion the transplant and make it easier for you to place the rhizome in the correct location. Prepare the planting site by digging two holes next to each other, leaving a ridge between the two holes, and then planting the rhizome. Make sure the ridge is in the middle of the container, giving the rhizomes plenty of room to grow and spread. To plant, place the rhizome on a ridge and carefully spread the roots into the holes with your fingers. Cover the roots and a portion of the rhizome with dirt, leaving the top of it exposed or lightly dusted with dirt to protect it from the elements. If you look down on the plant, the rhizome should be visible, and the leaves should be visible above the soil. After you’ve finished planting, place the container in a warm, sunny spot in your yard or house.
Step 3: Keep Iris Healthy while Growing in a Container
You should water it during the first two inches of the soil in your iris pot. It is better to water irises than water them too much, so be careful when watering. You can use a nutrient-rich liquid fertilizer to feed your iris once every two weeks while you water them. Even if you don’t water or feed your iris for a long time, this plant is very hardy and should still bloom.
After your iris has grown in the same pot for four years, you might think about splitting it up. The division is important because it stops the plant from growing too big or becoming suffocated. Your irises can be kept in containers and grown the same way you did with your first plant.
Transplanting
Right after the flowers bloom, move them into a new pot. When you take the plant out, you should throw away the old soil, roots, and rhizome there before. Use new potting soil to add one or two new fans cut to six or eight inches back into the container. The growth will start right away.
Winter Dormancy
Make sure to cut all of your plants’ leaves and branches down to their containers after a light freeze. When it’s mild where you live (USDA Zone 8-9 for Spec-X and Iris laevigata), you can leave the containers in the pools all winter (Japanese iris, zone 9). Make sure the containers are out of the flood pools and buried to the rim in an area with a good mulch. In the spring, return the pots to the flooding pool, fertilize them when new growth appears, and remove them again. Lift the plants after bloom, divide them, and start again.