
Anemone Planting Guide | A Guide For All Beginners
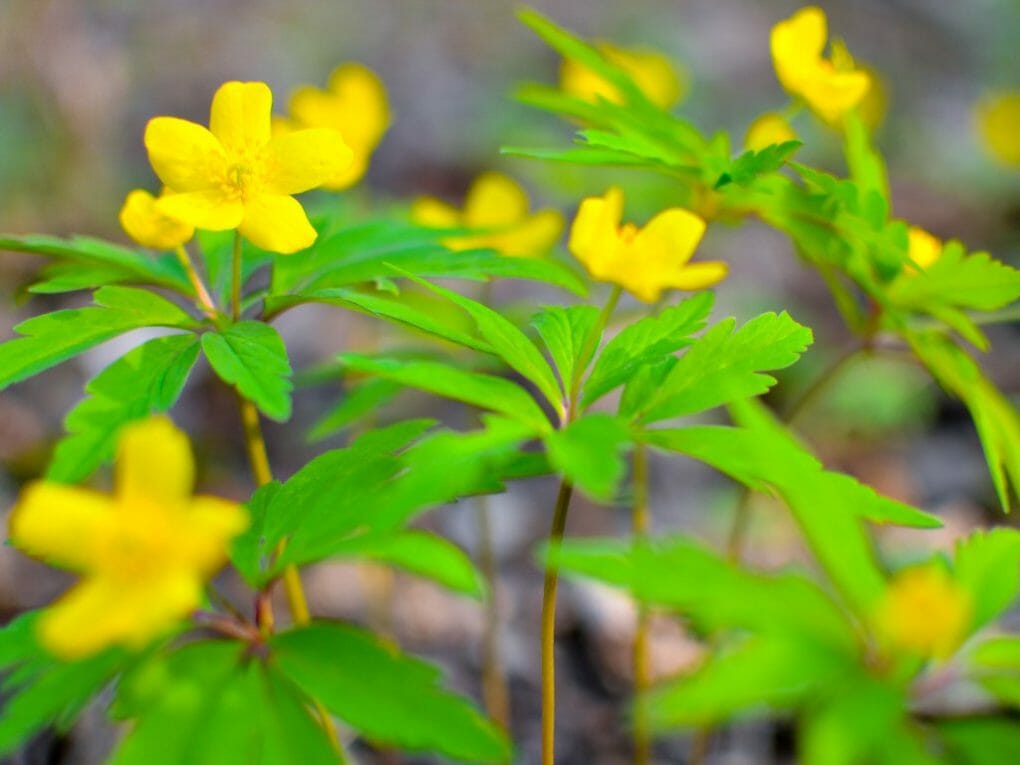
Anemones are lovely for colorful edgings or long-lasting cut-flower displays since they bloom in a brilliant spectrum of colors and forms in the early spring. Anemones may also be found in a variety of shapes. These plants require almost no maintenance, as they are resistant to pests and exceptionally simple to cultivate. Not to add, some types bloom in the spring and variants bloom in the fall to fulfill the specific requirements of each garden. With this easy-to-follow guide, you’ll quickly learn how simple it is to keep these flowering beauties in pristine condition.
Table of Contents
Where To Plant
Anemones don’t care much about their soil type, but they thrive in containers or gardens with good drainage. While fall bloomers prefer full sun to partial shade, spring bloomers are content in the shade. The optimal growing zones for anemones vary depending on the type, so be careful to pick one appropriate for your growing location.
The Best Time to Plant
Based on the particular flowering cycle of the cultivar you have chosen, decide when to plant. For instance, September is the ideal time to sow spring-flowering varieties. In warmer climes, some foliage may also begin to grow at this time for some kinds, and in the spring, buds and flowers will start to appear. If you live somewhere colder, it’s a good idea to grow a fall-flowering variety in the spring after the risk of frost has passed. Even though container-grown anemones can be planted anytime during the growing season, spring planting is the best.
Planting Anemones
- Your anemone corms should be planted in a location that will receive full sun in autumn, late winter, or early spring, depending on where you live and your setup. Corms can be planted in the fall and successfully overwintered outdoors with protection from a low tunnel or frost cloth in places with moderate winters (USDA zone 7 and above). Anemones must be held back and planted outside at the end of winter or in the early spring in colder climates (USDA zone 6b and below). Corms will freeze and eventually rot if exposed to temperatures below 25°F (-4°C). Therefore, be sure to shield them from extremely cold weather.
- When unpacking, your corms will look like dried, brown acorns, probably not what you were anticipating. Don’t panic. Every spring, these odd little creatures will produce many eye-catching blossoms.
- Soak corms in water that is at room temperature for three to four hours before planting. You must be careful not to soak them for too long, or they may deteriorate. The corms will swell as they soak, frequently doubling in size.
- Corms can either be pre-sprouted or put directly into the ground after soaking. Pre-sprouting the corms before planting will result in earlier flowering. Fill a flat-bottom seed tray halfway with damp potting soil to encourage pre-sprouting. Spread the moistened corms over the earth, then thoroughly encircle them with extra soil. For 10 to 14 days, store this tray in a cool location (40°F-50°F / 4°C-10°C) out of the way of rodents. Every few days, check on the corms to ensure that the soil is moist but not soggy. Any corms that exhibit mold or rot should be removed.
- Corms will expand to roughly twice their original size during this period and sprout tiny, white rootlets that resemble hair. It is time to plant the rootlets on the earth as they emerge.
- The growing beds need to be ready before planting. We amend the soil with a balanced organic fertilizer (such as Nature’s Intent 7-2-4) and a generous amount of compost (2-3 in / 5-7.6 cm). 4 rows of anemone corms are planted in each bed, 6 in (15 cm) apart and 2 in (5 cm) deep. With the pointed end down, plant corms.
- Frost cloth should be put over the plants when the temperature drops below freezing during cold spells. Corms planted in the fall flower in the early spring, and corms planted in the late winter or early spring bloom in the middle of the spring.
- The best way to keep anemone corms until it’s time to plant them and if they may be left in the ground to bloom the following year are often asked questions. Corms can be kept in their original bags; until it’s time to plant them, keep them in a cool, dry place. Anemones can be grown annually in cooler locations, and new corms can be planted every season. If you live in a USDA zone 7 or higher and grow, you can leave your corms in the ground. Depending on several variables, including how cold your winters are, how effectively your soil drains, and how much insect pressure you have in your garden, they may bloom the following year. Every year, I plant fresh corms instead of relying on those that are overwintered. I always consider it a bonus if the overwintering ones show up.
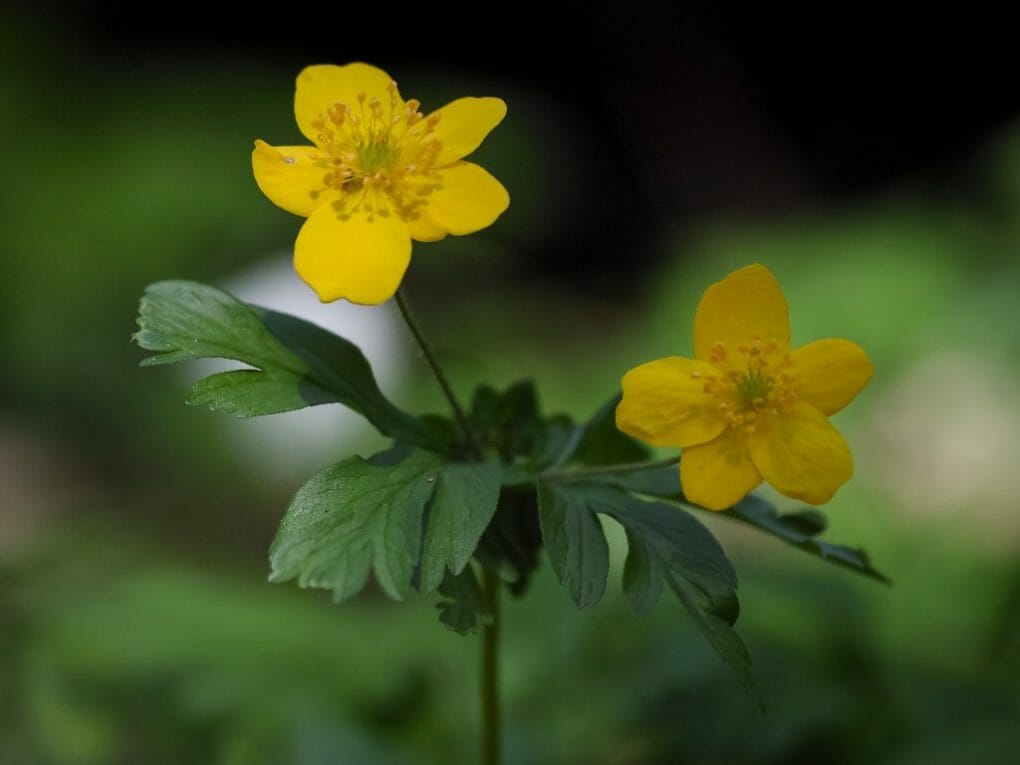
- If taken as soon as they open, anemones can easily last ten days in a vase. The blooms will continue vibrantly colored if flower food is added to the water. To encourage fresh blooms, make sure to trim spent flowers right down to the ground.
Care for Anemone Flowers
From early spring into the fall, anemone flowers are in bloom. This means that if you plant the flowers in October, they will blossom in the spring and summer.
You don’t need to give these bushes much attention because anemone blooms typically require little maintenance.
You only need to stick to a regular watering plan to be effective. The soil should be kept moist but not drenched.
These flowers will remain for almost three to four weeks after they bloom. The blossoms, however, will be blown away or fall off if you don’t gather them.
Keep the plant’s foliage in situ for nourishment after the flowers have faded. For aesthetic purposes, you can remove any dying or discolored foliage, although doing so is not necessary to maintain the anemones’ health.
Plants should be pruned at ground level in the late fall to withstand the winter. A covering of mulch, straw, or leaves can be put on top to shield the plants from winter weather.
Here is all the additional information you need to know about cultivating and planting anemone flowers.
Soil
Planting anemones require well-drained soil. So before planting this shrub, make sure to improve the quality of your soil.
Light
Both half and full sun are suitable for anemone flower cultivation. Anemone “Blanda” is one of many that only thrive in partial sunlight.
Anemone “De Caen” can grow in full sun or partial shade. However, in colder climates, full light produces the greatest blooms. Make careful to look into the variety’s lighting requirements.
Temperature Anemones grow best between 42 and 50 degrees F at night and 58 to 65 degrees F during the day. However, active initiation can occur at temperatures lower than 54 degrees.
Water
Keeping the soil constantly moist is critical to an anemone’s health. However, do not overwater as this can cause root rot or other problems. Regular watering should be sufficient for most plants but check the soil moisture level after a rainstorm or heavy dew point accumulation.
Pruning
Since anemones often don’t get extremely tall, pruning isn’t necessary to keep your yard looking neat. The first frost may make the taller variety look unkempt, so you could want to clip them in the early winter.
Propagation
Give these flowers a nice soak to hydrate them and revive them. You can use them after soaking them for a few hours in warm water. The anemones should be planted 2 inches under the soil, spaced 1 inch apart. The growth of the stem roots will be determined by nature.
Even in the spring, you can split autumnal blooms by using root cuttings or when the plants sprout. You must divide plants that bloom in the spring after the leaves have faded in the late summer.
Landscaping
Your anemones will look stunning in both clusters and borders, so you can plant them anyway. Put them around your tulips and daffodils to brighten up your backyard.