
Propagating Peonies: 2 Methods to Grow Your Beautiful Peonies
The peony plant is well-liked across Asia, Europe, and the Western Hemisphere for its stunning blossoms. Scientists typically disagree on the precise number of distinguishable species of the plant.
Although some scientists put the number at 40, others say it’s closer to 25. The majority of experts agree that there are 33 different species in this genus.
The peony, like many other hybrid plants, is a popular houseplant. It’s one of the best options for growing at home because it gives your garden a splash of color and has a unique appearance.
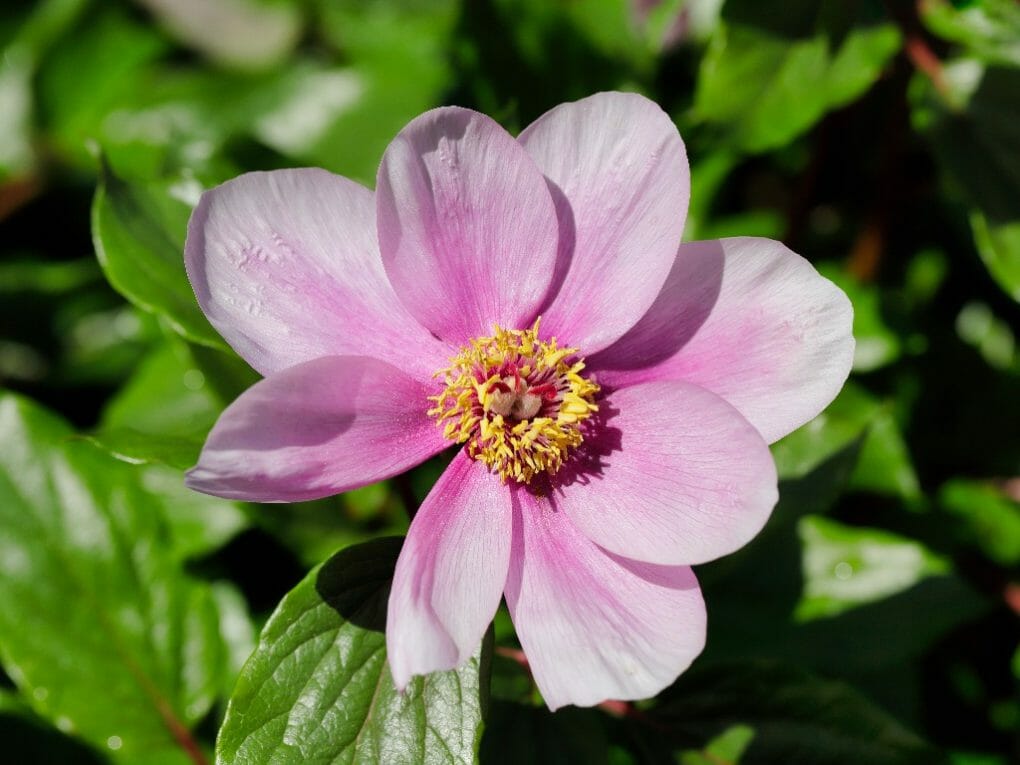
The peony is one of the most beautiful flowers around. It is evergreen and drought-resistant, and it produces lovely flowers. Some of the flowers can reach the size of a dinner plate. Most peony plant owners are enthusiastic about their plants and frequently seek new methods of propagation.
Propagating peonies, however, is more challenging than you might think. Certain prerequisites must be satisfied. Most people know that peony plants don’t produce genetically identical offspring due to their hybrid nature.
That’s why you can’t expect a seed’s offspring to look anything like the parent plant. This could work to your advantage, creating wonderful color variations and freshening your garden’s overall look. Furthermore, you may find peony colors that have never been seen before!
It takes up to five years for this plant to fully adapt to its new environment and begin blooming, so patience is a virtue when dealing with this particular plant.
Growing a plant from a seed and witnessing its eventual bloom is an amazing experience. The USDA plant hardiness zones where the plant thrives the most are 3 and 8, but it has also been grown with some success in zones 2 and 9.
Table of Contents
2 Methods of Peony Propagations

By Seeds
Peony plants can be easily multiplied by seed. Once the plant has reached maturity and is flourishing, seed pods will develop.
When the seed pods on a peony plant have turned brown, it’s time to harvest the plant. In addition, the seed pods will toughen up and look more leathery.
Harvesting the seeds will be very simple because the seed pods have already begun to break open.
After removing the seeds from their pods, you should plant them in a water container. The cup should then be filled with water until it is about halfway.
Certain seeds will rise to the surface and float. There’s no hope for these sterile seeds.
It effectively identifies the seeds with the best chance of growth, and discarding those that won’t is a goal. The seeds need to be removed and discarded. It will then be possible to plant viable seeds.
Get a regular zip-top bag and fill it with vermiculite until it’s about halfway. A soil-free potting mix is an option if you don’t have any of that.
After that is added, a splash of water is needed to moisten the mixture properly. Careful water addition is required lest the bag’s bottom becomes saturated.
The final step is to add the peony seeds to the bag and shake it up. Place the bag, sealed, in an area where the temperature will be between 65-80°F (18-27°C). Don’t touch the bag or the plant, either.
To know if roots are developing, you’ll need to check the bag once a week. The plant should begin to send out root shoots in the next few months.
After the seeds begin germinating, move the bag to the crisper drawer of your refrigerator. Stratification is a chilling process that mimics what happens to seeds in the wild when they are planted.
Plant the seeds in the garden after they have been refrigerated for the appropriate amount of time, and they will germinate and grow independently.
By Cutting
Before resetting, most roots can benefit from a trim. To promote new growth and prevent congestion, cut roots to a length of about eight inches.
The peony family is extremely varied. There are hybrids with “adventitious” roots, meaning individual roots can be separated from the rhizome and planted to produce new plants. These cuttings of root material can be planted at a depth of two inches in rows and then dug up in the fall after two or three years of growth.
Clean and disinfect tools before using them to cut plants. Fungal and viral infections can be eliminated using a 10% or 70% rubbing alcohol and water solution.
If you prefer not to use a dust fungicide, you can use a “Bordeaux mix” (a mixture of copper sulfate and hydrated lime) dip solution instead. They both call for the use of thick gardening or rubber gloves.
Newly planted soil should be kept from being compacted. Eyes could be broken or pushed in more than two inches. If you need help with how deep to sink your eyes, it’s best to overfill the hole.
Peonies and other perennials with soft stems can be propagated from cuttings, so long as the cuttings are made deep enough into the parent plant. Peony stems originate from “eyes,” which are the first parts of the plant to emerge from rhizomes at the soil’s surface. Perennials can be propagated successfully through rhizome cuttings or seeds. When planted, rhizome cuttings always produce a plant genetically identical to the parent plant and typically blooms within a season or two. Plant a cutting in the fall to see flowers in the spring.
To amend the soil for planting:
- Mix equal parts of garden soil and peat moss, compost, or manure to make a bushel basket or two.
- Incorporate a few tablespoons of bone meal, superphosphate, or another low-nitrogen fertilizer into each bushel of potting soil.
- Create a planting bed that is two feet deep and one foot square for each “division” or new plant.
- Empty trenches can be refilled with dirt at any time. Space each plant out by at least three feet on all sides.
If the peony’s roots dry out, the plant will be set back and may not bloom again until the following year. Peonies are best dug up in the fall after the summer mulch has been removed and the dying foliage has been trimmed back. To remove the entire root ball, dig deep underneath it with a spade or garden fork all the way around the plant’s perimeter. A hand cultivator or trowel can knock off as much soil as possible after the ball has been lifted. If digging more than one peony, focus on one plant at a time.
Rinse the rhizome and roots gently to remove any remaining dirt. Locate the tiny eyes on the upper rhizome section. Take care not to crush any blossoms. New peony stems develop from these, so you’ll have to start over if you break one.
Use a sharp knife to cut each rhizome into several pieces. There must be three to five eyes on each part, and roots must connect them. Apply an anti-fungal powder found at most garden centers to each piece of the rhizome. Keep the roots of the peony you are dividing moist with a spray bottle as you cut the rhizome, especially if the peony is very old or very large.
Discard any pieces that have turned colors or rotted, and prune back any sections that have grown old or broken roots. Root rot or nematodes could cause soft roots, so get rid of them. Roots will spread while the rhizome is suspended above the hole and amended soil is poured in. When the hole is filled, the rhizome should be placed so that the eyes are no more than an inch below the surface. There’s a good chance that eyes buried more than two inches won’t open properly. In the southern growing zones, plants should be planted at most an inch and a half. When you have finished filling in the hole, give the new plant plenty of water.