How To Plant Mulberry Tree — Guide for Beginners!
As with other fruit trees, propagating cuttings usually yield the best results. Summer or fall cuttings should be planted in the fall or early spring. This provides the best opportunity for a young tree to develop a root system capable of supporting it throughout the winter. Similarly, if the soil you’re planting in is too compact, loosen it up and fertilize it before planting to allow the roots to spread out.
Table of Contents
Where to Plant Them
If you have problems with erosion, the wild-growing roots of these trees are perfect for fixing the problem.
Some cultivars can handle strong winds very well. If there is a part of your house where the wind seems to gather, there can be a beautiful windbreak by planting this tree.
Where You Should Not Plant Them
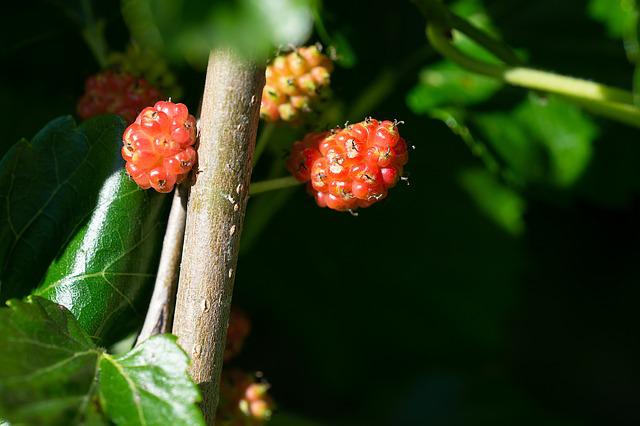
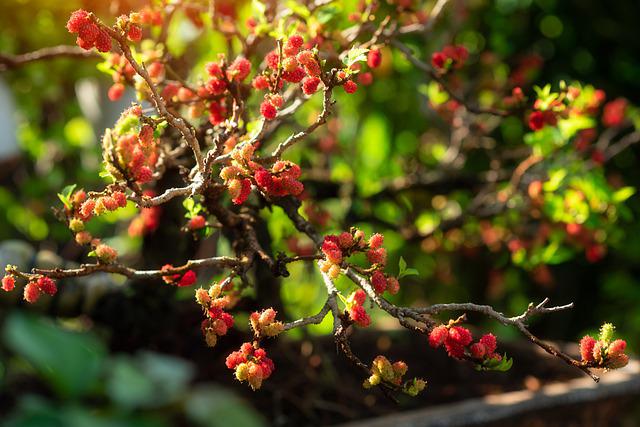
Keep your driveways and sidewalks clear of mulberry fruits when you plant new varieties, so they don’t fall on them. In addition to leaving stains on your driveway and automobiles, these dark hues will also leave stains on your clothes and bedding. Be aware of how big they will get before planting them. If you can’t avoid it, there is a mutated mulberry tree that doesn’t produce fruit.
Growing Conditions
Water
When you first plant your mulberry tree, you should water it deeply and often so that it can grow strong roots. You should water it two to three gallons per week for the first year. Once they’re established, mulberry trees can handle drought pretty well. However, if it stays dry for a long time, the unripe berries might stop growing or fall off before they’re ready.
Light
Mulberry trees can grow well in both full sun and partial shade, but like most fruiting trees, they produce more fruit when they get more light.
Soil
Mulberry trees are pretty flexible and can grow in clay, loam, or sandy soil as long as it drains well. The trees can grow well in soils that are neutral to slightly acidic.
Temperature and Moisture
Depending on the species, most mulberry trees can survive temperatures as low as -25 degrees Fahrenheit when they are dormant. They make the most fruit in places where the temperatures during the growing season are between 68 and 86 degrees Fahrenheit.
Fertilizer
Mulberry trees do fine without fertilizer most of the time, but a yearly application can help. Feed your tree once in late winter. Use a balanced 10-10-10 mixture and 1 pound of fertilizer for each inch of the trunk’s diameter.
Mulberry Propagation
By rooting semi-hardwood branch cuttings, mulberry trees can be easily propagated. What you need to know:
- Use sharp pruners to cut 6- to 8-inch long segments from the tips of 1/2-inch diameter branches, which are relatively new but not yet completely soft and green, in spring as new growth begins.
- The rooting hormone should be applied to the bottom of the cuttings, and the ends should be planted in small pots of commercial potting soil or seed starter mix.
- Place the pots in 1-gallon clear plastic bags bound with rubber bands and water them thoroughly.
- The pots should be placed in a full-shade location until they root, and you should check on them frequently to make sure they’re still moist.
- At this point, the cuttings can be removed from the plastic bags and kept in the pots until the fall, when they can be transplanted into your garden.
- You should take at least four or five cuttings to increase your chances of success.
How to Grow Mulberry in Container by Cutting
- Choose a Container
Fill a container with fresh, high-quality commercial potting mix, such as a planting tray or a clay or plastic pot. Make sure the planting container’s bottom has a drainage hole. Improve drainage by adding a handful of perlite or coarse sand.
- Keep the Soil Moist
Thoroughly wet the potting mix. Drain the container until the potting mix is evenly moist but not dripping.
- Prepare the Cuttings
Cut several healthy stems that are 4 to 6 inches long. To avoid tearing plant tissue, use a sharp knife or pruners. Each cut should be made just above a leaf node, which is the point at which a leaf or bud emerges from the stem.
Tip: Sterilize your cutting tool before and after using a clean cloth or paper towel dampened with rubbing alcohol to help prevent disease transmission between plants.
Remove blooms, buds, and leaves from the cut stems’ bottom half. Dip the cut stems in powdered or liquid rooting hormone for the bottom 1 inch.
Planting the Cuttings
Make planting holes with a small stick or the dull end of a pencil. As long as the leaves don’t touch, several stems can be safely planted in the same container. Plant the mulberry stems one-third of the way down in the holes. So that the stems stand upright, firm the soil around them.
- Place the Container Covered
Clear plastic wrap the container. Cover the containers with a plastic bag if they’re small enough. Place small sticks or dowels in the soil to keep the plastic from touching the leaves if necessary.
- Put the Container in the Right Place
Place the container in direct, bright light. Direct sunlight can cause the cuttings to scorch.
- Spray the Soil
Every day, check the potting mix. If the mixture feels dry to the touch, lightly mist inside the bag with a spray bottle. If heavy drops of moisture accumulate on the inside of the plastic, poke a few holes in it to provide ventilation or open the bag’s top for a few hours each day.
- Examine for Roots
After three to four weeks:
- Dig up a cutting with an old spoon to look for roots.
- When the roots have grown to about 1/2 inch in length, remove the plastic.
- Allow four or five days for the young mulberry trees to acclimate to the cooler, drier air.
- Plant the Cuttings
Fill a 1-gallon pot with commercial potting soil for each rooted cutting. Place the pots in the shade and keep the soil moist. When the weather warms up in the spring, take the young plants outside.
Planting by Seeds
- When starting from seed, mulberry trees have a low germination success rate. Mulberry seeds have a better chance of germinating when cold stratified for four to sixteen weeks.
- Start seeds in a seed starting mix that has been sterilized.
- The growing medium is well-watered by planting just below the soil surface.
- Maintain a 12-16-hour light schedule for the plants as they grow after germination.
- As the seedlings mature, gradually expose them to the outside environment to get them used to it.
- When it’s particularly cold outside or unbearably hot, bring young sapling trees indoors or into the shade.
- Dig a planting hole that is at least three times the diameter of the root ball and as deep as the saplings being transplanted (whether they are self-grown or purchased).
- Carefully remove the tree’s roots from the pot before planting it.
- When you remove the tree from its pot, use the released soil to backfill the hole.
- When planting a tree, it is best not to amend the soil so that the tree is forced to extend its roots to obtain water or nutrients from the soil.