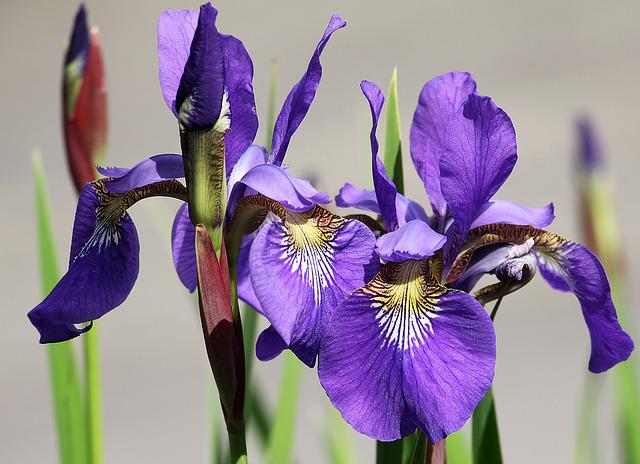
Do Iris Spread?

Iris is spread by rhizomes. It spreads more slowly, one of its main advantages for gardeners. However, iris rhizomes become crowded as they spread. This can hurt the plants and make them more vulnerable to pests, like iris borers, who can eat their roots.
Divide and move your irises to get them back to their best. You’ll get a lot more healthy blooms in the spring.
Table of Contents
Dividing and Transplanting Iris
If clumps are not lifted, divided, and replanted every three to four years, iris roots can become woody and overgrown. Overgrown clumps often become devoid of foliage and flower stems in the center, with flowers appearing only on the clump’s periphery.
When to Divide?
You can also lift and divide more frequently than this, for example, if you want to share irises with others or if your plants show clear signs of iris borer damage. Borers can be identified by their soft, mushy clumps or by the yellowing and softening of the foliage while the flowers are still in bloom. When borer worms drill into the rhizomes, the rot begins and gradually spreads throughout the clump.
When to Transplant?
Naturally, irises are occasionally transplanted to relocate them. After the plant has completed blooming and the leaves have begun to dry out, lift and transplant. Attempting to transplant an entire clump in the spring to preserve the season’s bloom is rarely successful.
How To Divide and Plant?
- Removing the Clump. Excavate the entire clump of iris with a garden shovel. The simplest method is to make deep cuts all around the clump and then pry the entire clump out of the ground using the shovel.
- Section Off the Clump. Shake loose dirt from the clump and divide it into sections with your hands by tugging it apart. The old central section can be discarded, which is typically quite woody and devoid of roots. A knife or sharp pruners could be used to cut the clumps into parts if you want to do that. Even small sections can be moved as long as there is at least some foliage and a few roots hanging from the fleshy rhizome section. From one clump of Iris, you can grow many different plants. Often, gardeners divide their plants into sections that are about 4 to 8 inches long, each with 4 to 6 leaves in them.
- Remove Excessive Leaves. Each division’s leaves should be trimmed to 4 to 6 inches with a good pair of pruning shears. The standard method is trimming the leaves in a fan-like shape, like an inverted V.
- Examine the Sections of the Rhizome. Each section of the rhizome should be examined for holes or soft mushy areas at the roots, which usually indicate activity by the Iris Bovary borer. Use a sharp knife or pruner to remove these rhizome sections until you are left with only solid white fleshy tissue. Don’t be alarmed if you accidentally cut into a live borer worm. To prevent disease, some gardeners prefer to coat the cut faces of the rhizome before replanting with a fungicide powder.
- Prepare a Hole for Plants. Planting your iris should get at least six to eight hours of direct sunlight a day, and the best soil is loose and well-drained. It should also be acidic (6.8 pH). If you need to break up hard soil, you can dig in compost or peat moss, making the soil a little more acidic. Dig a shallow hole that’s just a little deeper than the root part of the iris. Then, make a small mound of soil in the middle of the hole.
- Sow Irises. Rhizome sections should be placed over the mound with their roots facing downward and the rhizome’s top just above the soil level. Iris planting too deep is a common blunder. Water the iris well after you’ve added fresh soil around it. Rhizomes are typically spaced 12 to 24 inches apart, but you can get quicker results by placing them closer together. However, because these perennials grow quickly, a closer spacing means you’ll have to divide them again in a few years. It is common to plant in three-rhizome groups and space them about 24 inches apart.
Caring for Iris
A few weeks after having your iris transplanted, you should see new growth on the transplanted iris. New leaves usually start to grow in the middle of the rhizome, where the roots start. Until new growth starts to appear, you should water often. Then, when new growth starts, you should only water once a week. If you plant at the right time, you might get flowers in the first spring after you do so.
It’s possible to break the iris borer’s life cycle after the first hard freeze by keeping your garden clean and tidy. The moths that came out of the ground in the fall laid their eggs on the leaves of the iris plants. These eggs will turn into new, hungry borers in the spring when they are ready to grow. Cut back the foliage of your transplanted irises to the soil level, and then get rid of the foliage that you don’t want. You will get rid of the next generation of borers by doing this simple thing. This will make your plants pest-free in a few months, so you can enjoy them.
