
Growing Chrysanthemums From Seed – What You Need To Know!
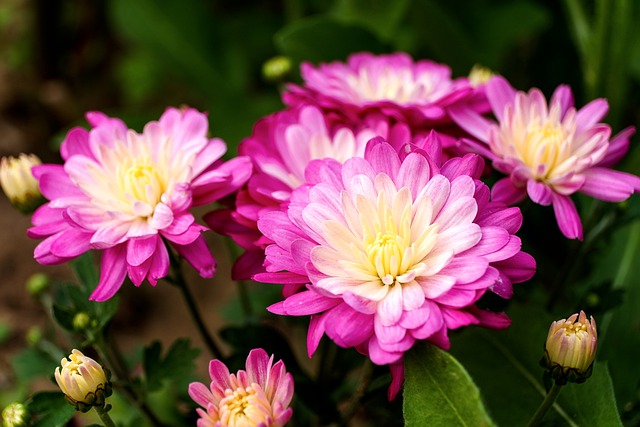
Chrysanthemums are one of the most popular flowers in the world and for a good reason. These beautiful flowers are easy to grow and add to any garden. This article will teach you everything you need to know about growing chrysanthemums from seed. We’ll cover soil preparation, planting seeds, and caring for your flowers throughout their growth. So whether you’re a beginner or a seasoned grower, we’ve covered you!
Planting mum seedlings is like rolling the dice, as you never know what you’ll get. They will flower the first year after planting but may not look exactly like the original. Even though the type of flower that will emerge from a packet of mum seeds is a complete mystery, growing these flowers from seed is simple and exciting.
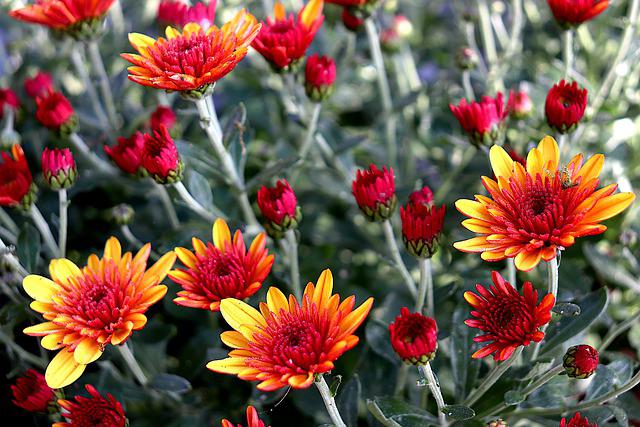
Other flowers resemble chrysanthemums, such as dahlias and asters, which can be grown and enjoyed similarly. These flowers offer a range of colors and shapes that can add beauty and diversity to any garden or landscape. With their stunning blooms and easy-to-grow nature, chrysanthemums and chrysanthemum-like flowers are a great choice for any gardener looking to add color and interest to their outdoor space.
Table of Contents
Planting Chrysanthemum Seeds
Planting Indoors
Selecting the Best Quality Seeds
Also, when selecting Chrysanthemum seeds, it is essential to ensure that you get the best seeds. A few things you should look for when choosing these seeds include size, shape, and color. Additionally, test the seed for germination before planting them in your garden.
When purchasing chrysanthemums Seeds online or at a retail store, it’s also essential to read the reviews to get an idea of what others have found helpful or not so helpful about this specific type of seed. Make sure to pick a reputable source if possible because buying from unauthorized dealers may result in inferior products or no products.
Even though it’s not a surefire way to get the exact color of garden mum you want, starting mum seeds is an excellent way to save money and enjoy the process. Since garden mums cross-pollinate easily, you never know what kind of flower will grow from chrysanthemum seeds. Most garden mums sold commercially are grown from cuttings. This ensures that growers get the exact flower type and color they want.
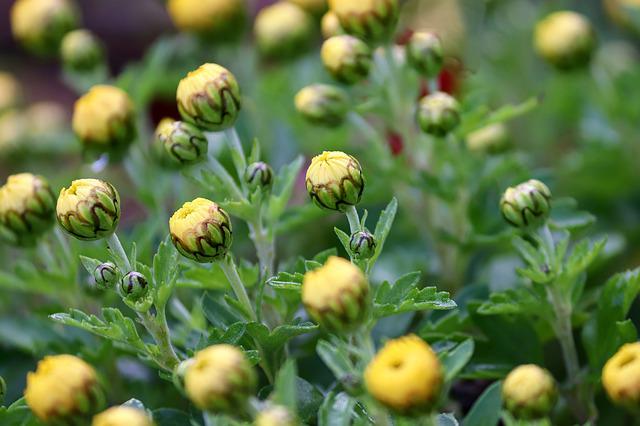
The seeds of a mum are tiny. About 45,000 seeds fit into an ounce. Be careful when you handle chrysanthemum seeds. Thousands of seeds could be blown away by sneezing or a breeze coming through a window. Chrysanthemums can take up to 16 weeks to bloom when grown from seeds. Most growers agree that it is best to start seeds indoors before there is no chance of frost.

Plant the Seed in Germination Pots or Seedling Tray
You can plant chrysanthemum seeds in either pots or seedling trays. If you are planting them in pots, make sure to fill them with enough soil, so the chrysanthemum roots have plenty of room to grow.
Pinch a few mum seeds between your thumb and forefinger to make planting them easier. Gently rock them back and forth, preventing a clump from falling to the ground all at once.
If you are planting your chrysanthemums in seedling trays, water them well before adding them to the tray, and then add 1/4 inch of soil mix on top. Ensure adequate drainage and keep the plants moist, but not.
Water Your Newly Planted Seeds
After planting your chrysanthemum seeds, it is essential to keep them watered. Place the pots or trays in a spot that receives partial sunlight and water them once a week. If you are planting in pots, top off the water reservoir as needed so the plants don’t get root bound. Be careful not to get water on the leaves as you water the seedlings’ roots.
Provide Enough Sunlight
To sprout, chrysanthemum seeds must be exposed to light. Only lightly cover them with more potting soil. Use it lightly and sparingly so that light can penetrate the seedlings. Spray the top layer of the soil mixture you just added with a spray bottle. Gently press down on the tops of the containers to ensure that the soil mixture is in contact with the seeds. A connection like that is essential for germination to take place.
Sturdy seedlings can’t be grown without plenty of light. Planting trays should be situated in front of a south or west-facing windows, or fluorescent growth lights should be used to supplement natural light. Wrap the pots in plastic and keep them warm with a heating coil or a propagation mat if you have neither. Seed trays need to have lights hung 12 to 15 inches above them. The soil should be kept consistently moist until the mum seeds sprout, which should take about 10 to 15 days. Soil moisture levels should be carefully monitored when using a heating coil or fluorescent lamp to speed up drying.
Temperature
Make sure your seed-starting space is nice and toasty. To begin sprouting, mum seeds prefer warm temperatures of around 70°-75°F(21°- 24°C). A root zone heating mat can increase soil temperature and hasten germination. Use a spray bottle to mist the soil surface to keep it moist while the seeds germinate. Make sure the soil isn’t drying out too quickly by checking it more often if you use a heating mat.
Thinning Out Newly-Emerged Seedlings
After a seedling has emerged, it should be thinned out as soon as possible to prevent overcrowding. Each pot should have its weakest seedlings discarded and its strongest ones retained.
Feeding Seedlings
Feed seedlings once every three to four weeks with a starter solution (half strength of a complete indoor houseplant food) as per the manufacturer’s instructions once the seedlings reach three to four weeks.
Transplanting
Papery saplings right after they get their first true leaves. Cut off the top of the seedlings you won’t be preserving. If you want to avoid uprooting the mum seedlings, do not pull them from the soil. In 10-21 days, seedlings will emerge.
When seedlings have at least two sets of true leaves, you should consider transplanting them to 3 or 4-inch pots before putting them in the garden. This will give them more room to grow healthy roots. It is essential to “harden off” seedlings indoors before transferring them to the garden.
If you start by leaving them out for a few hours a day over two weeks, you should have them thoroughly acclimated to the outdoors. Relocate your seedlings to a protected outdoor area for a week to get them used to the elements. At first, you should try to keep the wind and sun off of them. Containers should be brought indoors and kept until morning if frost is expected. The plant’s cellular structure is strengthened through this hardening-off procedure, making it more resistant to transplant shock and scalding stresses. When the soil is warm enough, transplant them to a sunny bed with rich, fast-draining soil, leaving 12 inches between each plant.
Planting Outdoors
- Choose a spot with full sun and good, moist organic soil.
- To get the bed ready, turn the soil over to a depth of 6–12 inches, remove the trash, and rake the soil as flat as possible.
- Adding leaf mold, compost, or manure that has been broken down can help.
- Planting on a cloudy day or in the late afternoon will lessen the shock of being moved.
- For each plant, dig a big hole to hold the root ball.
- Take the plant out of its pot and gently use your hands to loosen the root ball. This will help the roots grow well.
- Set the top of the root ball at the same height as the soil around it. Fill up to the top of the root ball with the soil. Press down hard on the soil with your hand.
- Use the plant tag as a way to find the plant.
- Water the soil well and put a thin layer of mulch (1-2 inches) on top to save water and keep weeds from growing.