
Can Tulips Grow in Pots? A Comprehensive Guide
Tulips can grow in pots, but they will require more attention and care than if they are planted in the ground. When planting tulips in pots, ensure the soil is well-drained and free of heavy clay or other soils that can be difficult to work with. Tulips need plenty of sunlight and exposure to fresh air to thrive, so it is essential to place their pots in a sunny location. When watering tulips in pots, water them from the bottom rather than the top, as this will help keep the soil moist and prevent root damage. Tulips in pots should be watered once a week during the summer and every two weeks during the winter. Do you want to know more about growing tulips in pots? Here are some great tips. Read on!
Table of Contents
Tips for Planting Tulips in Pots
Choose the Right Varieties
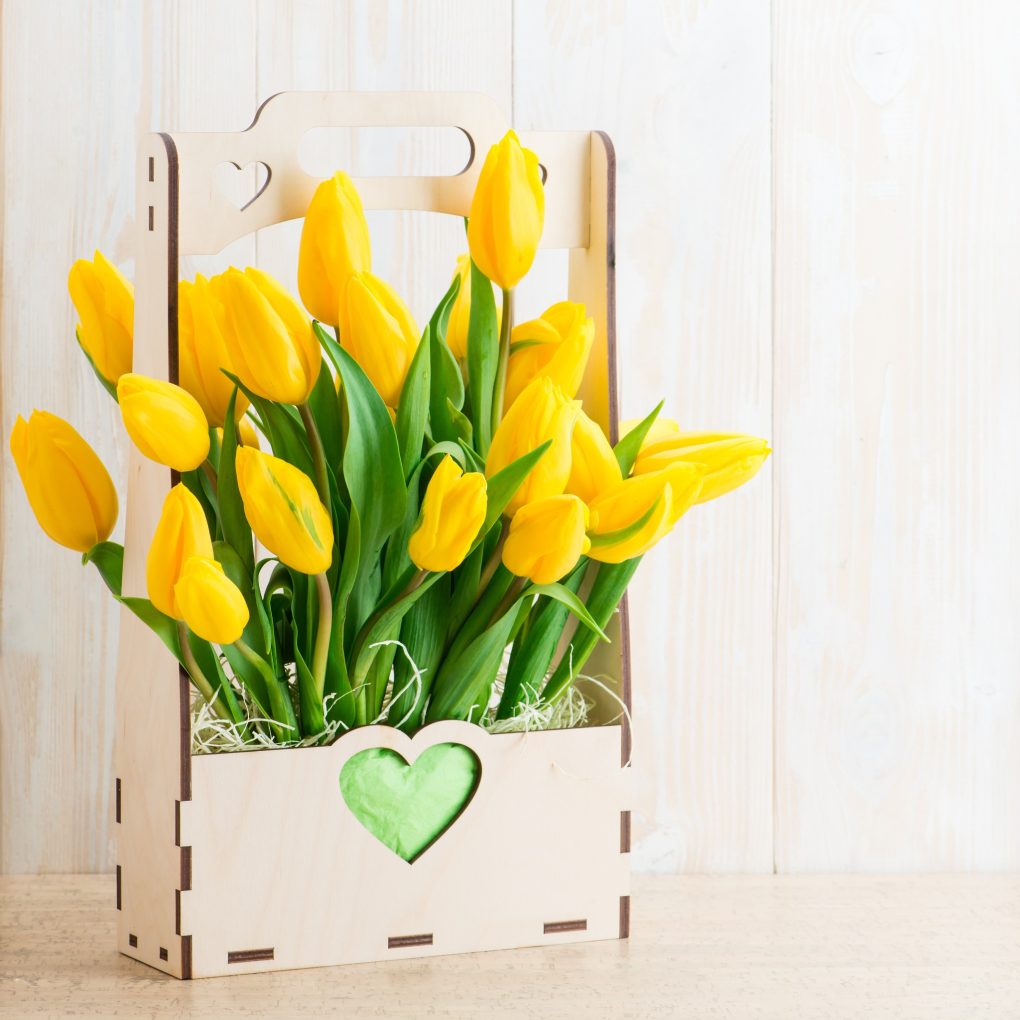
Select tulip varieties that are adapted to planting in pots. Most tulips can be grown successfully in a container, although those with shorter stems are best because they are less likely to shatter or topple over in strong winds. Pick types from the Greigii, Kaufmanniana, Triumph, or Double Early categories for stunning blooms with a manageable height.
If you want to get a bit fancy, you can time your arrangement such that something is blooming all spring long, even if a plain pot of the same cultivar is frequently the most attractive container planting. Start with early-blooming varieties such as “Pinnochio,” “Purple Prince,” or “Exotic Emperor,” then incorporate mid-season charmers like “Big Love,” “Mariette,” or “Flaming Baltic,” before concluding with “Big Smile,” “Blue Parrot,” or “Yosemite.”
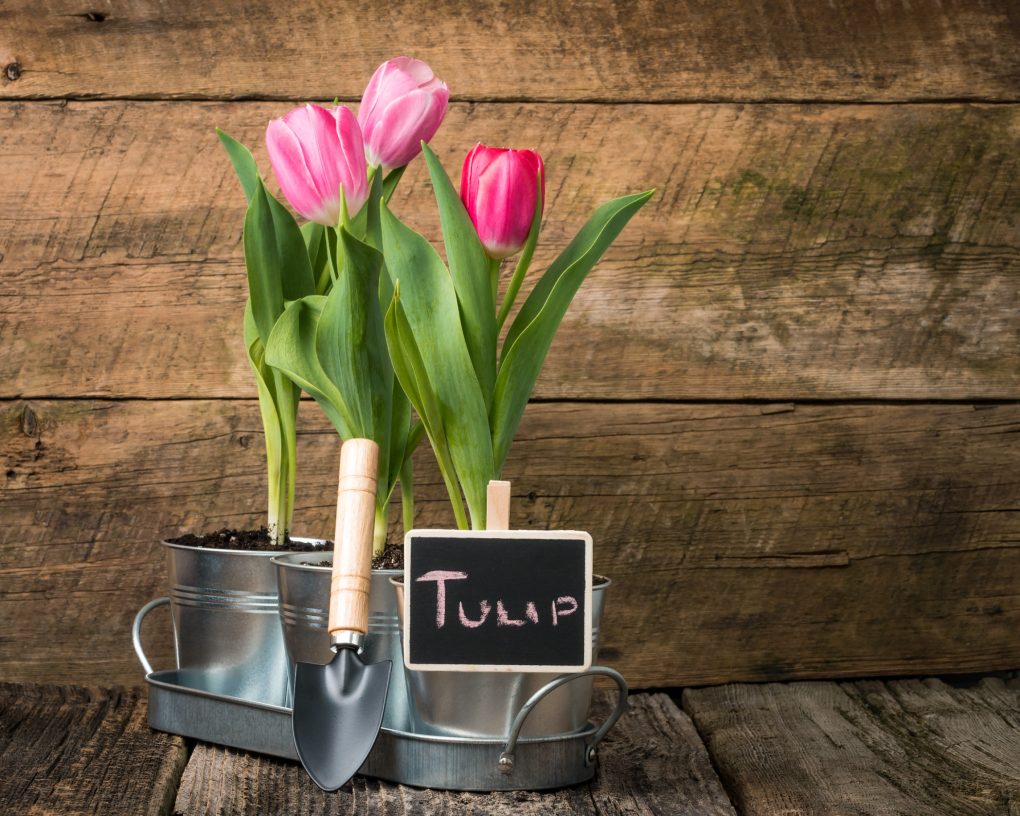
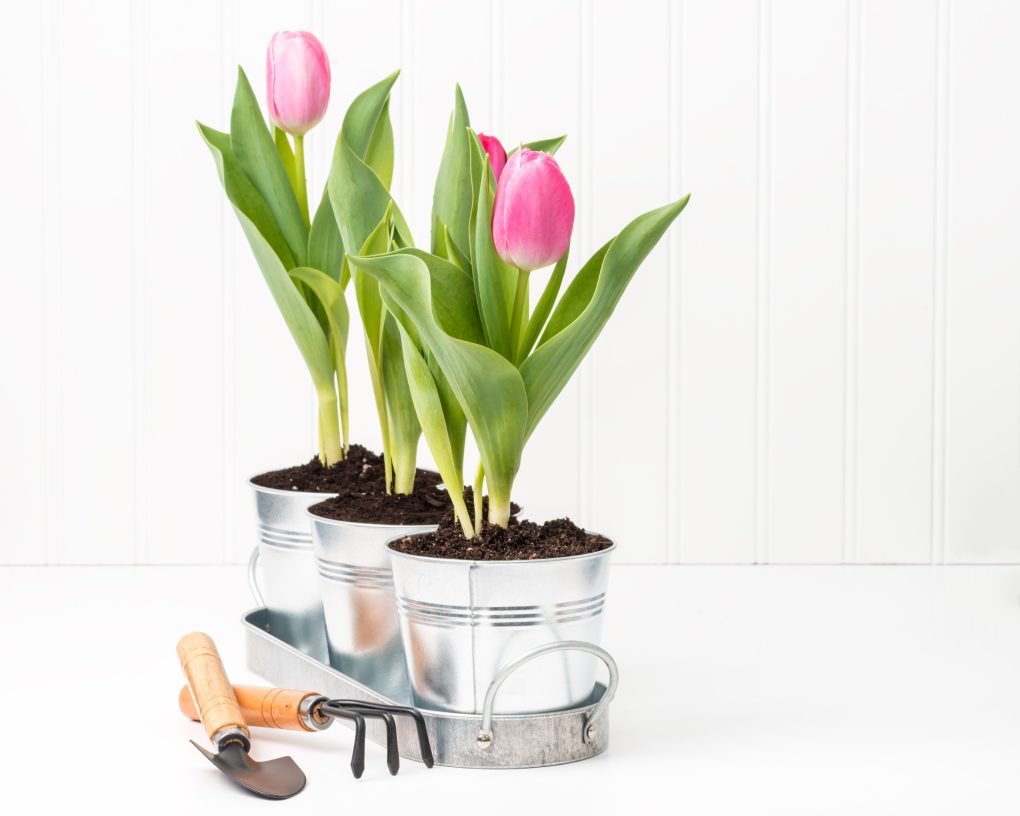
Choose the Right Pot
Use a pot with drainage holes with a minimum diameter of 8.5 inches (22 cm). The depth of your pot should range from 6.5 to 18 inches. The pot you purchase must include drainage holes. More tulip bulbs can be placed in larger pots, resulting in a fuller pot of flowers. Tulips can be planted in terracotta, ceramic, or plastic pots. Tulips are susceptible to rot and fungus, and their roots do not appreciate dampness. Terra cotta planters are often suggested for planting bulbs since they “breathe” better than plastic or ceramic ones and will promote good drainage.
It’s okay if your heart is set on a different, less permeable container. Just watch out for overcrowding and overwatering. Additionally, check that they are light enough to move. During the season, you’ll need to move them multiple times. In general, tulips grow best in bigger pots that are about as tall as they are wide. As a result, they will be less susceptible to freezing weather and less prone to topple over while in flower. You’ll get off to a good start if you pick at least 12 inches wide and tall pots.
Fill the Pot with Potting Mix
Perlite and vermiculite potting mix should be added to the container to fill it halfway. A home and garden store or internet retailer sells permeable, quickly draining soil. A wonderful potting mix for tulips contains perlite and vermiculite. The potting mix should be poured adequately into the pot while working outside.
Plant the Bulbs
The bulbs should be placed in the ground 1 inch (2.5 cm) apart. After placing the bulbs against the inside edge of the pot, work toward the pot’s center. To keep the bulbs in place, deeply press the flat side of the bulbs into the soil. The bulb’s pointed end should be facing upward. More bulbs planted will produce more flowers, but more competition for water and nutrients will follow. Make careful to water and fertilize the bulbs if you crowd them routinely.
Cover the Bulbs
Soil should be piled 5-8 inches (13-20 cm) over the bulbs. To completely cover the bulbs, use the same potting soil as before. The pots can be covered with a wire grid to keep animals like squirrels from eating the bulbs before the tulips bloom if you are placing them in a location that may be accessible.
Try to Add Another Bulb on Top
For a layered feel, think about including extra lights. Layering bulbs on top of one another will allow you to create alternative heights for your tulips or add more to your pots. Plant another bulb above the previous layer and cover them with potting soil to achieve this. The top layer of bulbs should be covered with 1-2 inches (2.5-5.1 cm) of soil. They will fill the pot when the bulbs bloom.
Water the Bulb
Once tulips bloom, water them thoroughly. Watering should be done at least once a week during the blooming season, but it may be necessary to water more often in hot climates.
Bring Them Inside
Once their 14-week snooze is through, you can induce your tulips to emerge from dormancy if you want to jumpstart spring. Take your pots out of storage, remove any protective plastic if necessary, and set them in a spot with low to medium light and slightly chilly temperatures (about 50 to 60 degrees).
If everything is going correctly, you should already be able to see some yellow shoots. Move your containers to a more sunny place where temperatures average around 70 degrees once shoots have turned green, usually after about a week.
They should be watered evenly and frequently rotated because they tend to slant toward the light. 3 to 4 weeks after your containers were taken from cold storage, you should start to see blossoms.
Activate Them Outside
Once their 14-week dormant period is over and the outside temperature reaches about 60 degrees, your tulips will start breaking the surface. Where you reside will determine whether this occurs in March or May.
Place your containers in a sunny area, and start watering them frequently. Depending on the kind you planted and the weather, you should see blooms in one to three weeks. Move them back into a sheltered spot or bring them inside if you find a cold front on its way until the threat of subfreezing weather has passed.
Don’t Use Fertilizer
Most nutrients required by tulips are stored and conserved in their bulb systems. While some gardeners will advise administering bone meal or a 5-10-10 fertilizer to plants grown in the field, tulips planted in containers already have all the nutrients they require from their potting soil. To preserve money for future plantings, you can omit this maintenance task.
Nurture Following Blooming
You must wait until their foliage has fallen back and turned brown before chopping them down unless you’re planning to treat your tulips like annuals and remove them after one season. To prepare for development the following season, tulips use this post-flowering time to conserve energy. Photosynthesizing leaves is essential to this process.
Tulips planted in containers won’t likely bloom again in the same pot. And they might never blossom again because the unusual growth cycle caused them so much stress. You will, therefore, undoubtedly be taking a chance.
If you decide to try it, replanting them in the ground will give them the best chance of surviving. Digging out bulbs after their leaves have withered back will allow you to completely dry them out for about a week before storing them in a cool, dry place until fall, when you may plant them again.