
How To Build A Compost Pile In Your Backyard
Composting is not just a great way to recycle and reuse rotting organic matter. It’s also supporting the local ecology while you do it. But, because composting is not the easiest of activities, you are probably wondering how to go about it. Keep reading!
Table of Contents
Building Compost Pile
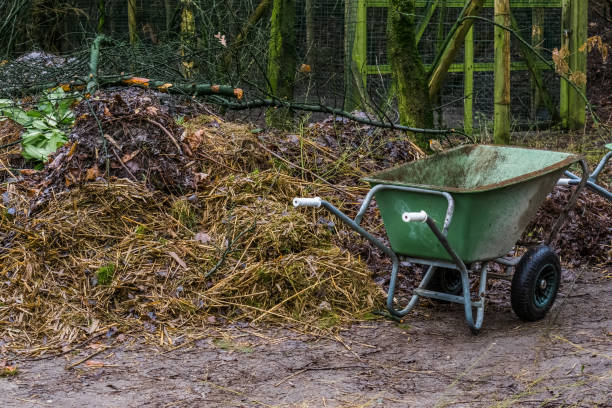
Step 1: Locate the Best Place Possible
Ideally, the pile will be out of sight, but that is up to you. If you prefer it hidden, then go ahead. Even if you don’t mind seeing your compost pile in your garden, hide it or screen it off if you don’t. The reason why the pile needs to be easily accessible is that you will be using it frequently. When you are finished with the finished compost pile, you will add to it, turn it, and remove it from the pile, so getting to it should not be a chore.
During dry spells, you will also need to add water to the pile, so make sure it is close to the hose. Because the composting process is one of decay and rot, keeping the pile as far away from any structures as possible is critical. Avoid placing the pile near your house, shed, or fence. Check with your town to see if there are any restrictions on where you can place your compost pile.
Step 2: Start Your Compost Pile at the Right Time
Compost piles can be set up at any time of year, but certain times of year are preferable. There is a lot of high-nitrogen material in the spring and summer, but not as much carbon. Lawn trimmings (high nitrogen) and dead leaves (high carbon) are abundant in the fall.
Step 3: Choose Your Containment Level
When starting a compost pile, make sure to wet the area first and then a second time right before you start building the pile. Dormant bacteria and soil fungi will be awakened by this, making the soil more hospitable to the red compost worms that make their way into compost and are important players in the process.
Step 4: Build a Simple Container for Your Pile
Building a pile foundation can be done in many different ways, just like there are many ways to imagine it. Even if you’d rather have a more aesthetically pleasing container, a simple pile will suffice.
The following is a step-by-step guide to building your extremely basic container:
Measure out a plot that is at least 3’x3′ in size. This will be large enough to accommodate a significant amount of organic material without becoming an eyesore in your backyard.
Obtain a few 2x4s or similar-sized wooden stakes for your project (bonus points for medium branches that have more of a rustic look). Take enough 2x4s to drive them into a 3’x3′ square about every half-foot along the perimeter of the structure. This will require anywhere between 15 and 20 stakes.
Drive a stake into the ground every half-foot until you’ve created a square-shaped section of land. Consider leaving an opening on one of the sides of the container. In this manner, you will have an easier time reaching your pile and turning it with a shovel or fork.
Establishing a Consistent Routine
Know What Not To Pile Up
Except for greasy or infected plants, anything that decomposes can be composted. Non-necessary pests and rodents can be caused by the improper decay of foods like cheese and meat. Composting diseased plants in a container where the pathogens can be killed by heating are the most effective method. You must turn the compost heap every few days to ensure that all plant material has a chance to heat up in the center of the pile. You can avoid spreading disease in your garden by simply removing the diseased plants from your garden.
Incorporate Both Carbon and Nitrogen Into Your Plan
Try to get the right amount of carbon (dead, brown, dry) and nitrogen (green). A ratio of 60 percent carbon to 40 percent nitrogen is generally considered optimal for brewing beer-making purposes. When layering your materials, lightly mist each layer with a garden hose to dampen (not soak) it.
You can use newspaper as a carbon source if you only have green plant material (like grass). For additional compostable carbon sources, consider straw, leaves sitting for a long time, recycled animal waste, cardboard shredded to a pull, wood chips, sawdust, a few stray stems, and a paper towel.
Consider Shredding Your Materials
You can shred the material or not. If you want a faster-composting cycle, shredding helps. Shredding also makes a neater, easier-to-turn pile.
Why shred? Shredding exposes organic materials to more bacterial invasion by increasing their surface area. Larger organic matter blocks aerobic decomposition. Don’t shred moist or vegetative organic materials. These materials are saturated. Their moisture content complicates aerobic decomposition.
Layer Up
This is the best part. Try to add layers to your compost pile every time. A compost pile has three basic layers, and they must be laid out in the correct order:
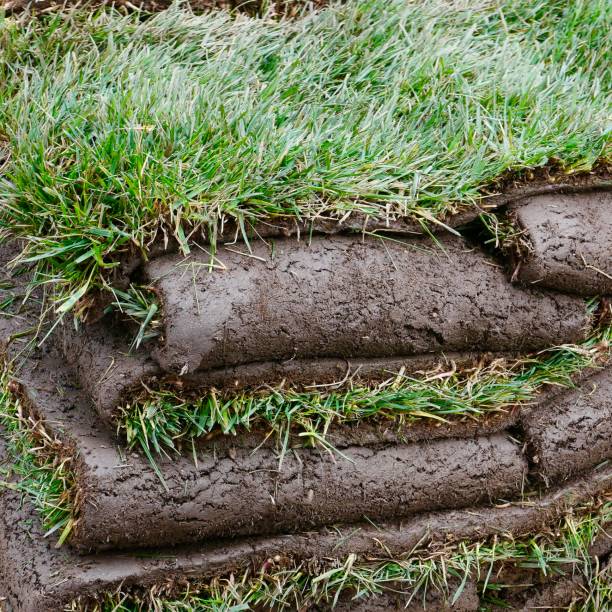
Layer 1 (Carbon): Carbon-rich materials include hay, sod, straw, leaves, untreated sawdust, chopped corncobs, corn stalks, and small twigs. Place the heavier materials at the bottom of the pile and the lighter materials on top.
Layer 2 (Nitrogen): This is the “ignition” that kicks off the composting process. Nitrogen is provided by manures, fertilizers, vegetable wastes, grass clippings, garden debris, and starters.
Layer 3 (Topsoil): Avoid sterile potting and insecticide-treated soils, as these do not contain or nurture important microbes.
Add Twigs
Make sure to include twigs if you can. To ensure proper airflow, add some coarser material every 8 inches (20.3 cm). Thick, sturdy stems from various plants, such as twigs, work well. Non-compostable materials can also be used, as long as they don’t leach toxins into your compost pile. In a sense, the compost is a living organism. There are a number of different types of organisms that play a role in the decay process, including microbes, beneficial insects, and worms.

Maintaining Compost Pile
Stir the Pile
Stir the pile occasionally. To do this, you use a pitchfork and lift on both sides. Additionally, if the soil is dry, sprinkle with water. This will ensure that the decomposition process is distributed evenly and uniformly.
Maintain the Stack
The center of the pile should be hot and evenly moistened. Use a shovel to turn organic material around whenever the pile’s center temperature falls below 110 °F (43 °C).
Steam will tell you if the pile is hot or not in cooler weather. You can feel the heat as you turn the pile in the summer.
Make sure that you don’t drown the microbes and scare away the worms by over-watering the pile. The decay process halts if the pile is too dry. Moisture should be evenly distributed throughout.
Turn and Water Inactive Compost Piles 4–6 Weeks
Your compost will be less labor-intensive if you don’t frequently add new layers. The beginning of spring is the ideal time to use a small compost pile built in the fall.
Keep It Warm
Keep it hot. A hot pile decomposes more quickly, but it isn’t required. Let nature do the work for you if you’d rather not handle it yourself. Most plants decompose over a year in this manner. Every few days, go out and turn the pile.