
Are Daylilies Annuals Or Perennials?
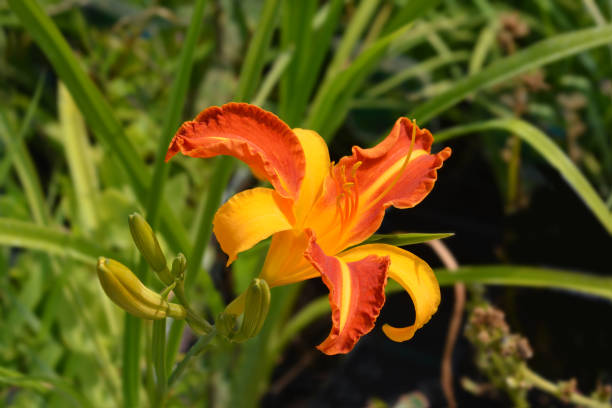
Daylilies are the best perennial that doesn’t need a lot of work. A plant that can grow in full sun to partial shade can thrive there. It can grow in a wide range of soil conditions, is resistant to most bugs and diseases, and blooms for a long time each summer. There are also a lot of different types to choose from, with a wide range of flower sizes, shapes, and colors.
They are easy to grow, free of disease and pests, able to withstand drought, uneven sunlight, and poor soil. In addition, a wide variety of stunning daylilies are available. For a continuous display of daylilies from the end of spring until the first frost of autumn, grow a mix of early, mid-season, late-blossoming, and repeat bloomers.
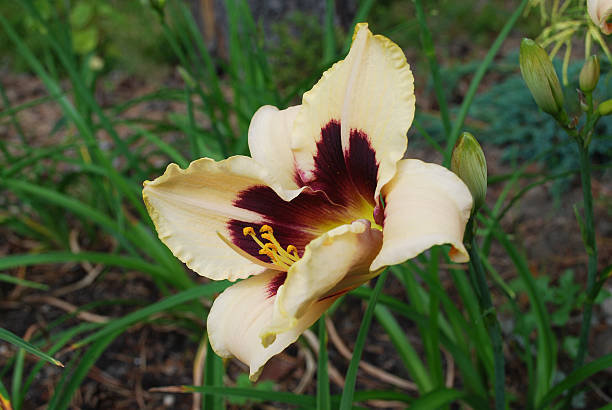
Table of Contents
Making Cut Flowers from Daylilies
- In particular, the heirloom varieties and daylilies make lovely cut flowers. As long as the plant is kept in an area with good ventilation, flowers can last for up to a week after the buds form.
- When cutting daylilies, look for buds that are just about to open and have some of their original color showing through. As the lower buds begin to wither, the higher ones will burst open first.
- A diagonal cut with a sharp knife is all that is needed to trim the stems of the flowers as soon as they are brought into the house.
- The water should be changed every few days.
- New buds will begin to bloom when the faded flowers are regularly removed.
Planting Daylilies
- Days Lilies can be planted as soon as the soil around their roots can be worked, usually in the spring.
- Before planting, break up the soil with a garden fork or till it deeply before planting.
- Increase organic matter by working in well-rotted manure or compost.
- Make use of a balanced, slow-release fertilizer labeled for perennial flowers to help your plants grow and bloom.
- Excavate a large enough hole for the roots to spread out without bending or being crowded by the surrounding soil.
- Place the plant in the soil so that the crown (the portion of the plant where the stem and root meet) is one inch below the level of the surrounding ground surface. If additional soil is needed to raise the plant, it should be re-inserted into the planting hole.
- Fill in around the plant with garden soil after it has been raised to the proper height. Lightly pack the soil around the plant.
- Before proceeding, make sure the soil around the plant is completely saturated. While watering the plant also helps settle the soil around the roots, resulting in a favorable growing environment for the plant.
Taking Care Daylilies
Taking Care of Daylilies is an important part of maintaining their health and beauty. Here are some tips to follow:
- Until they become established, give daylilies a weekly watering.
- It is unnecessary to water daylilies because they are hardy and drought-tolerant plants. However, they prefer about an inch of water per week, which can be met by normal rainfall. The more water you give them, the more flowers they’ll produce if you’re in a dry climate or have a dry spell. Maintain the plant’s moisture levels by mulching around it.
- Unless the soil is deficient in nutrients, daylilies do not need to be nourished. Once a year in early spring, apply a 10-10-10 general-purpose fertilizer (10-10-10) to encourage stronger bloom performance. You can also sprinkle some around the base of each cluster of daylilies to keep them moist. After the blooming period is over, you can fertilize your daylilies a second time to encourage them to produce more seeds.
- Removing spent blooms to prevent seed production and stimulate new growth is an alternative to deadheading, which is not strictly necessary. Remove the blossoms when they begin to wither and fade. Most daylilies do not self-sow, so division is required to produce new plants (see how below).
- It’s up to you when you want to cut back a daylily scape after its flowers have finished blooming. You can do it immediately, in the fall, or not. Without trimming it, it will simply turn brown and stand there in its place.
- However, remove the dead foliage from the previous year’s growth before new growth begins in the spring.
- Seasonal manure, like compost, can be applied around a plant’s root system in the spring.